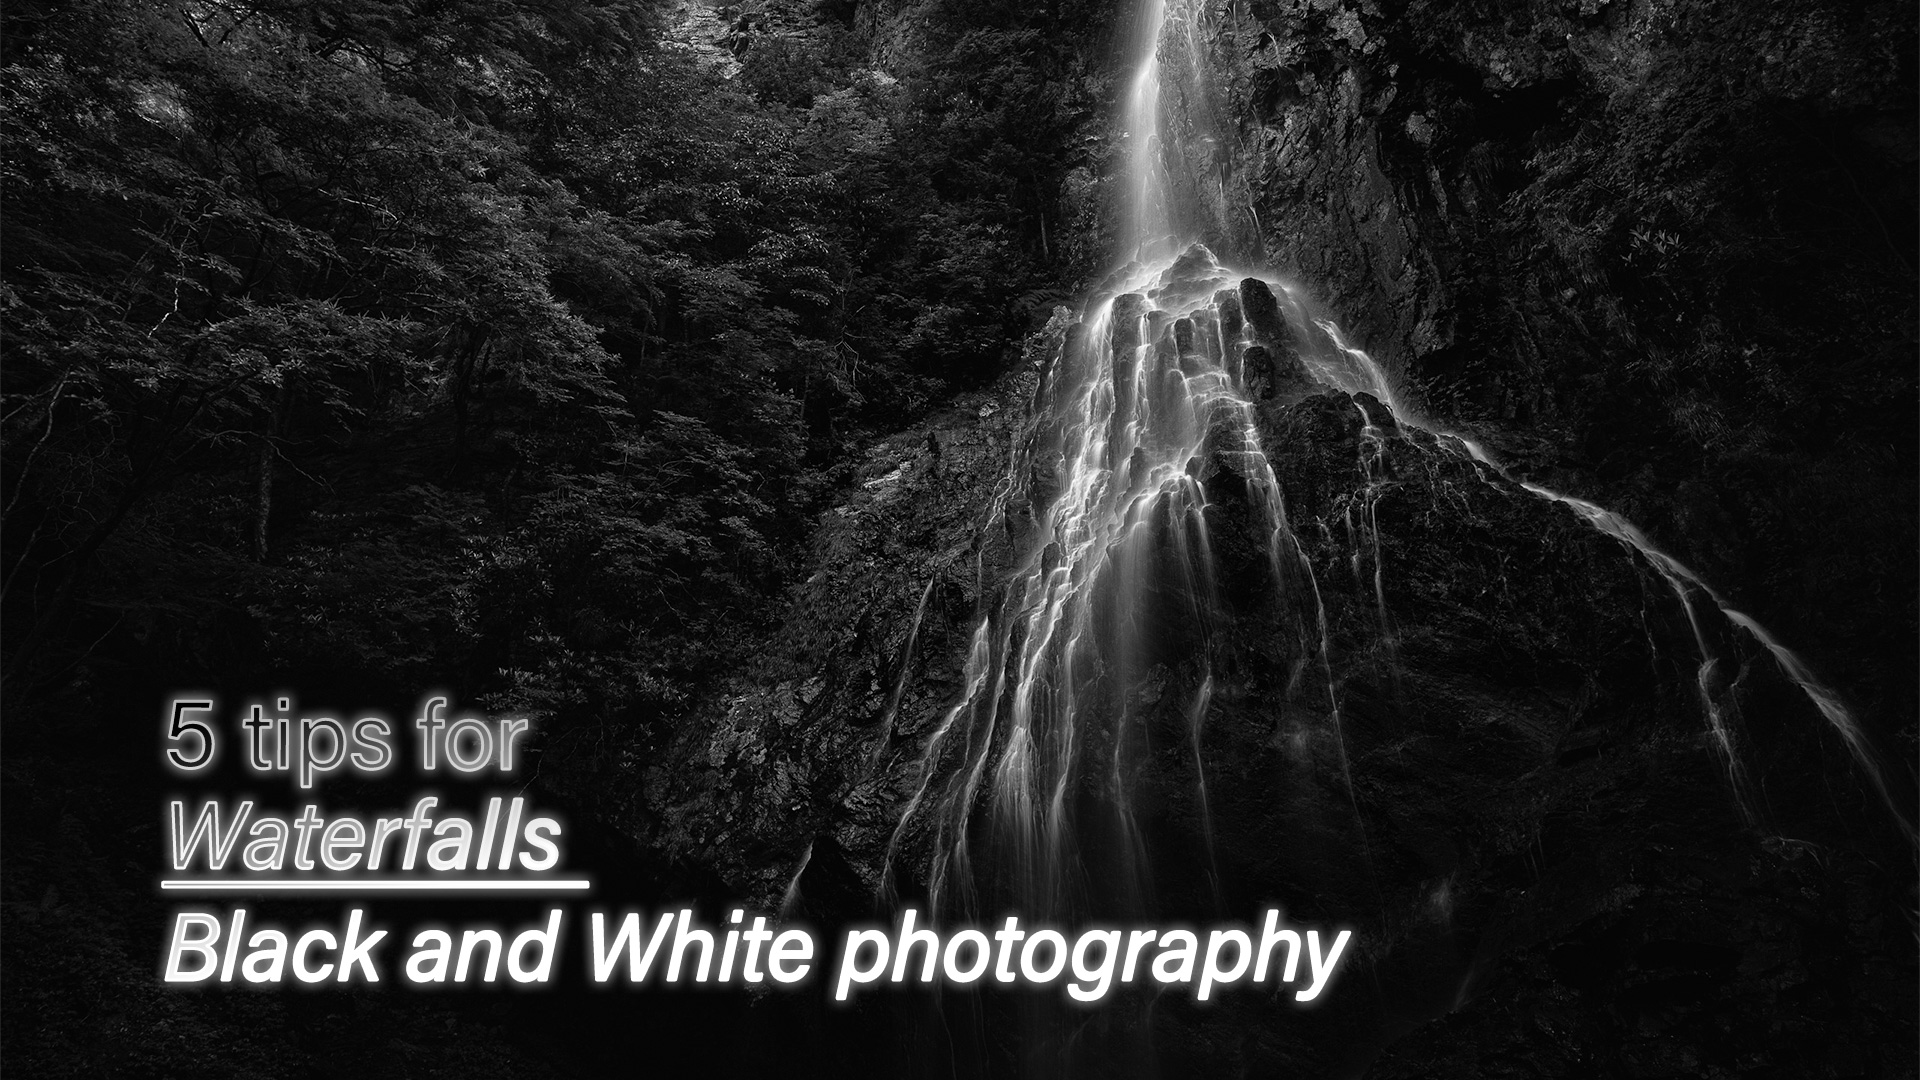
I’ve kept shooting for
Waterfalls since I started photography almost ten years ago.
Although my main interest had shifted toward cityscapes and architecture, I sometimes go to creeks and enjoy shooting them, and hearing the sound of streams: the combination of silky smooth water and natural-made rocks is true beauty.
In my archives, there are so many waterfall and stream pictures. This time I would like to share them with you, including some of my favorite waterfall pictures from the past.
Along with those pictures, I’ll share some tips for shooting waterfalls in monochrome.
Let’s find out about the beauty of black and white waterfalls with me!
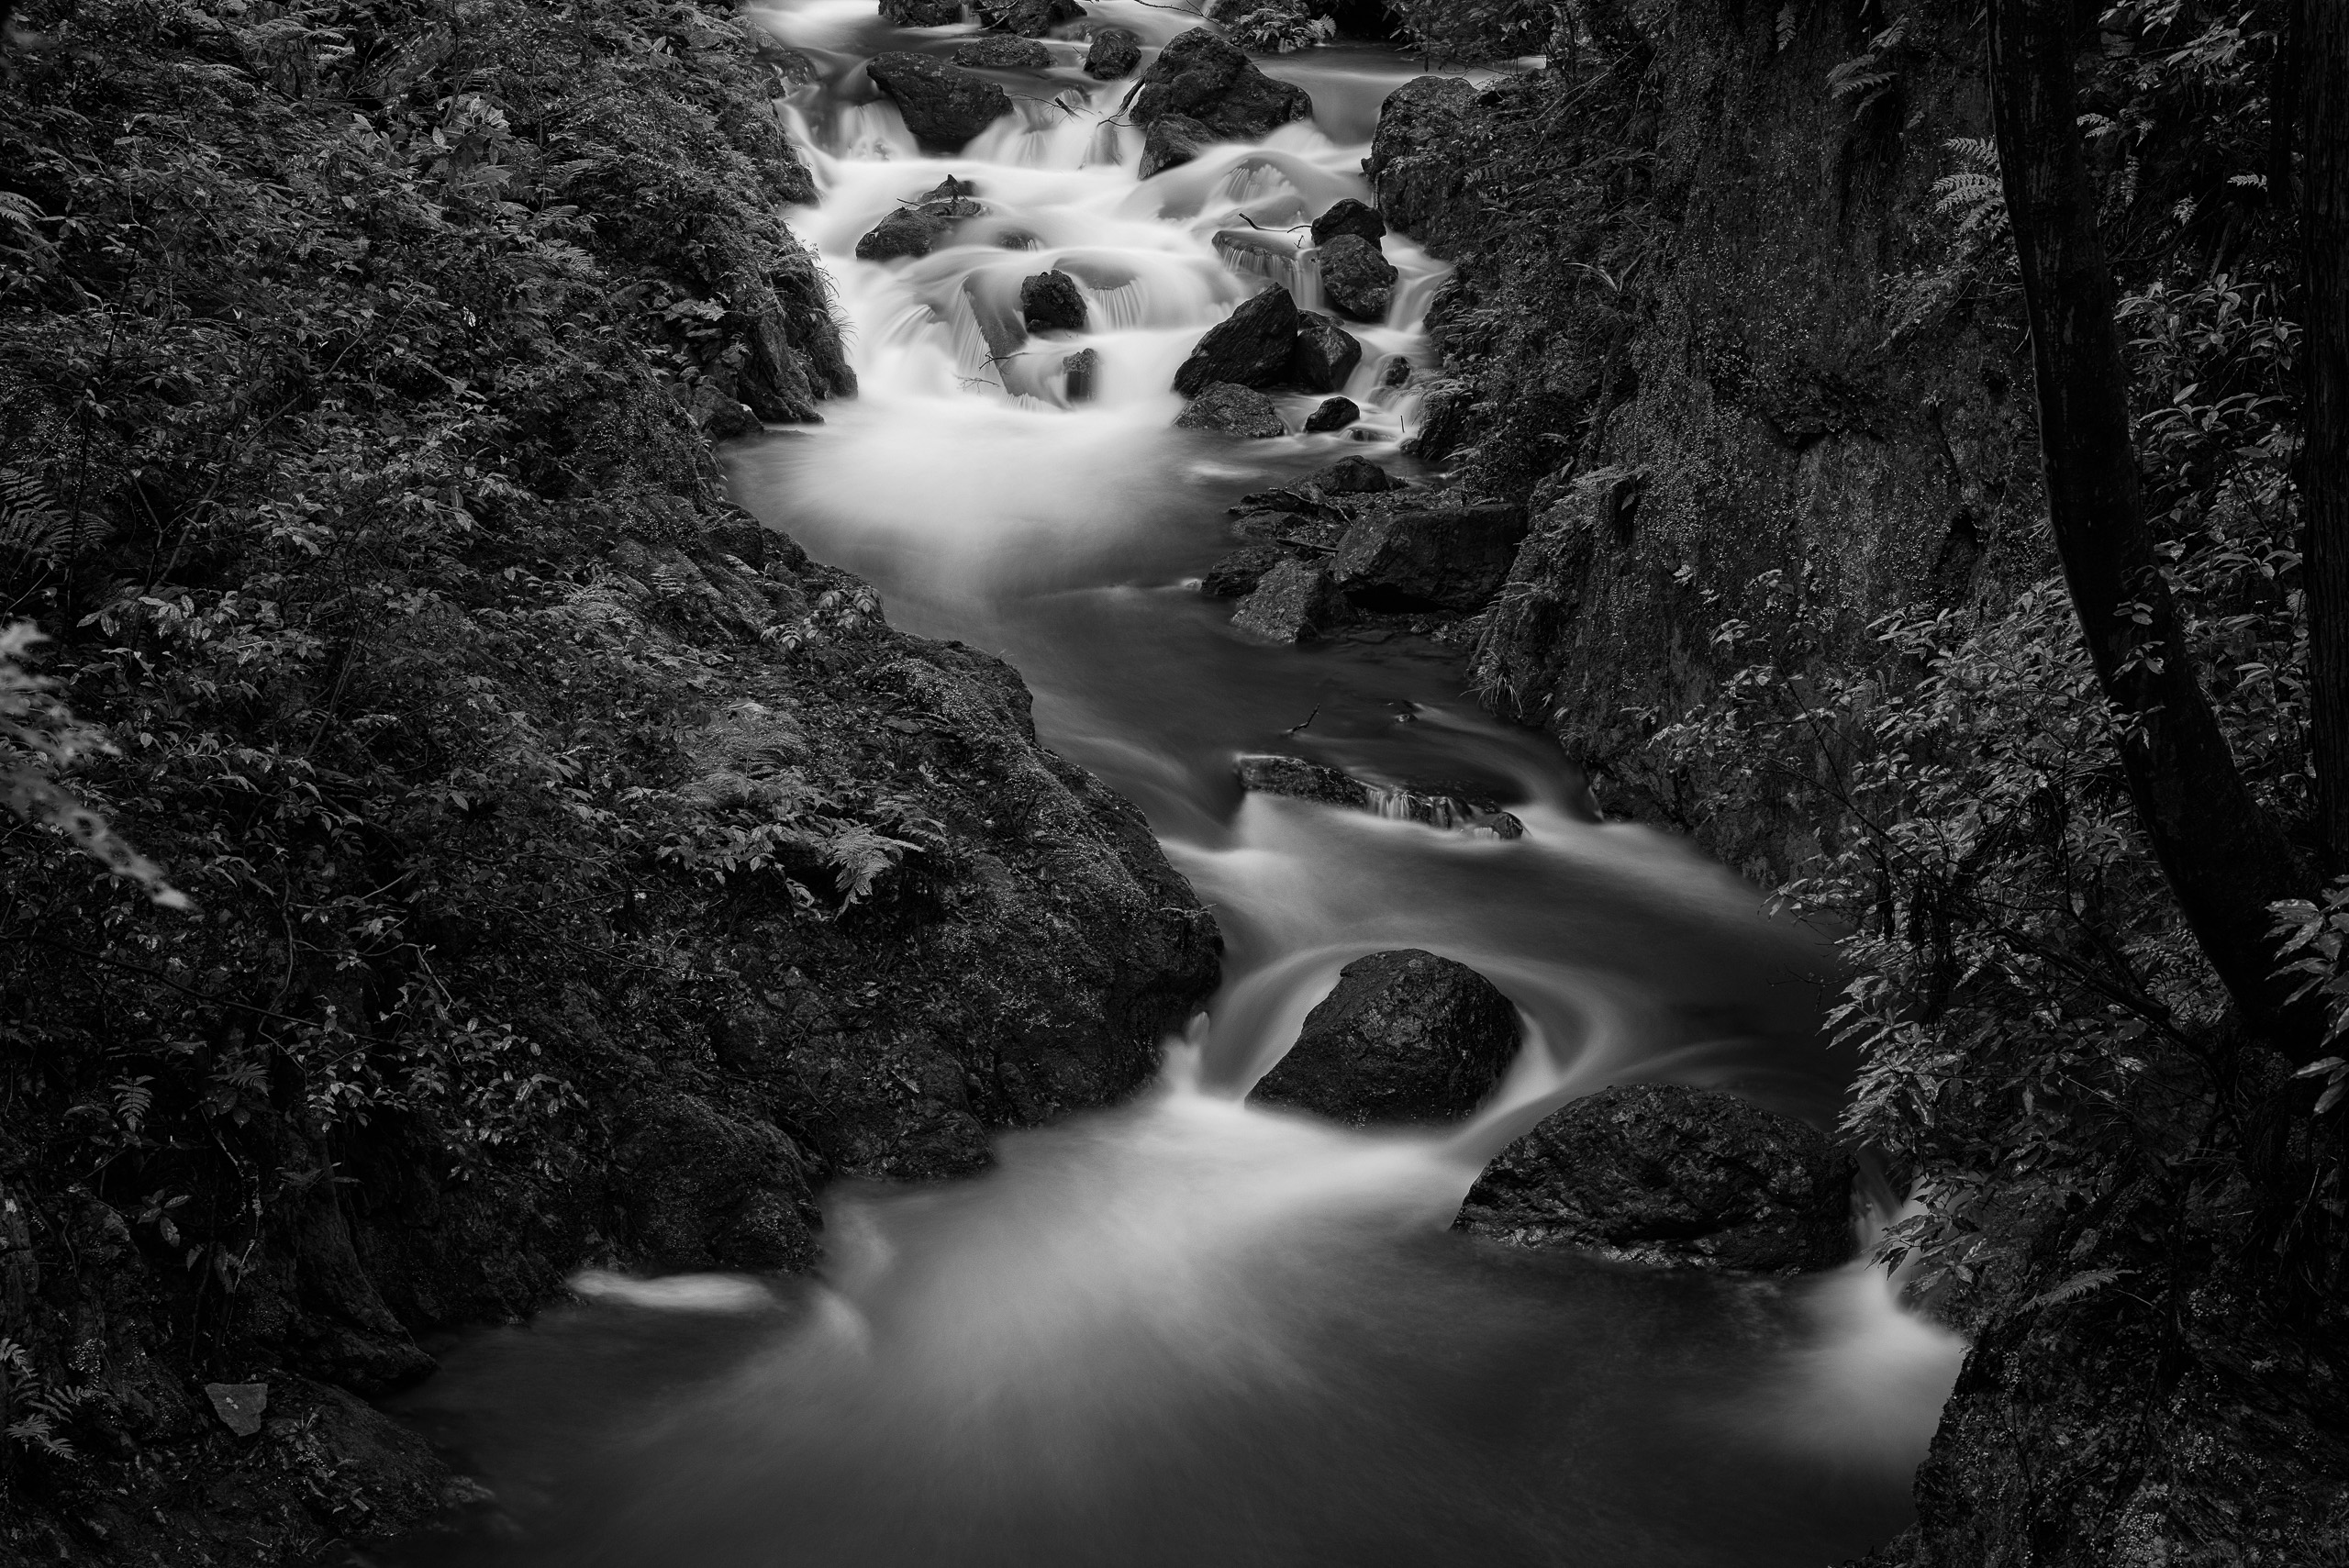
1.Ideal shutter speed for shooting waterfalls
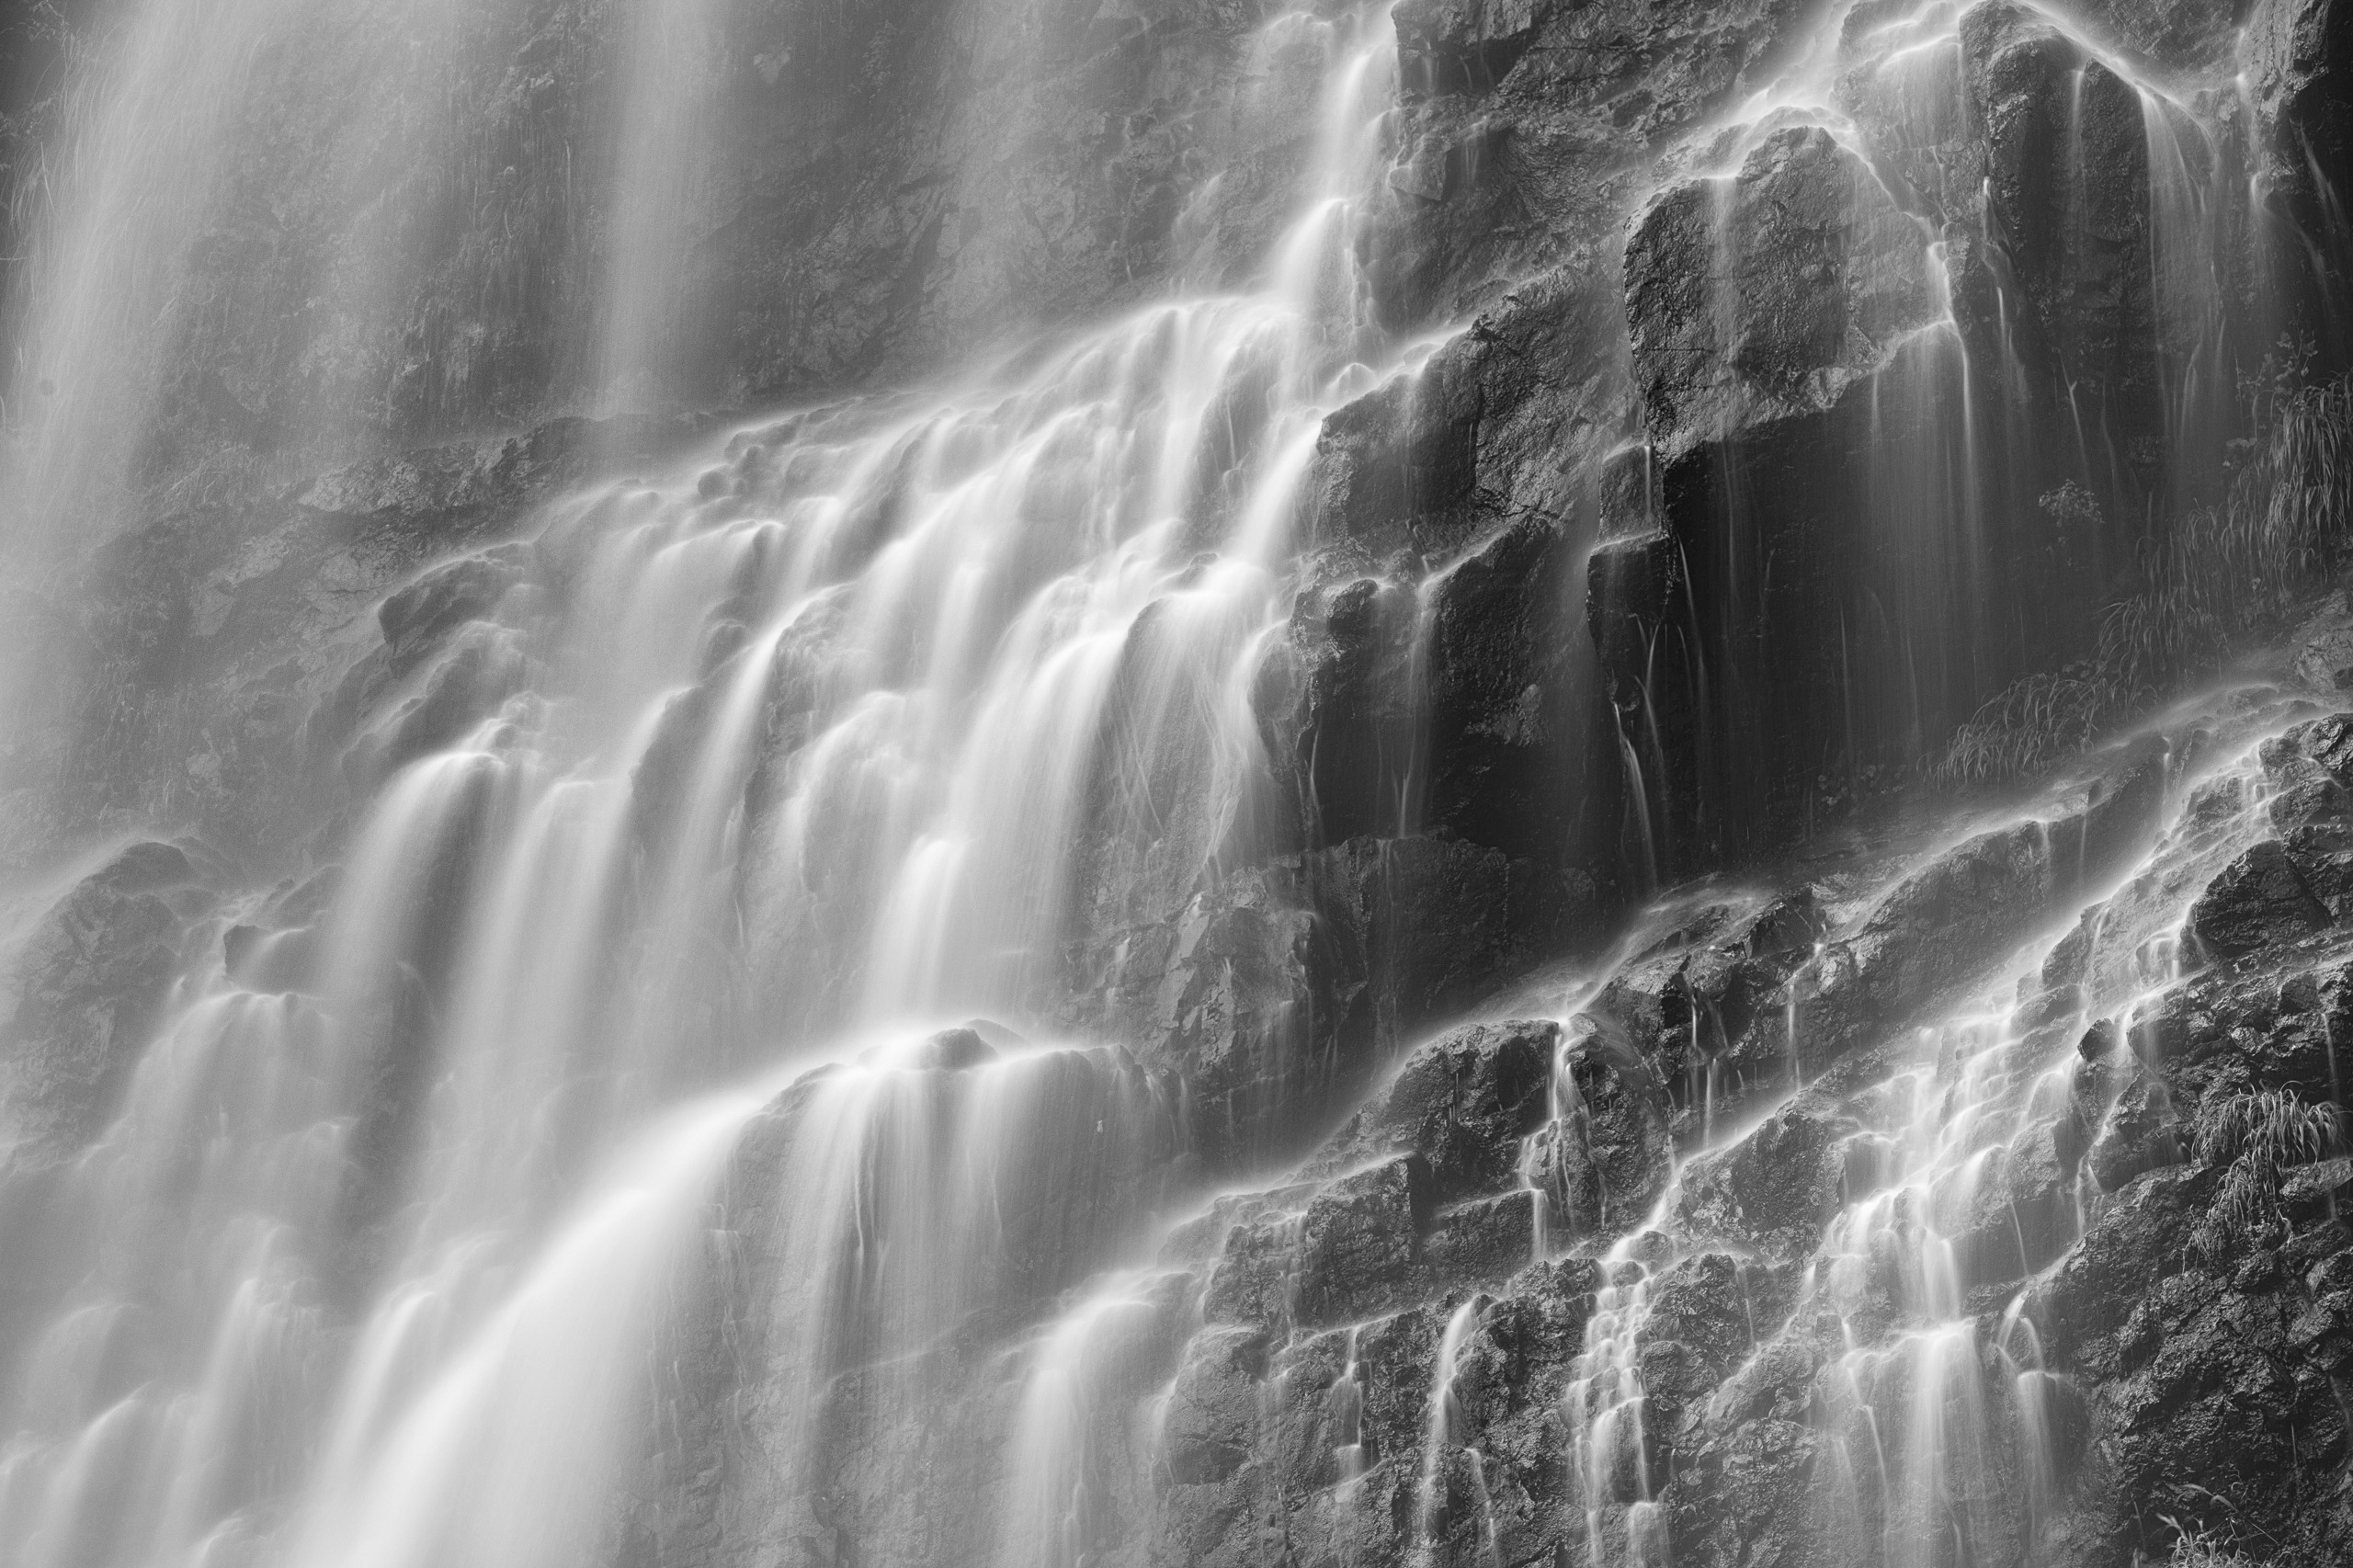
Roughness vs smoothness
The choice of shutter speed pretty much depends on your preference.
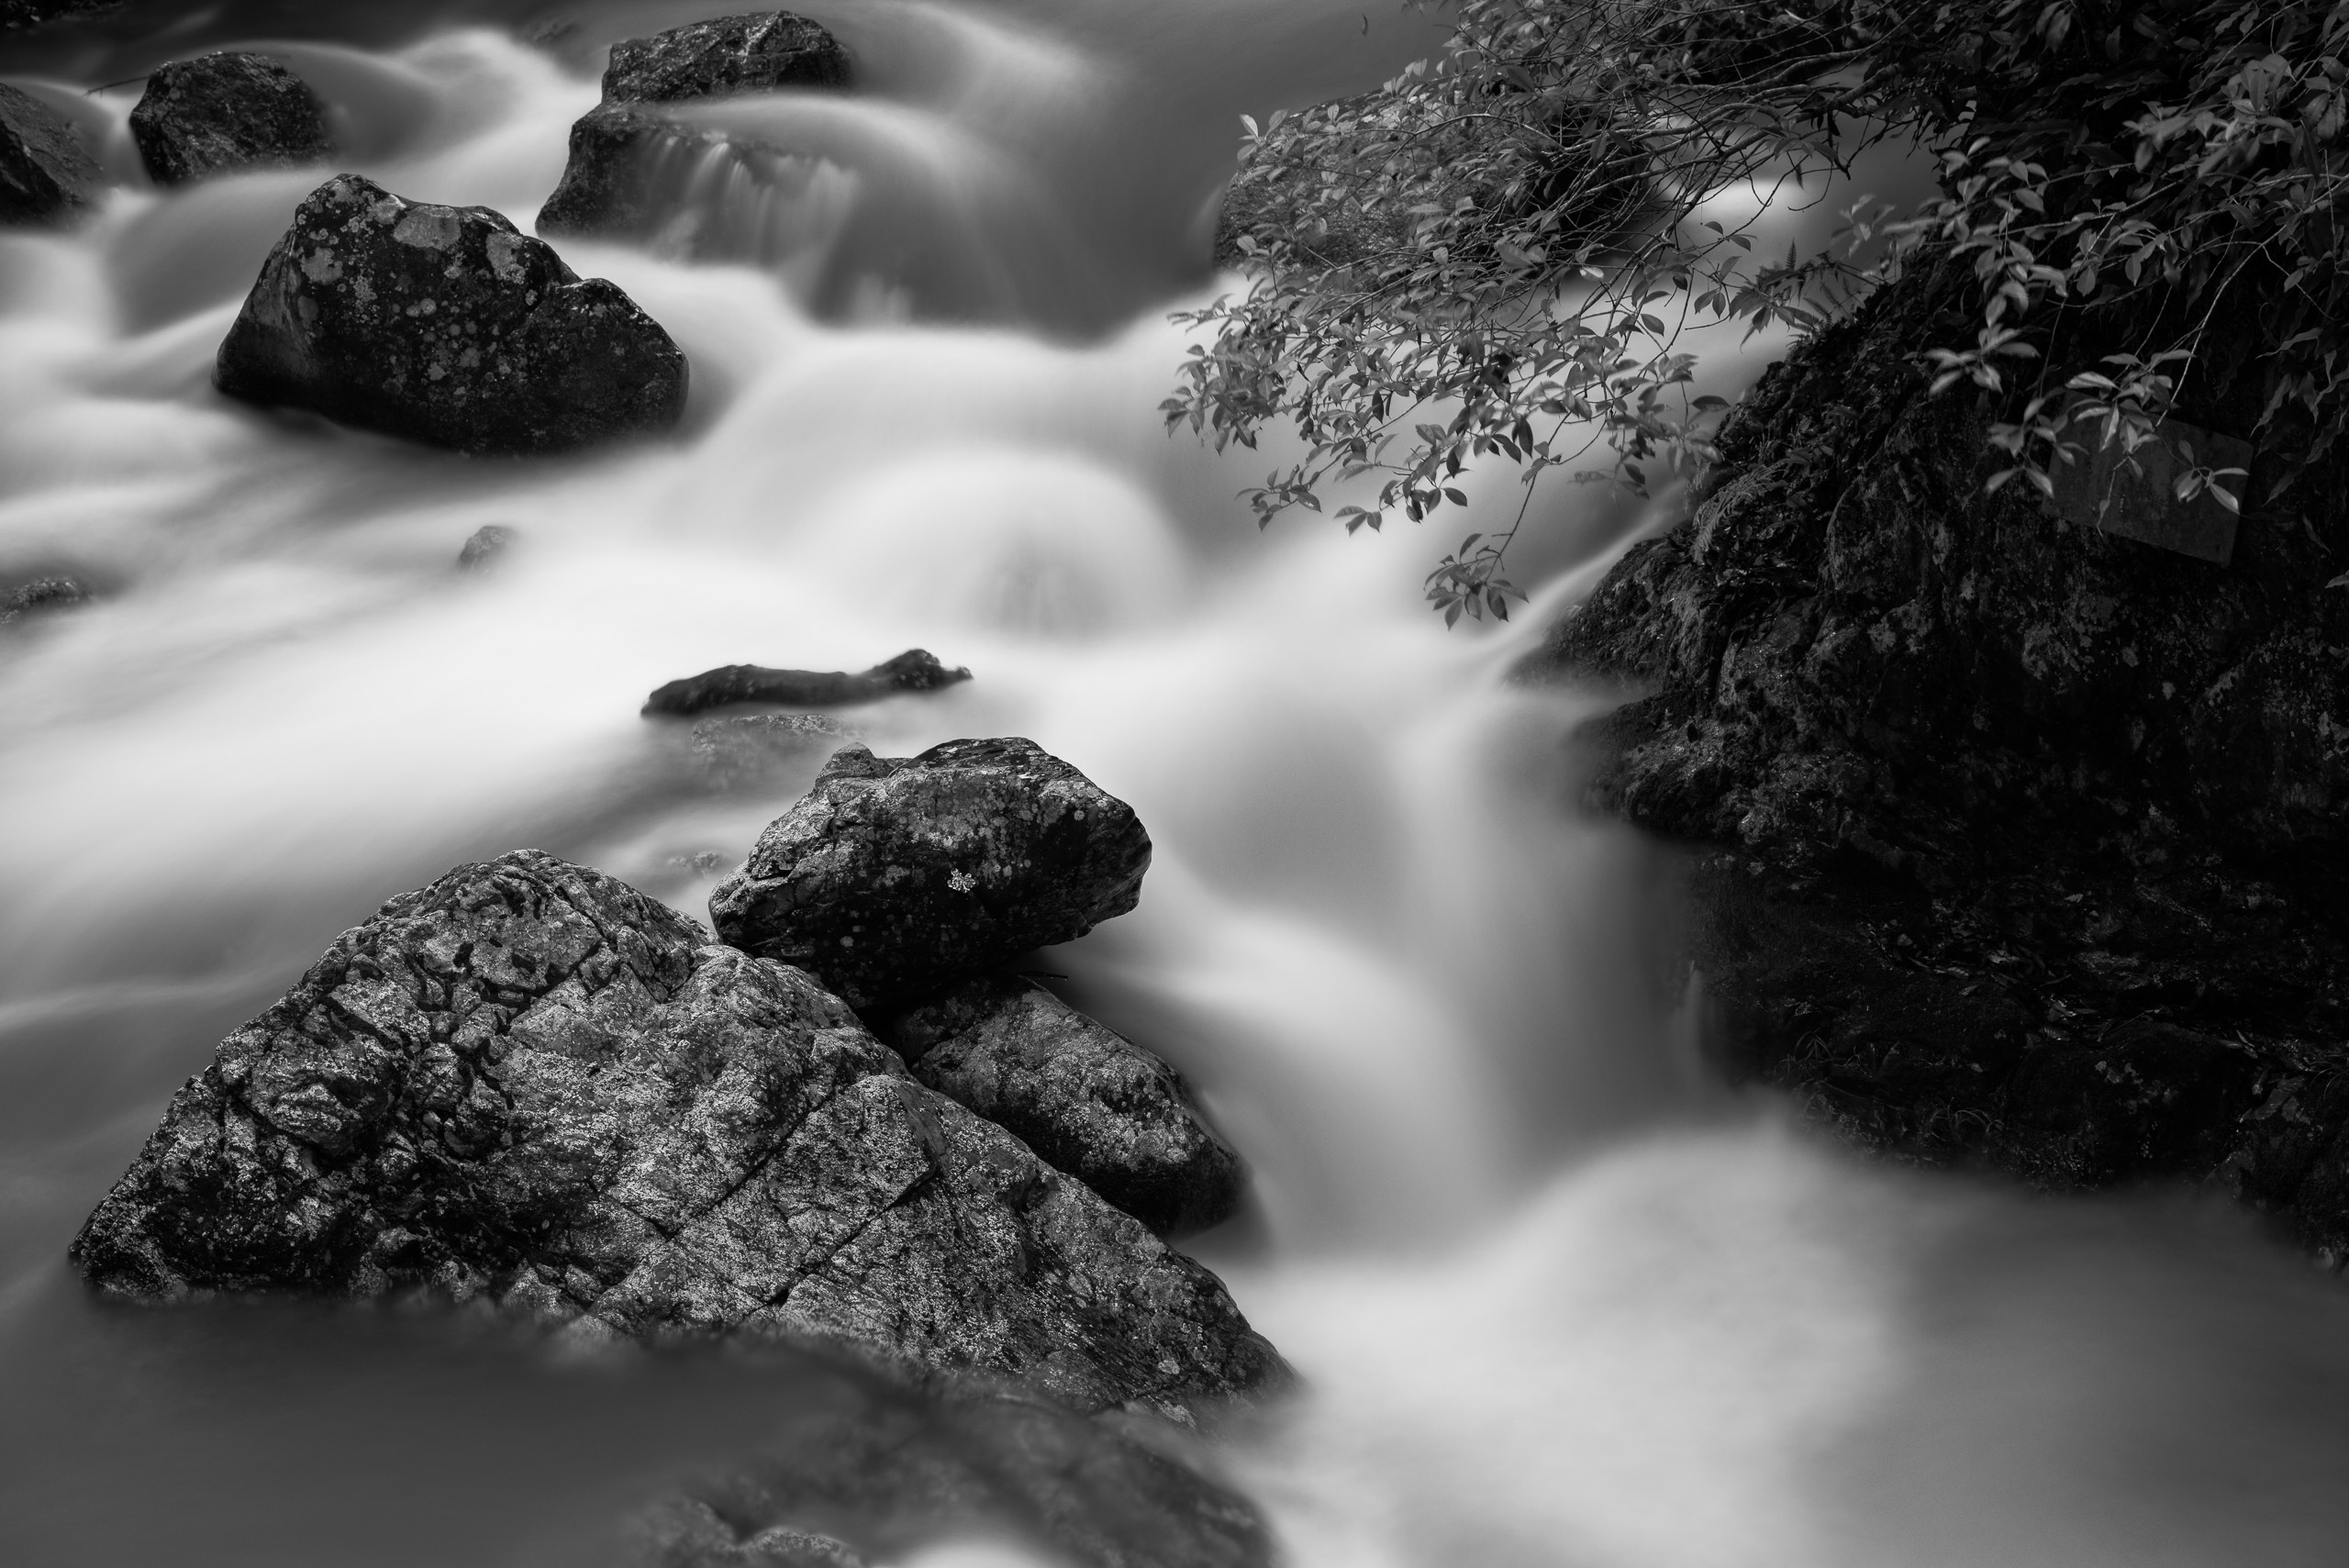
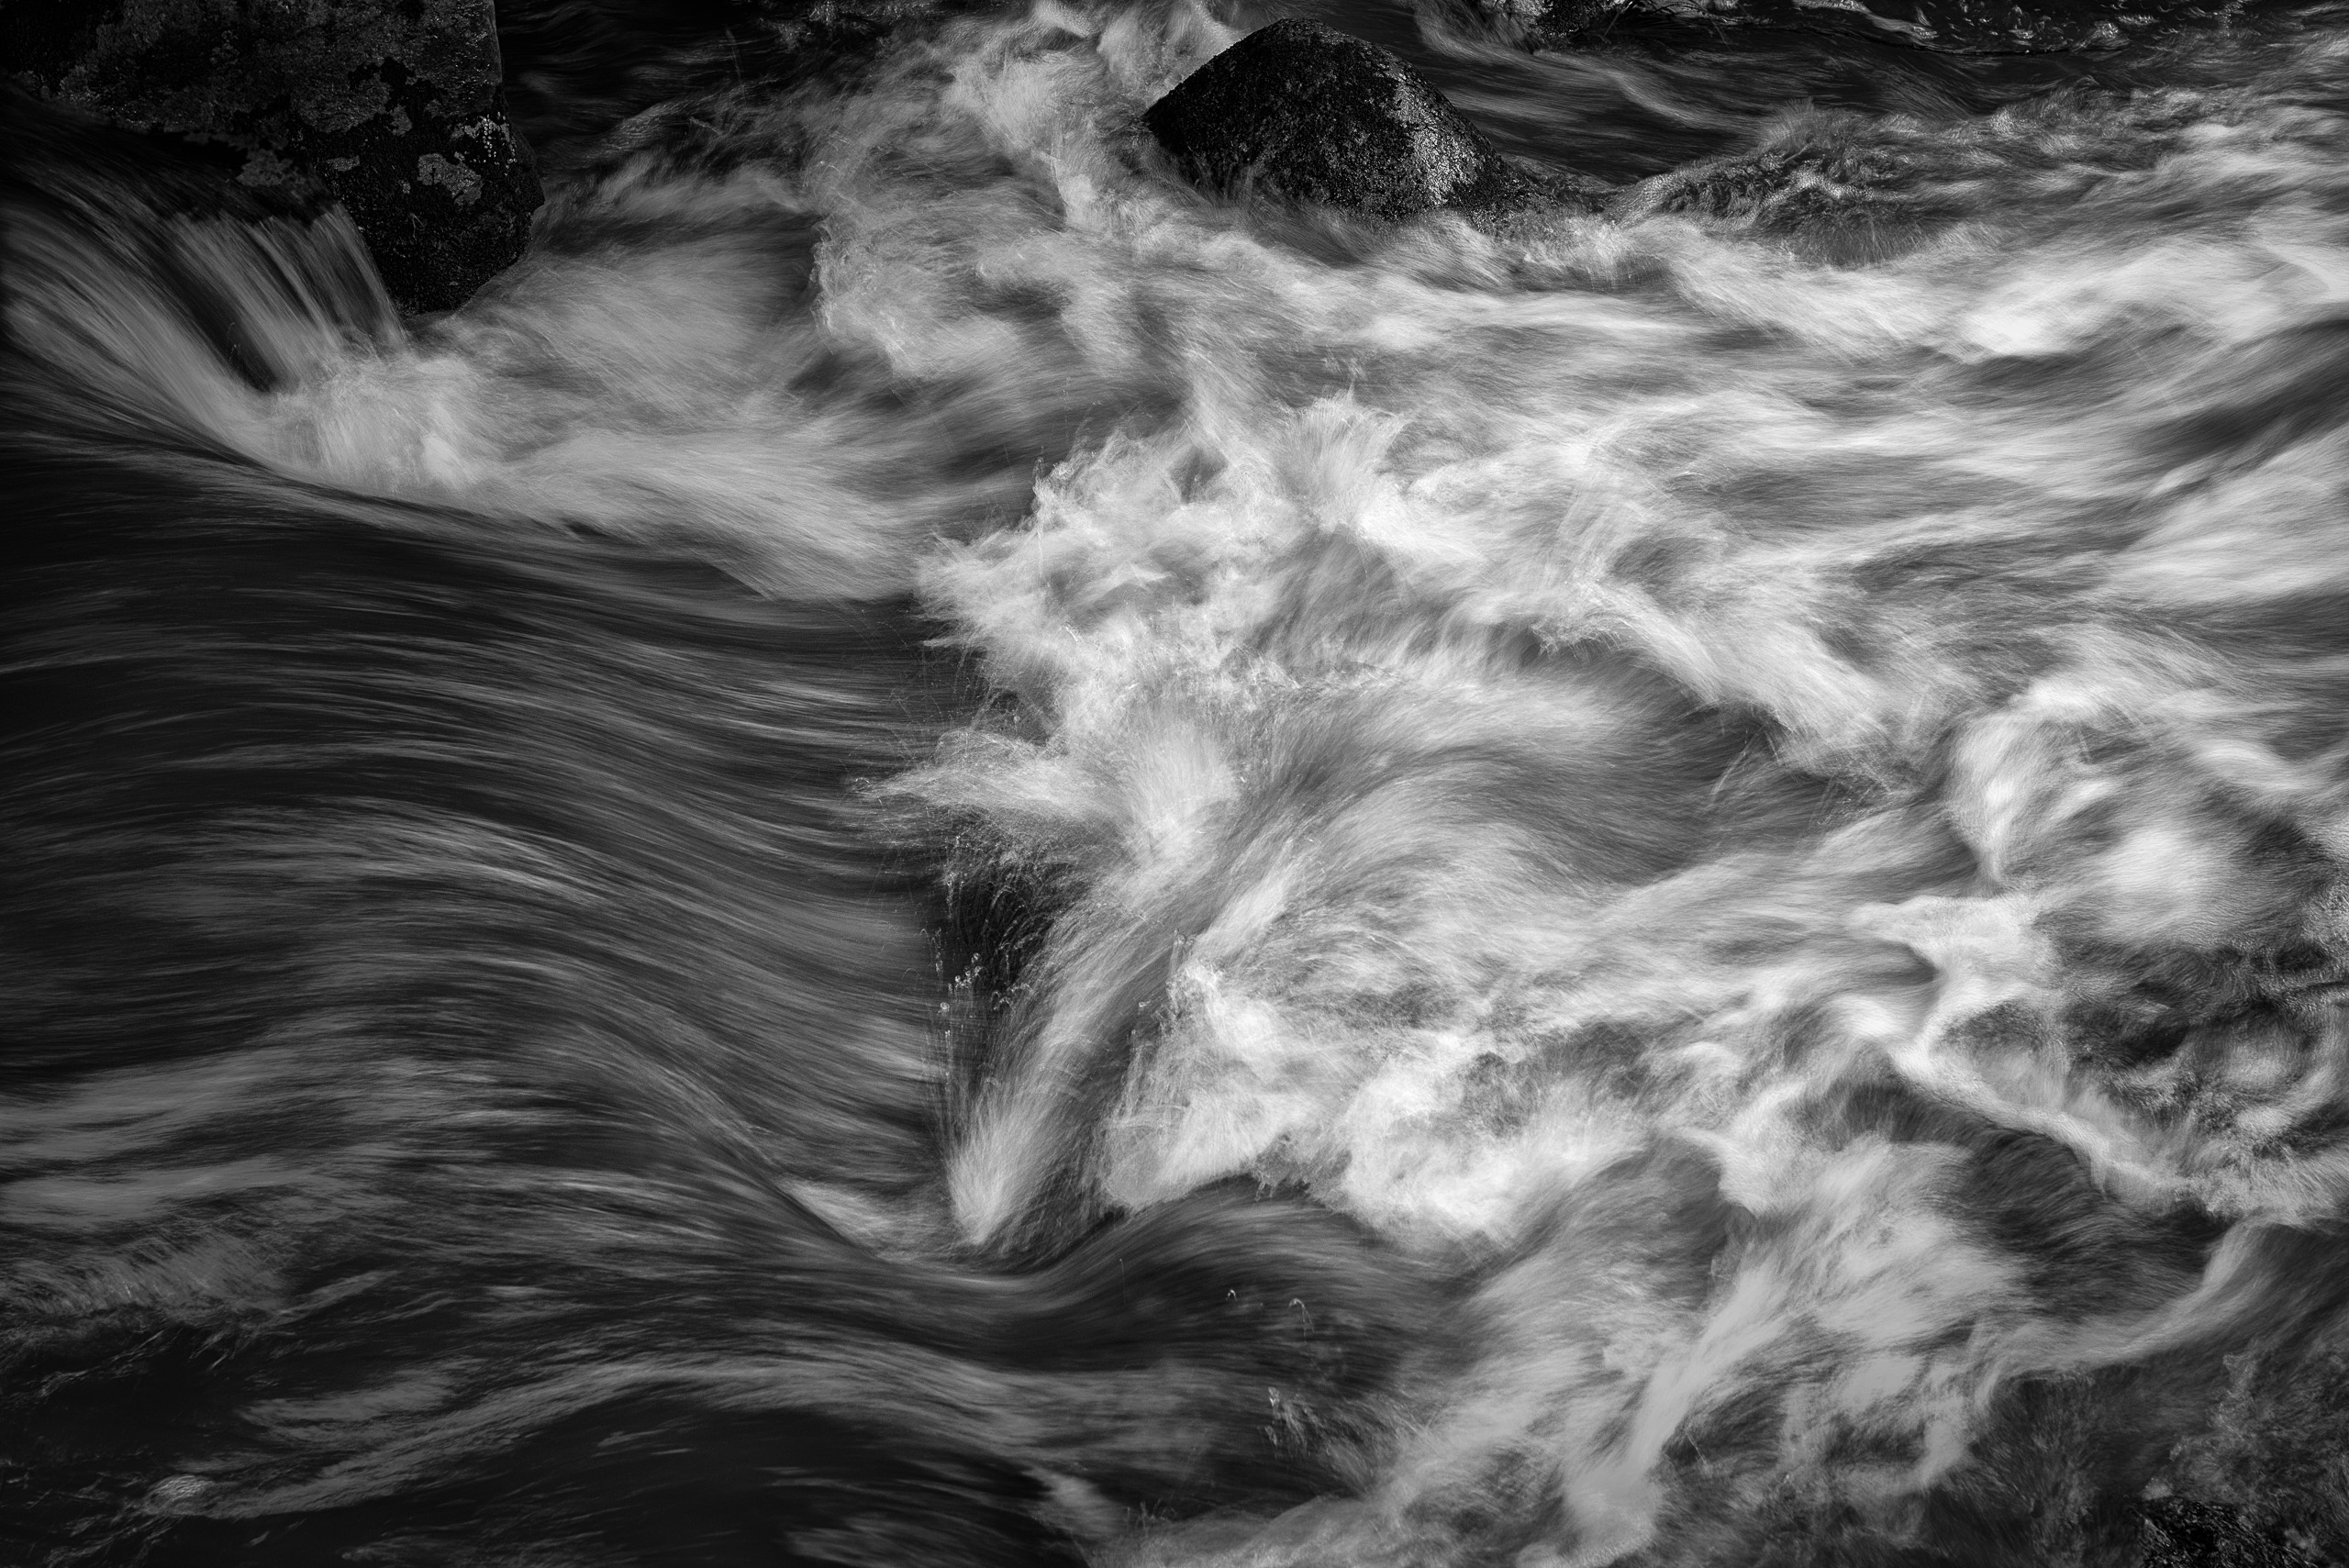
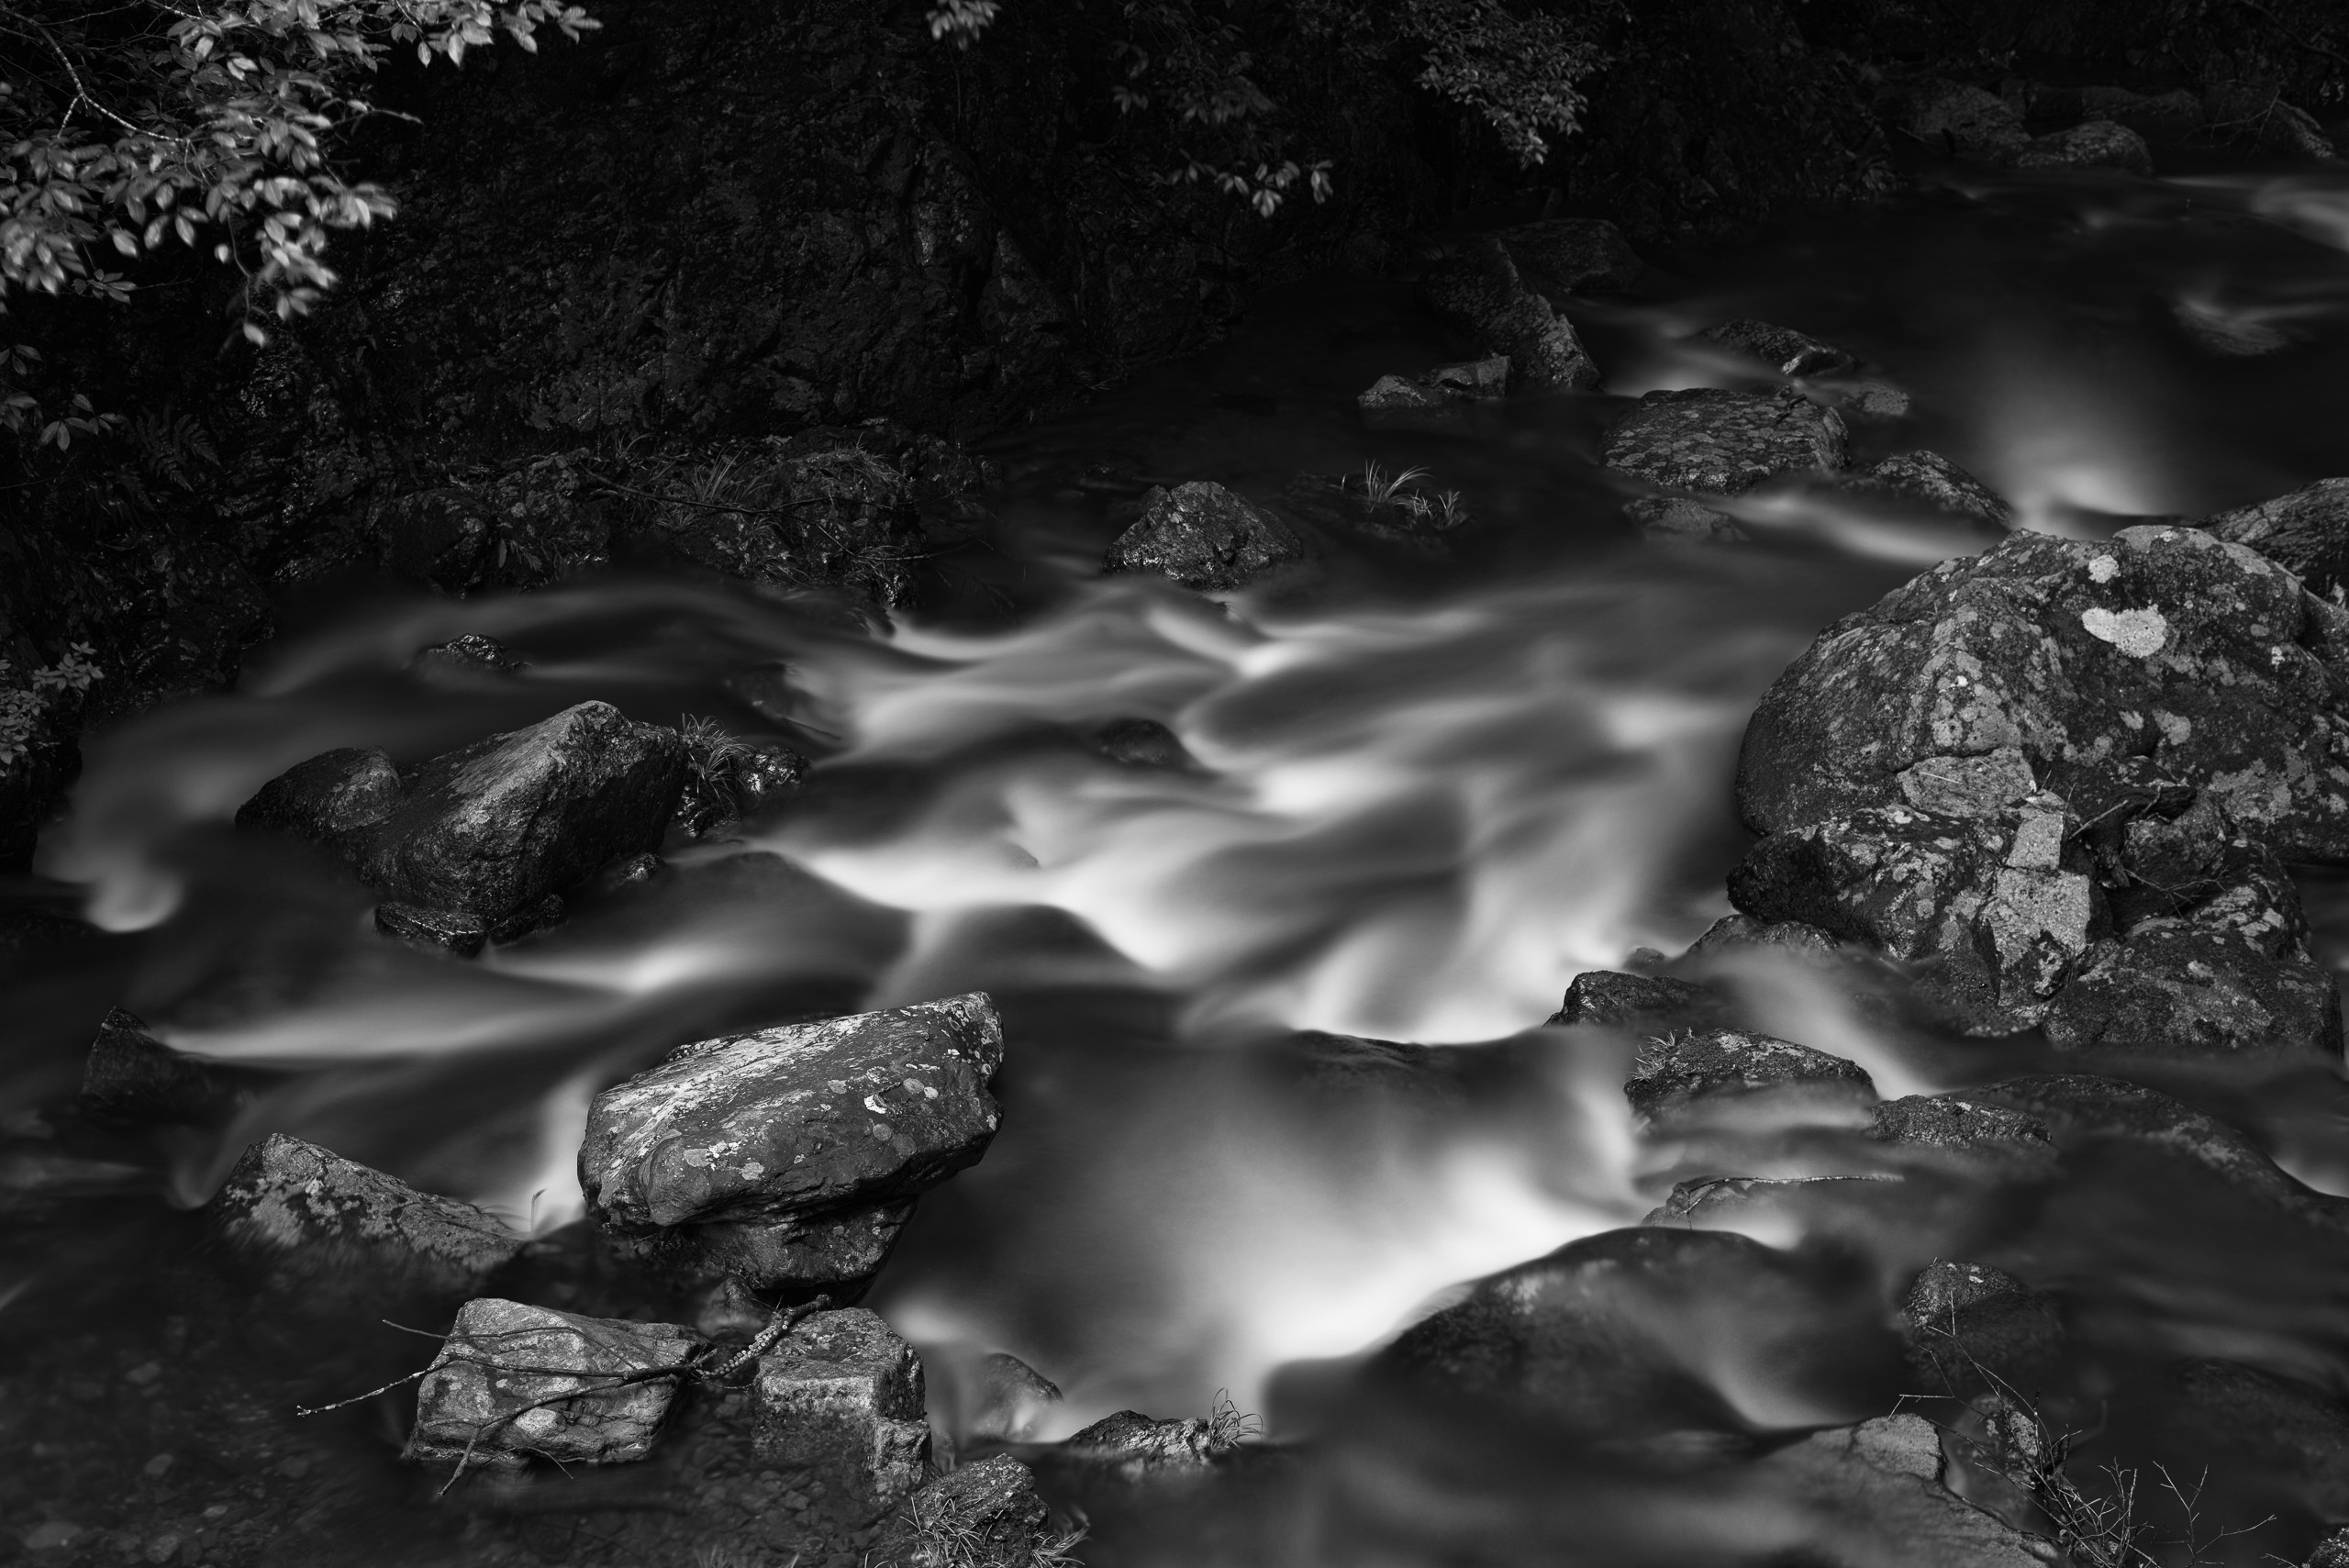
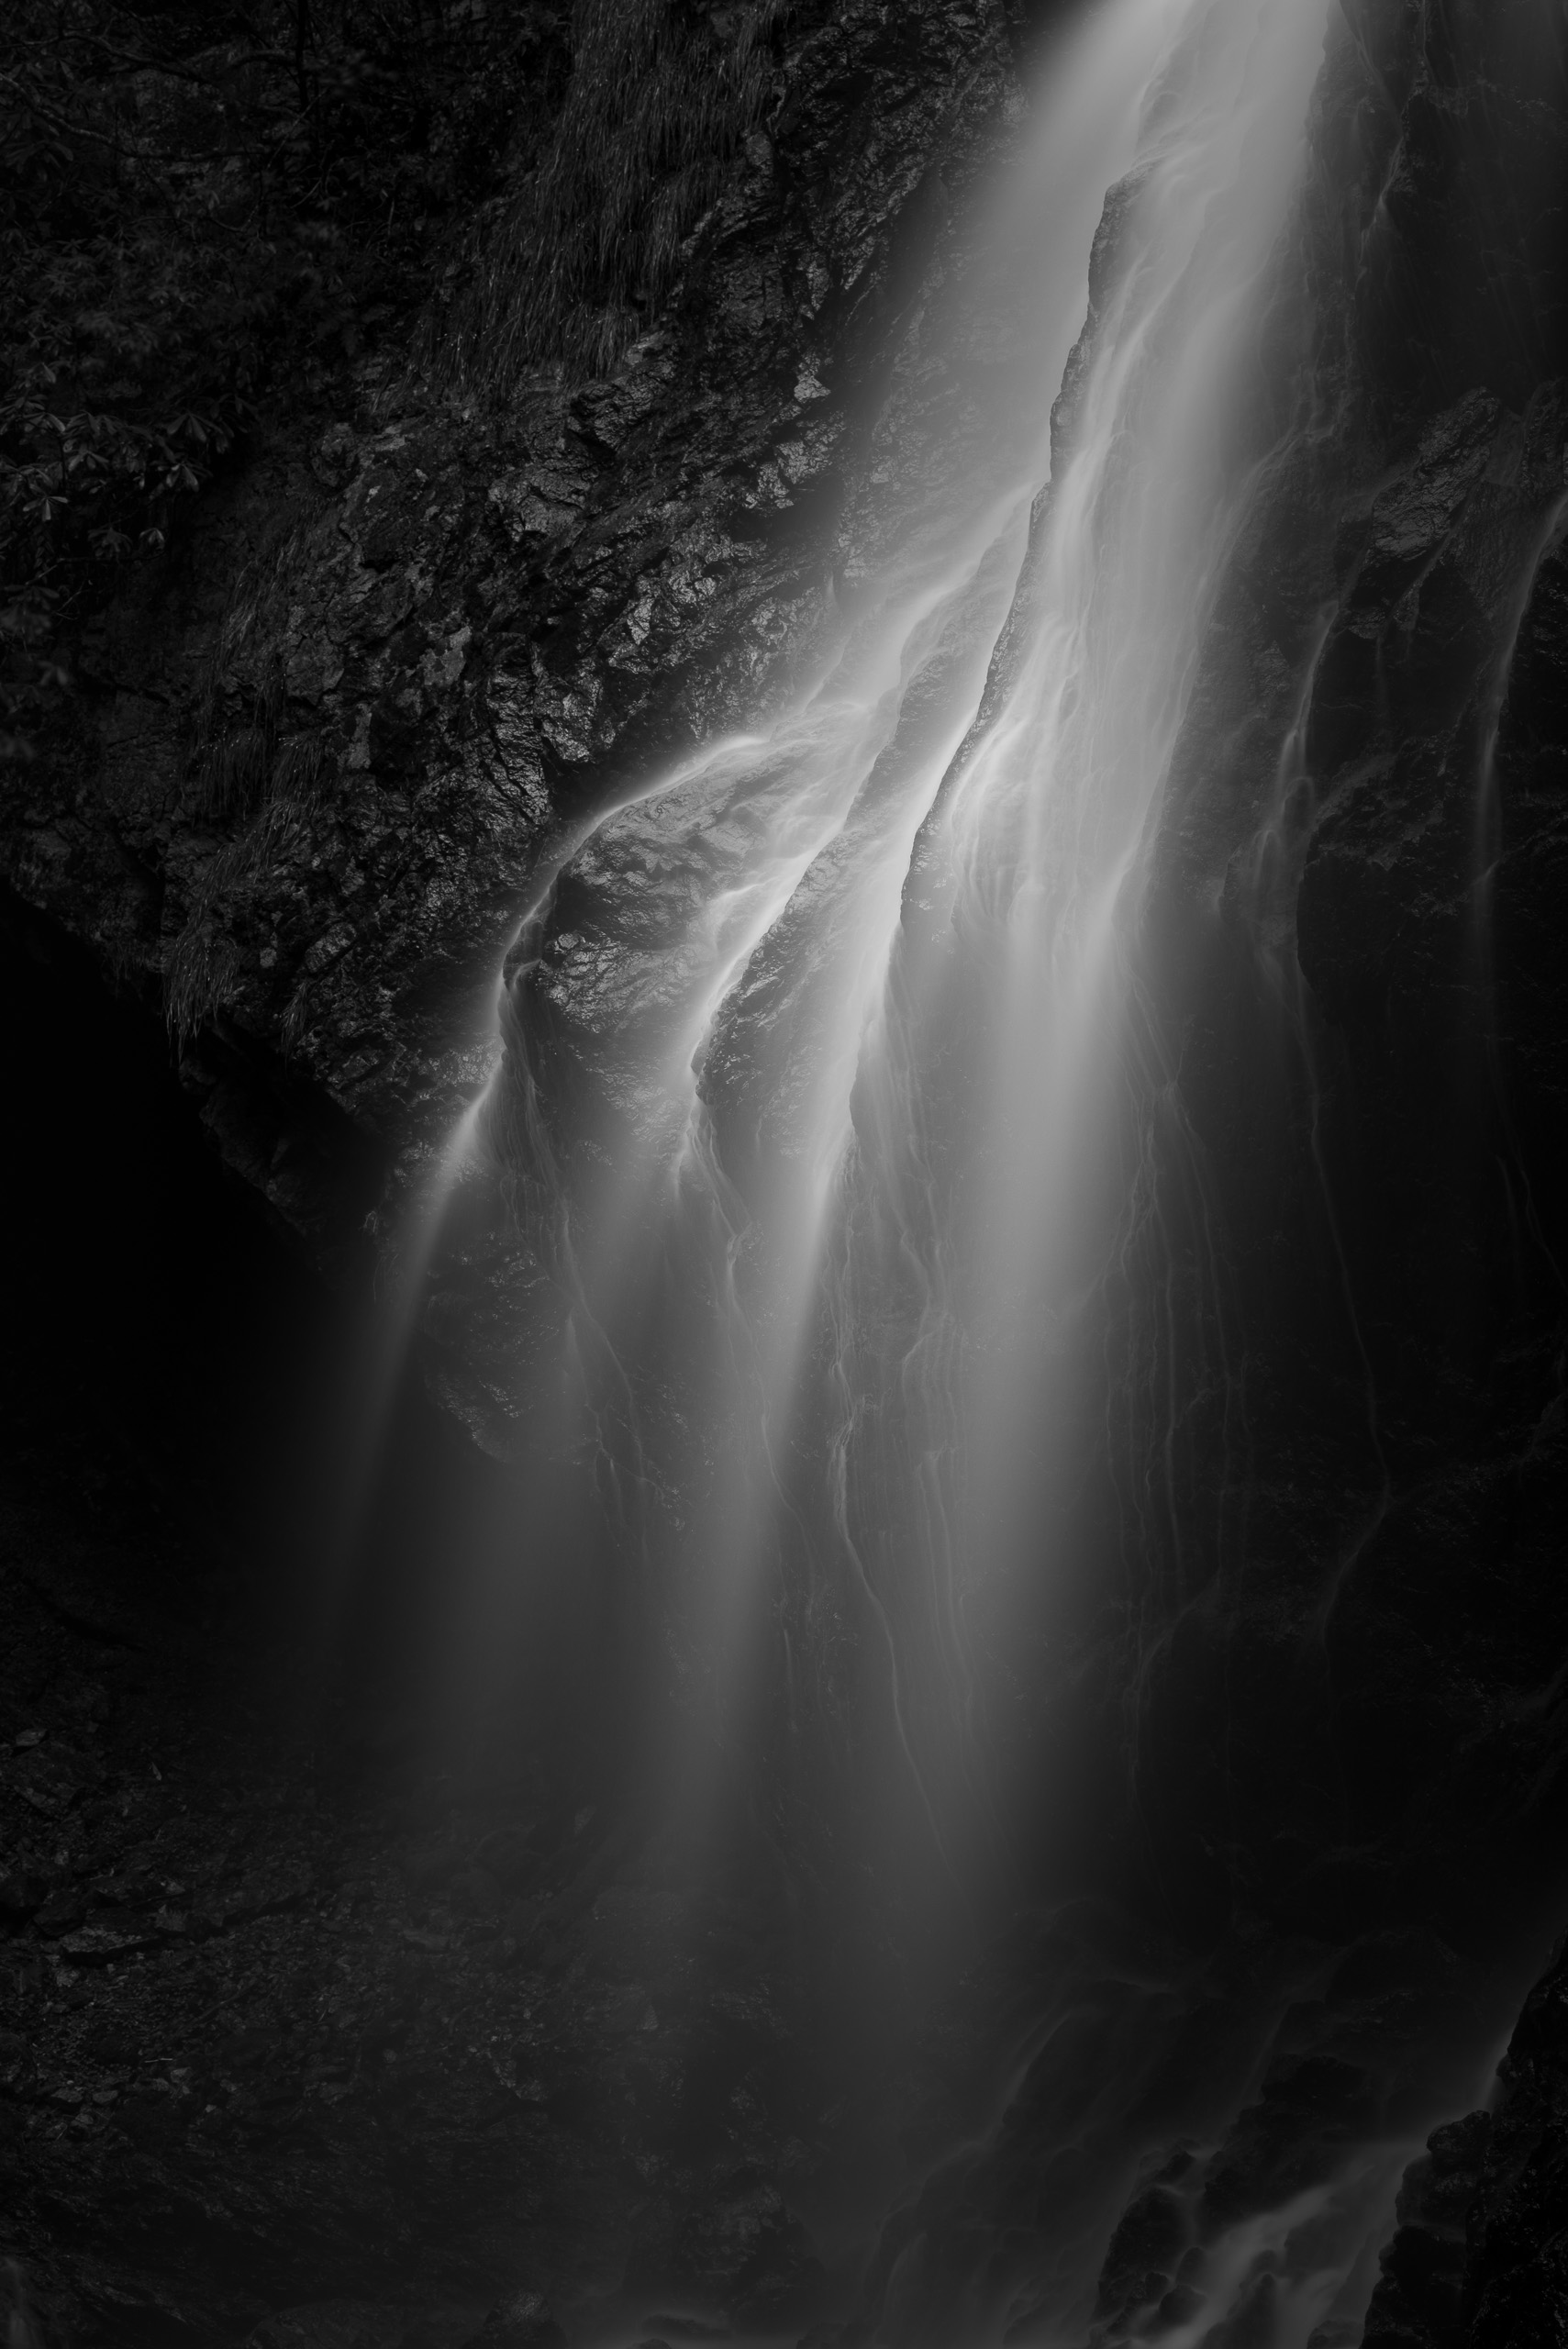
A shorter shutter speed express the roughness, the longer shutter speed makes the image softer and gentle.
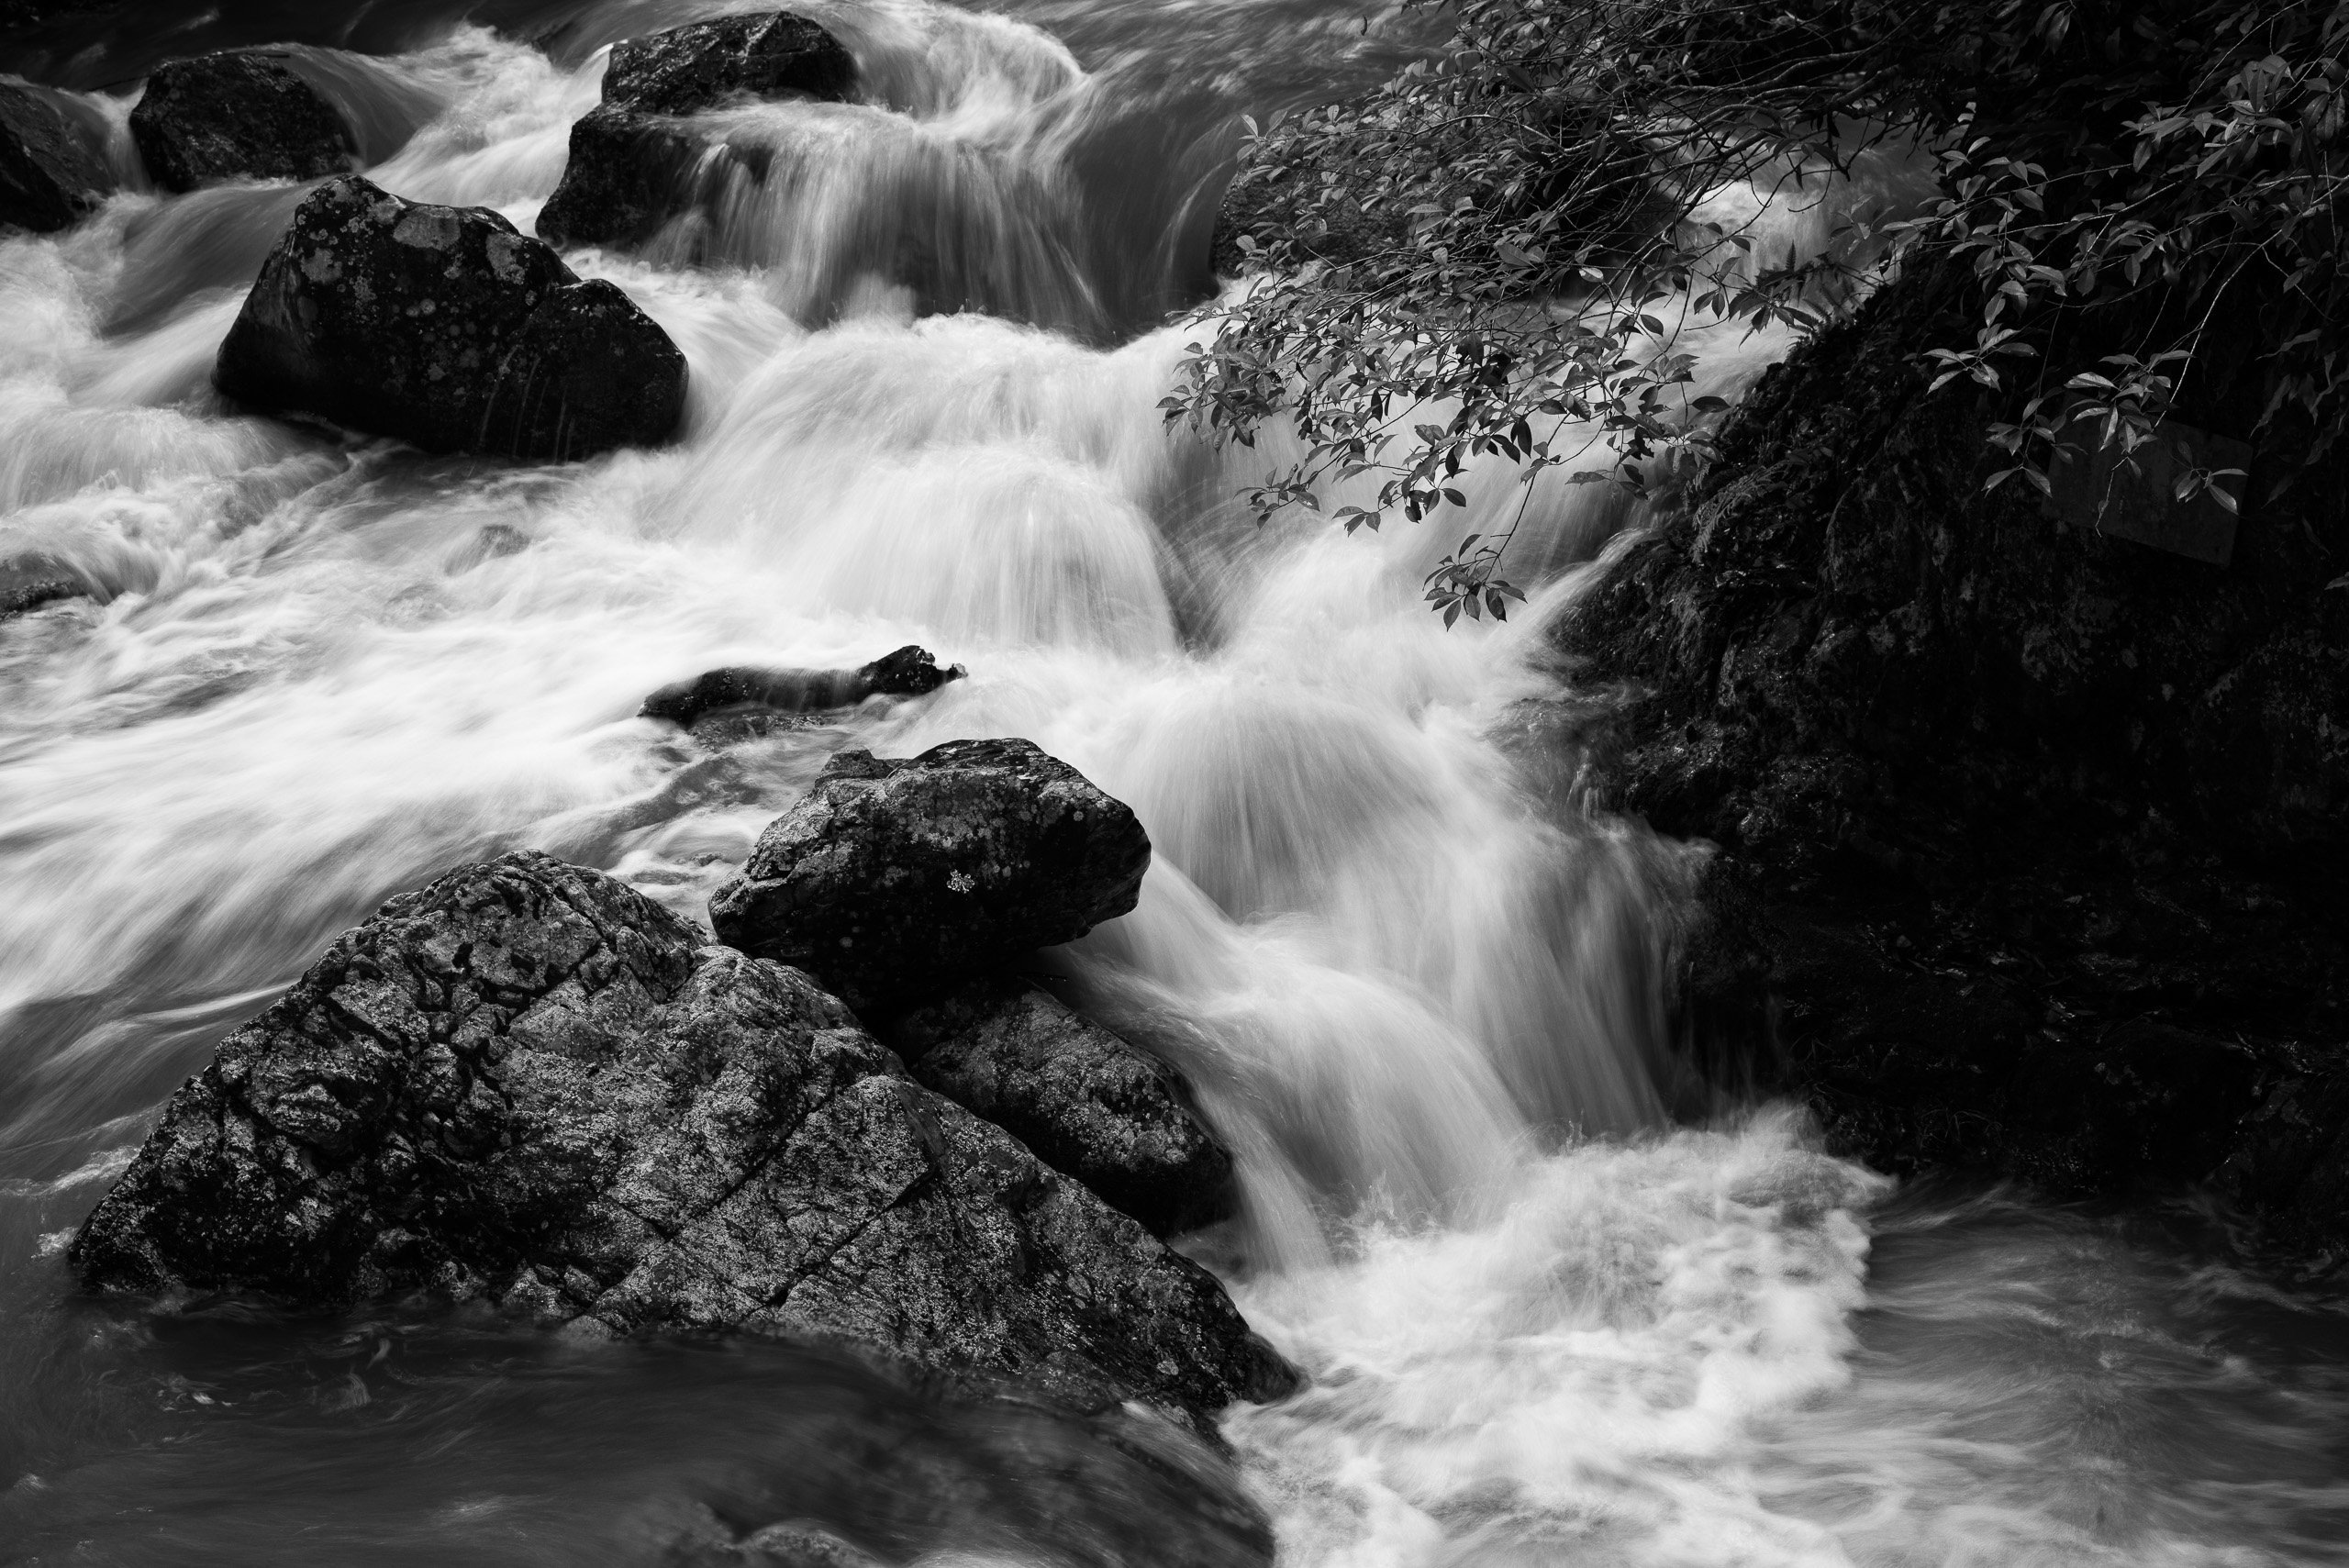
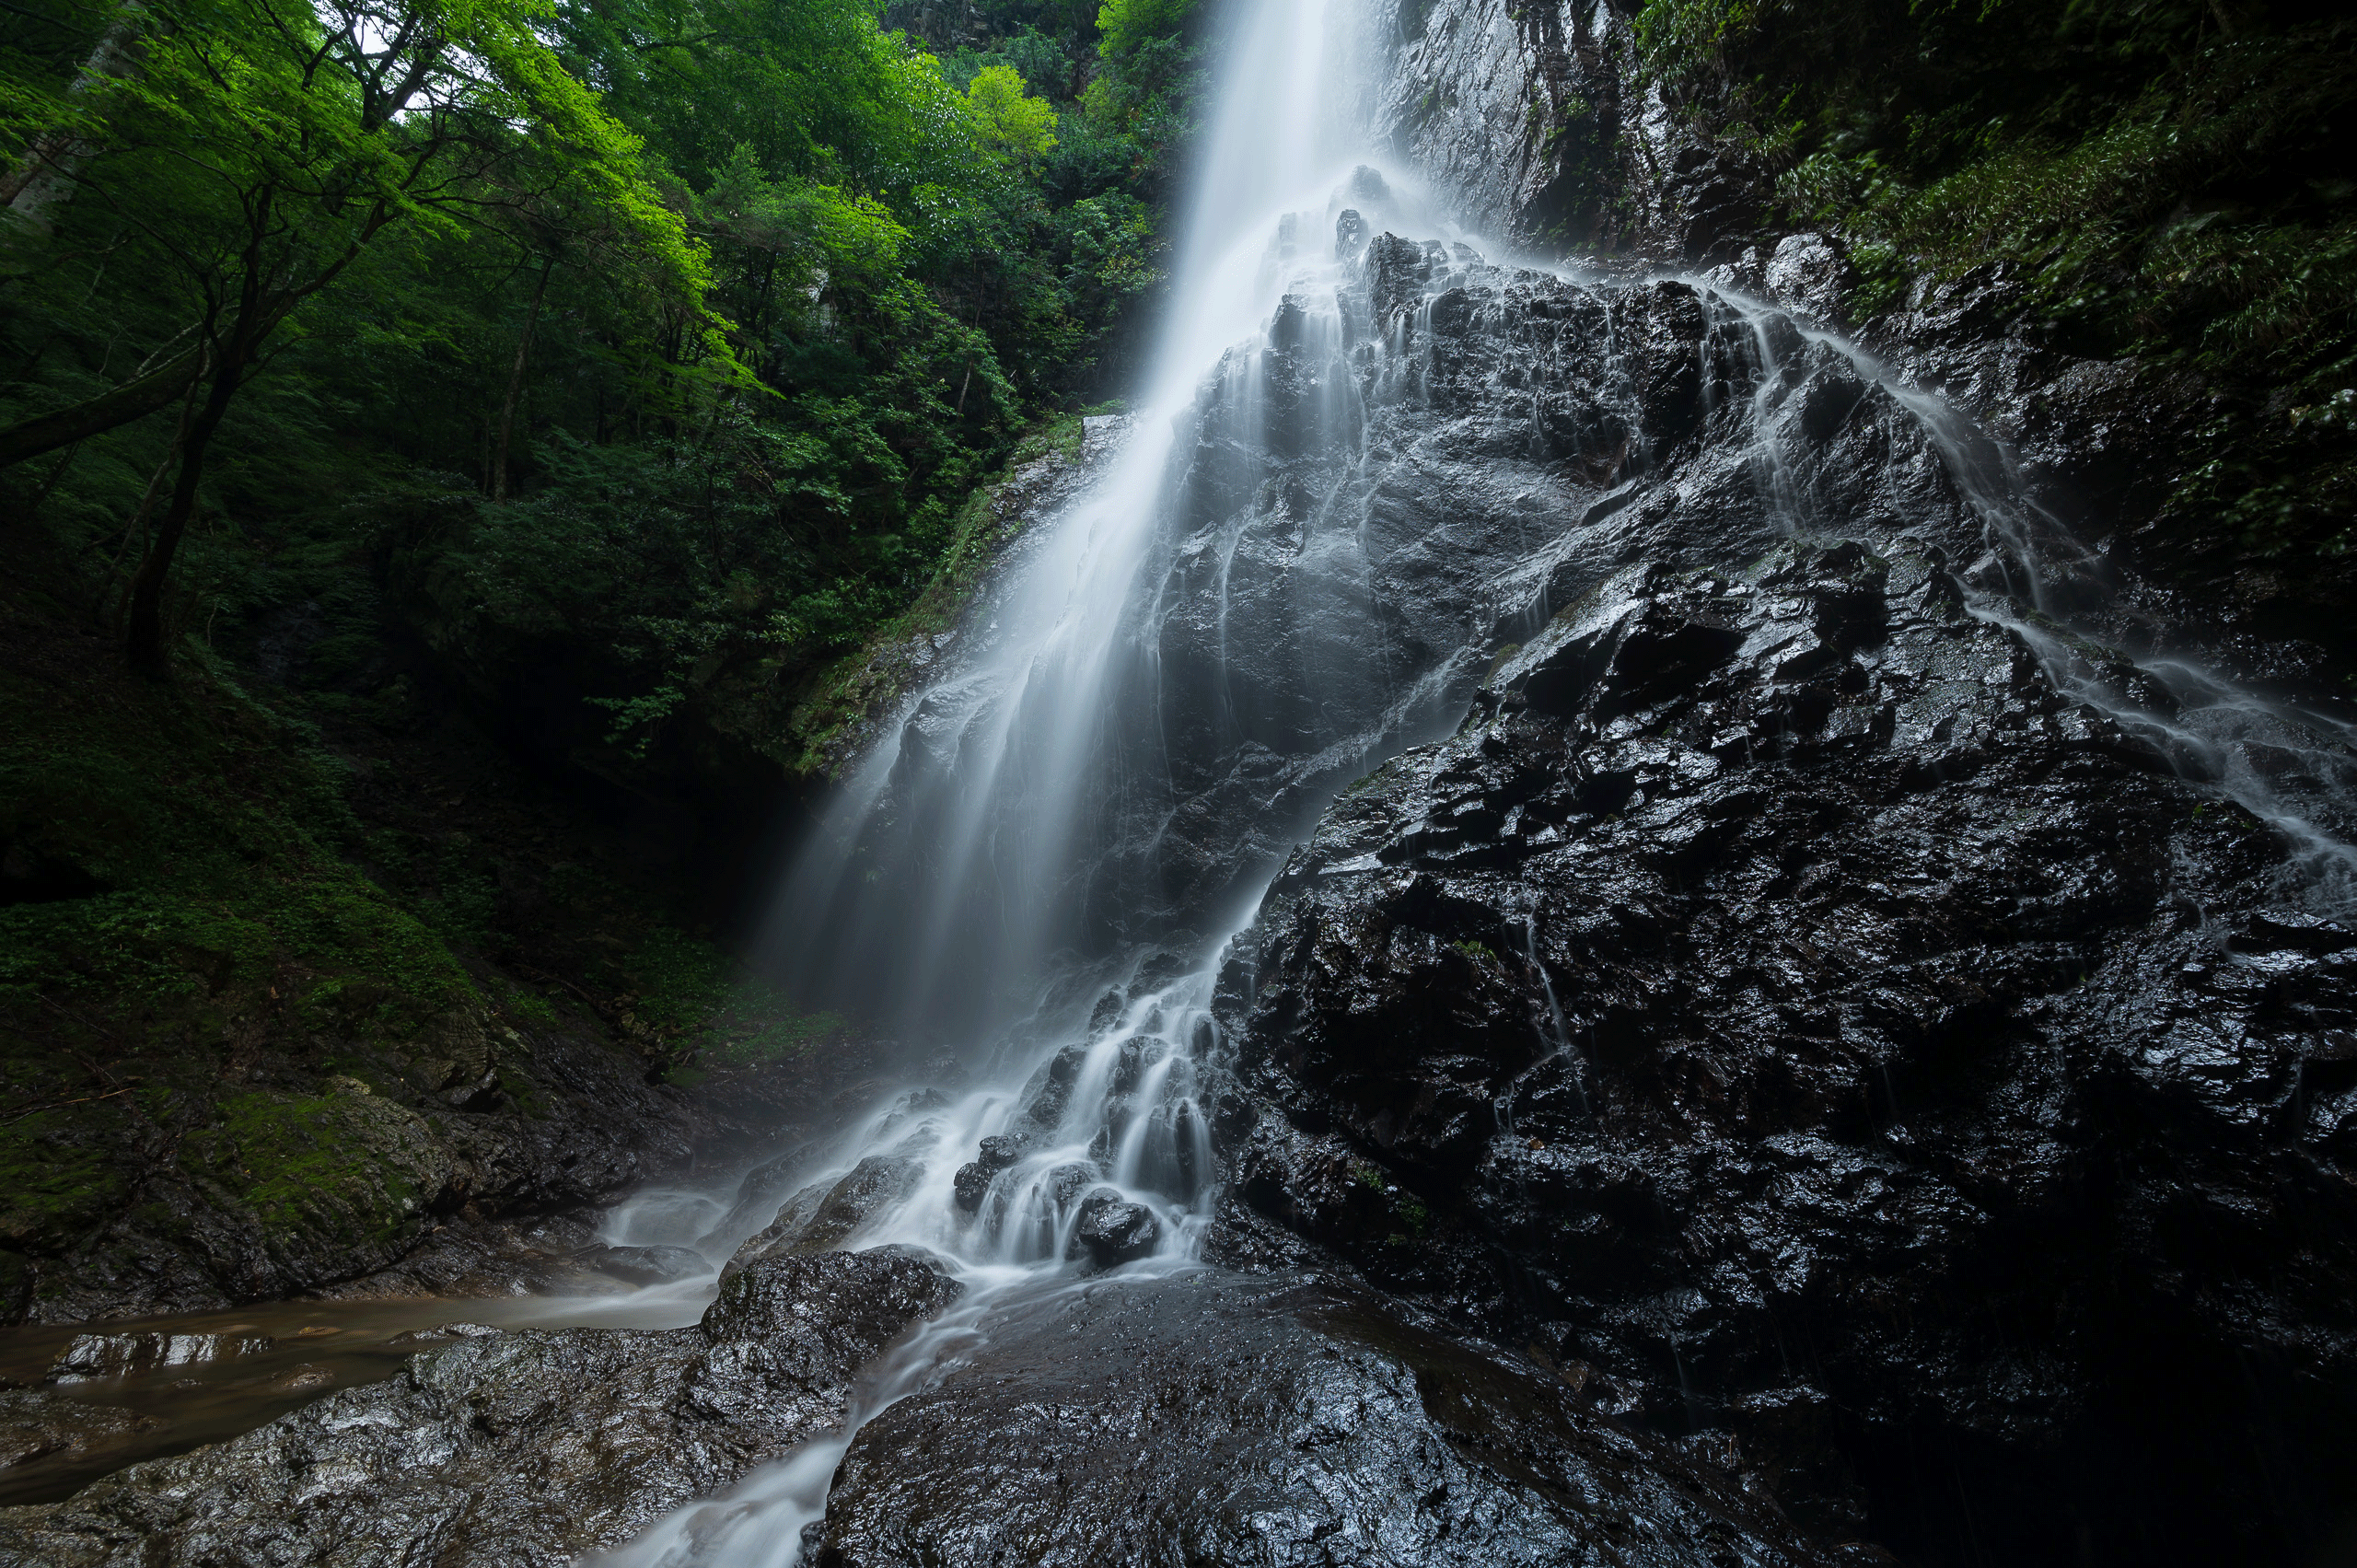
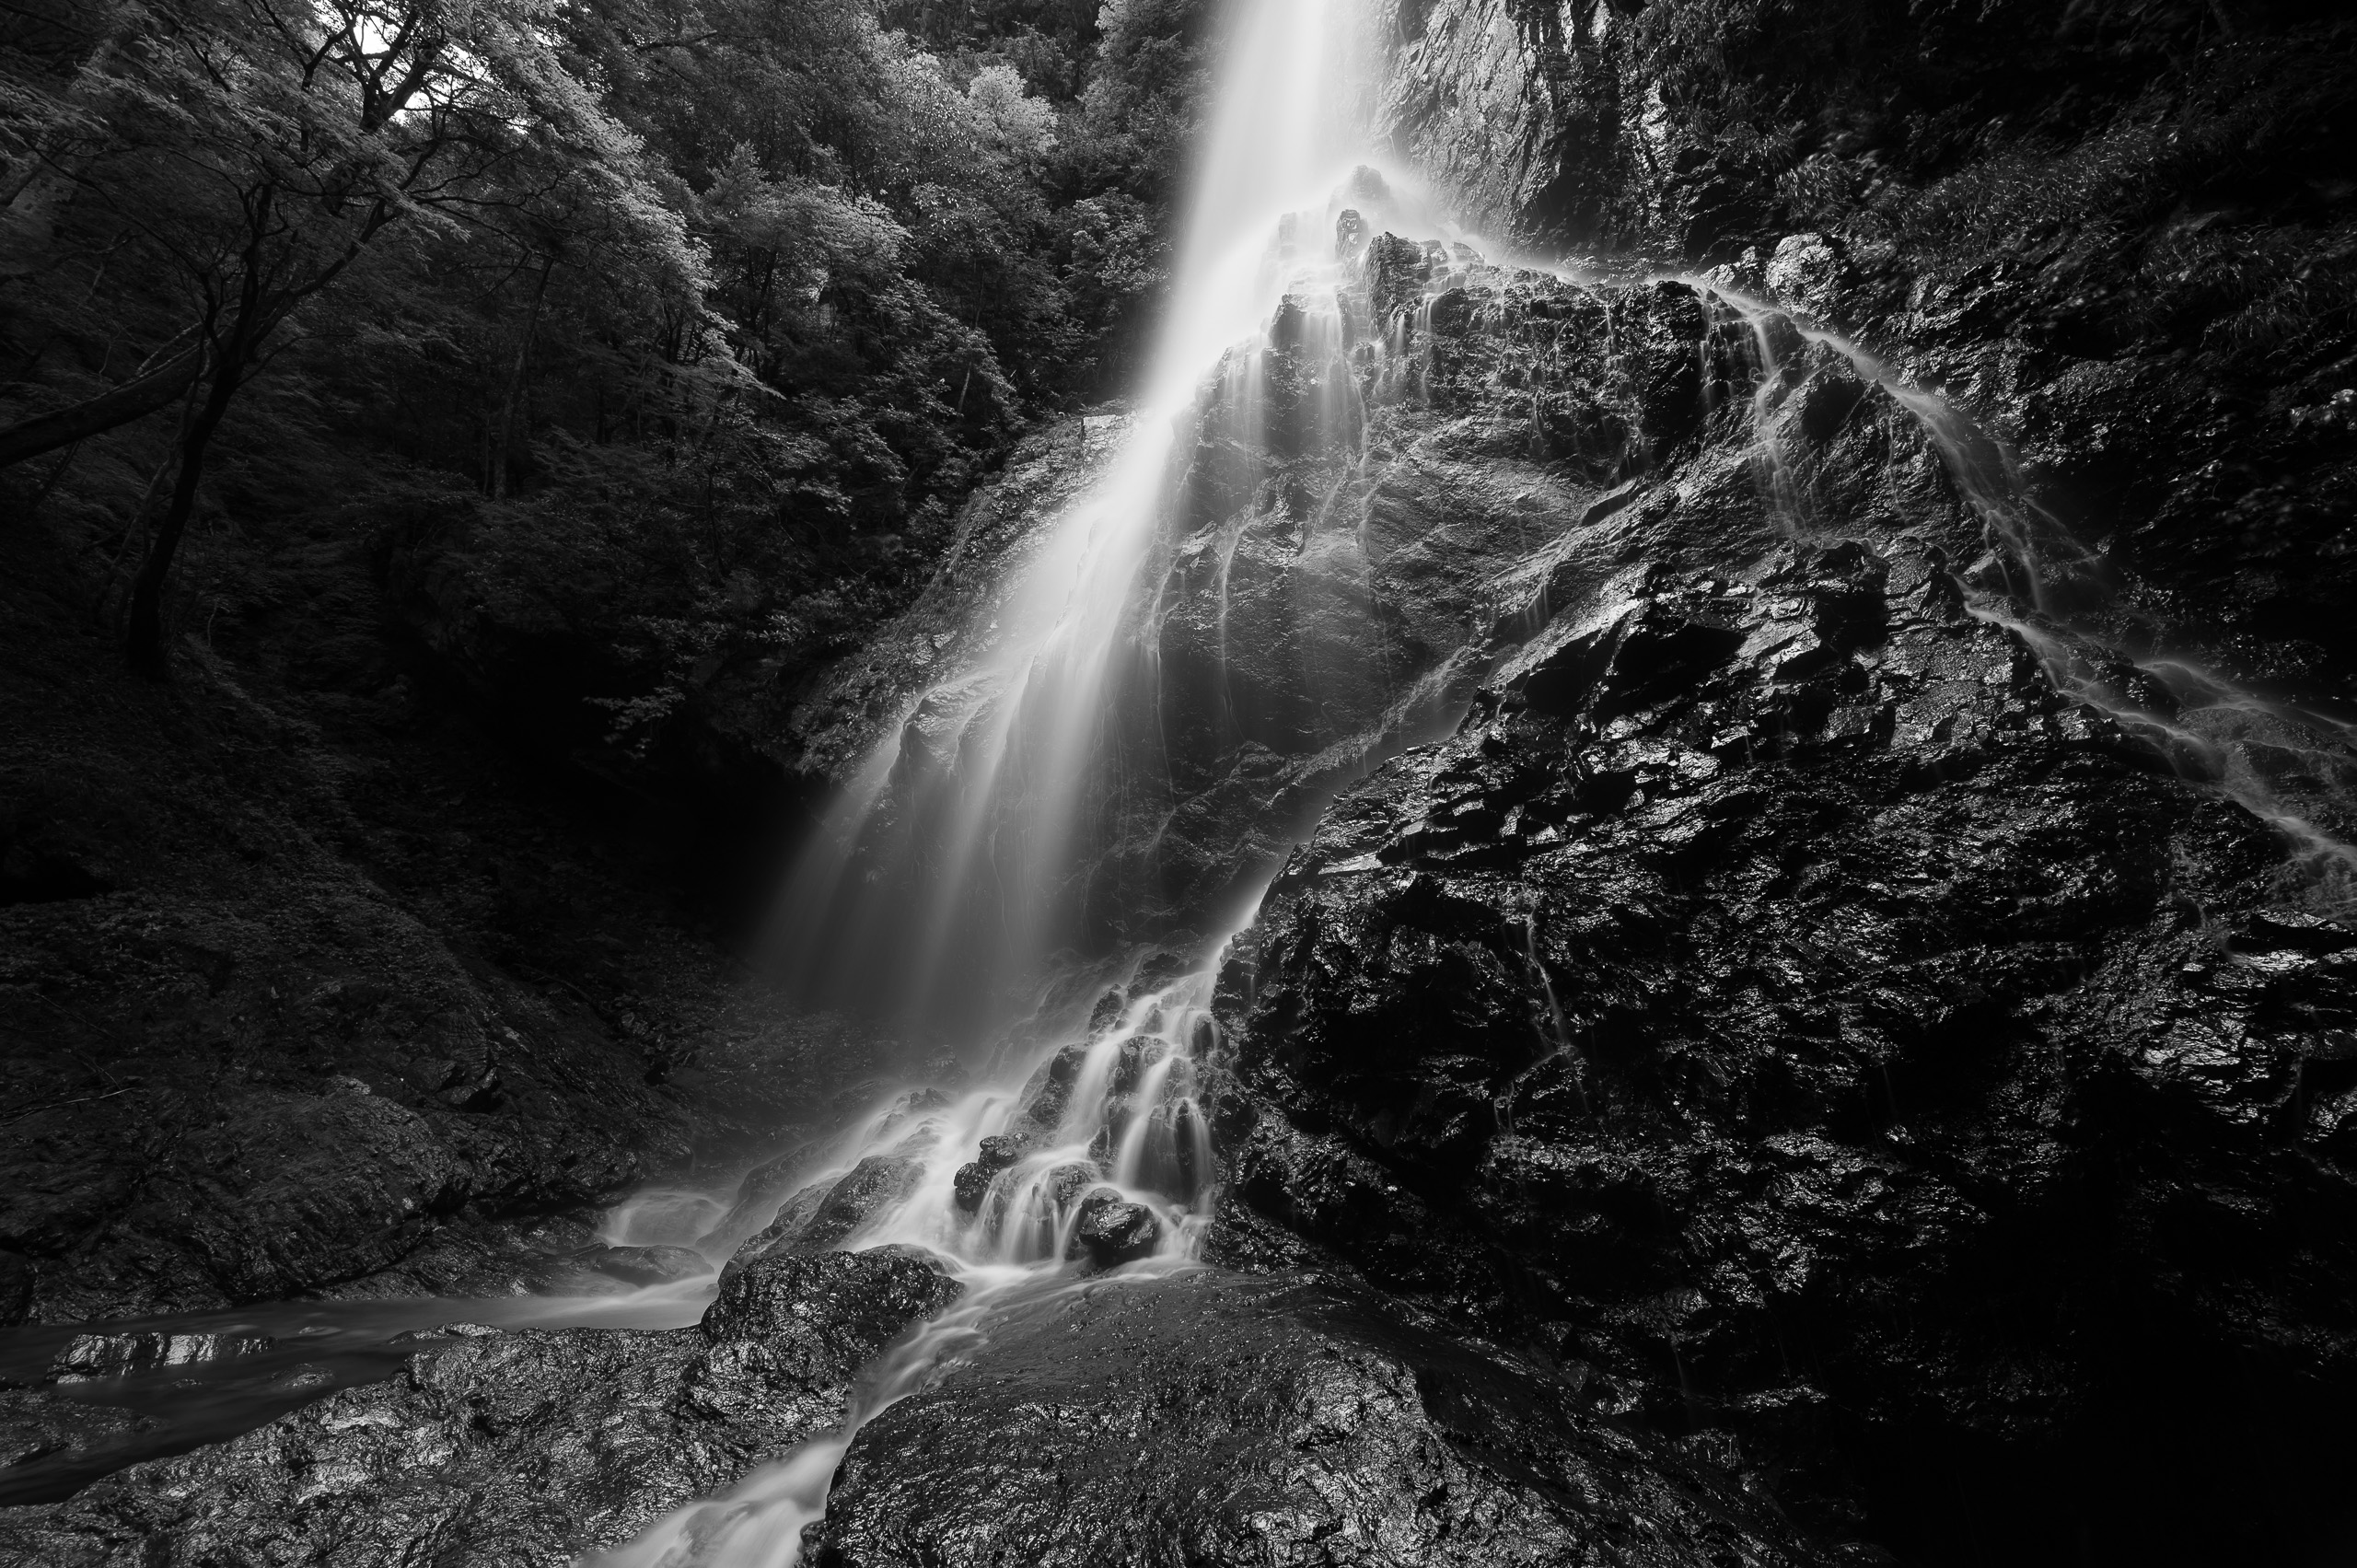
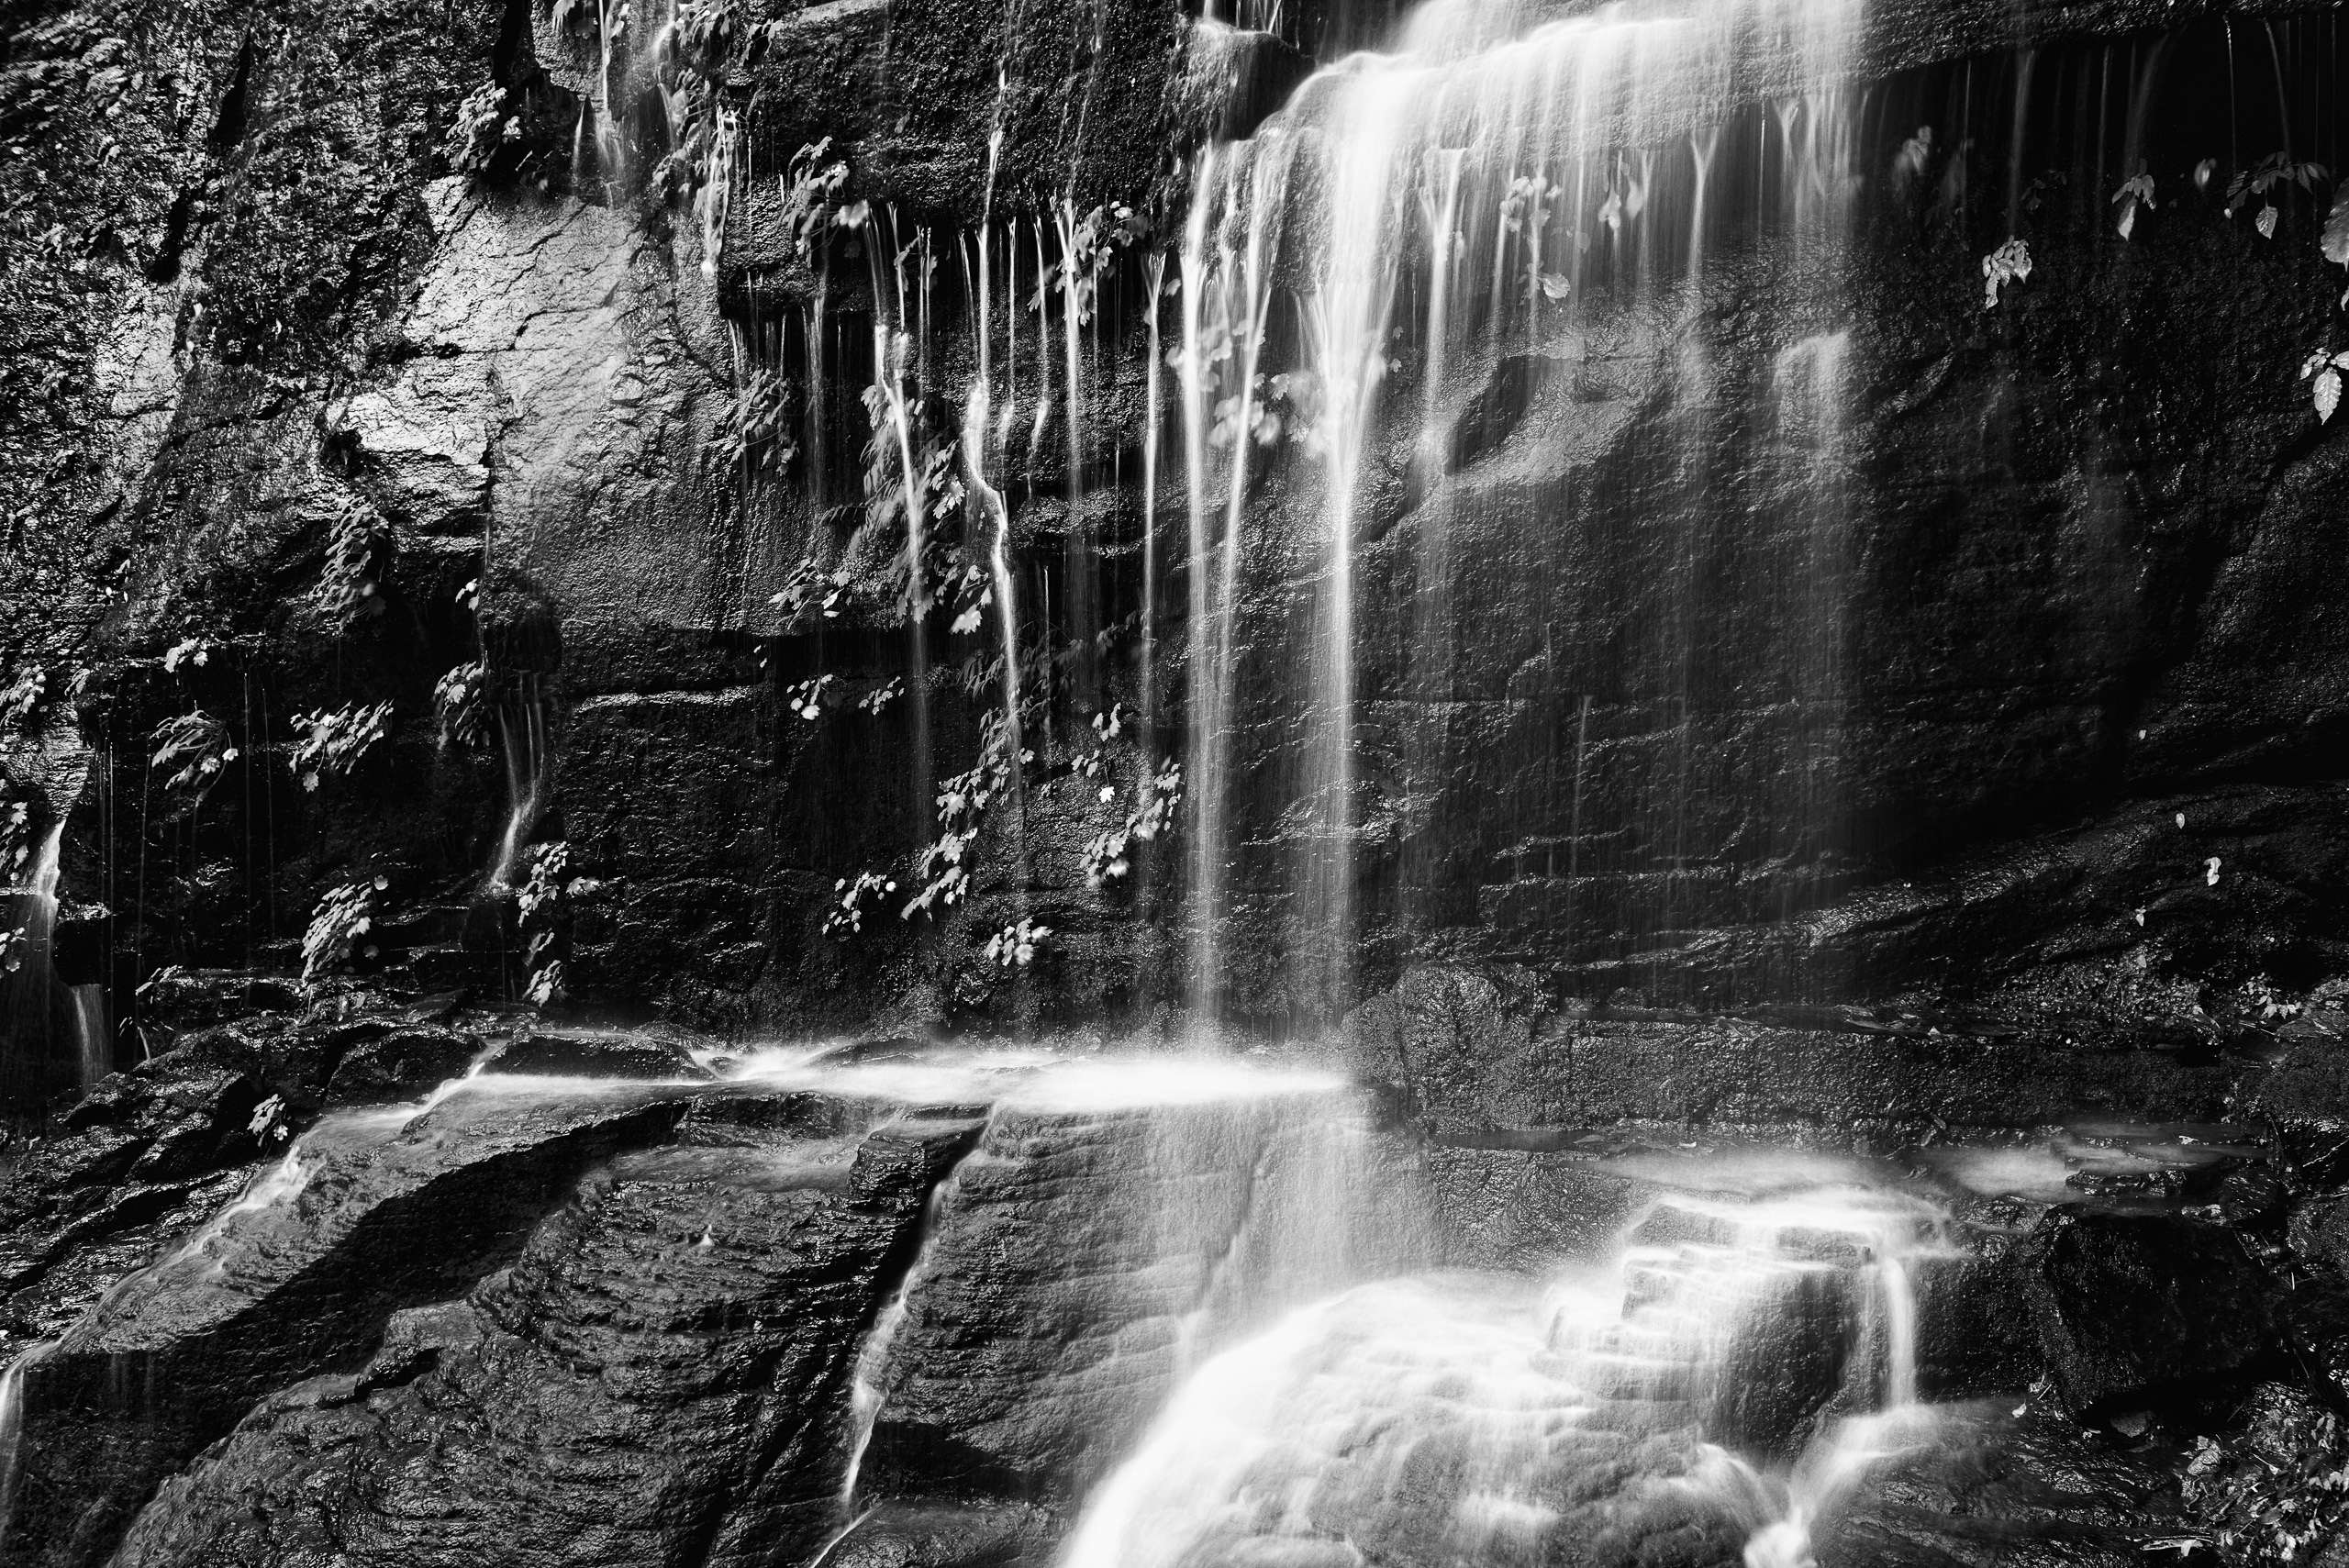
I shot this just after the heavy rain. I wanted to express the roughness and power of the stream, so I chose the faster shutter speed.
After the heavy rain
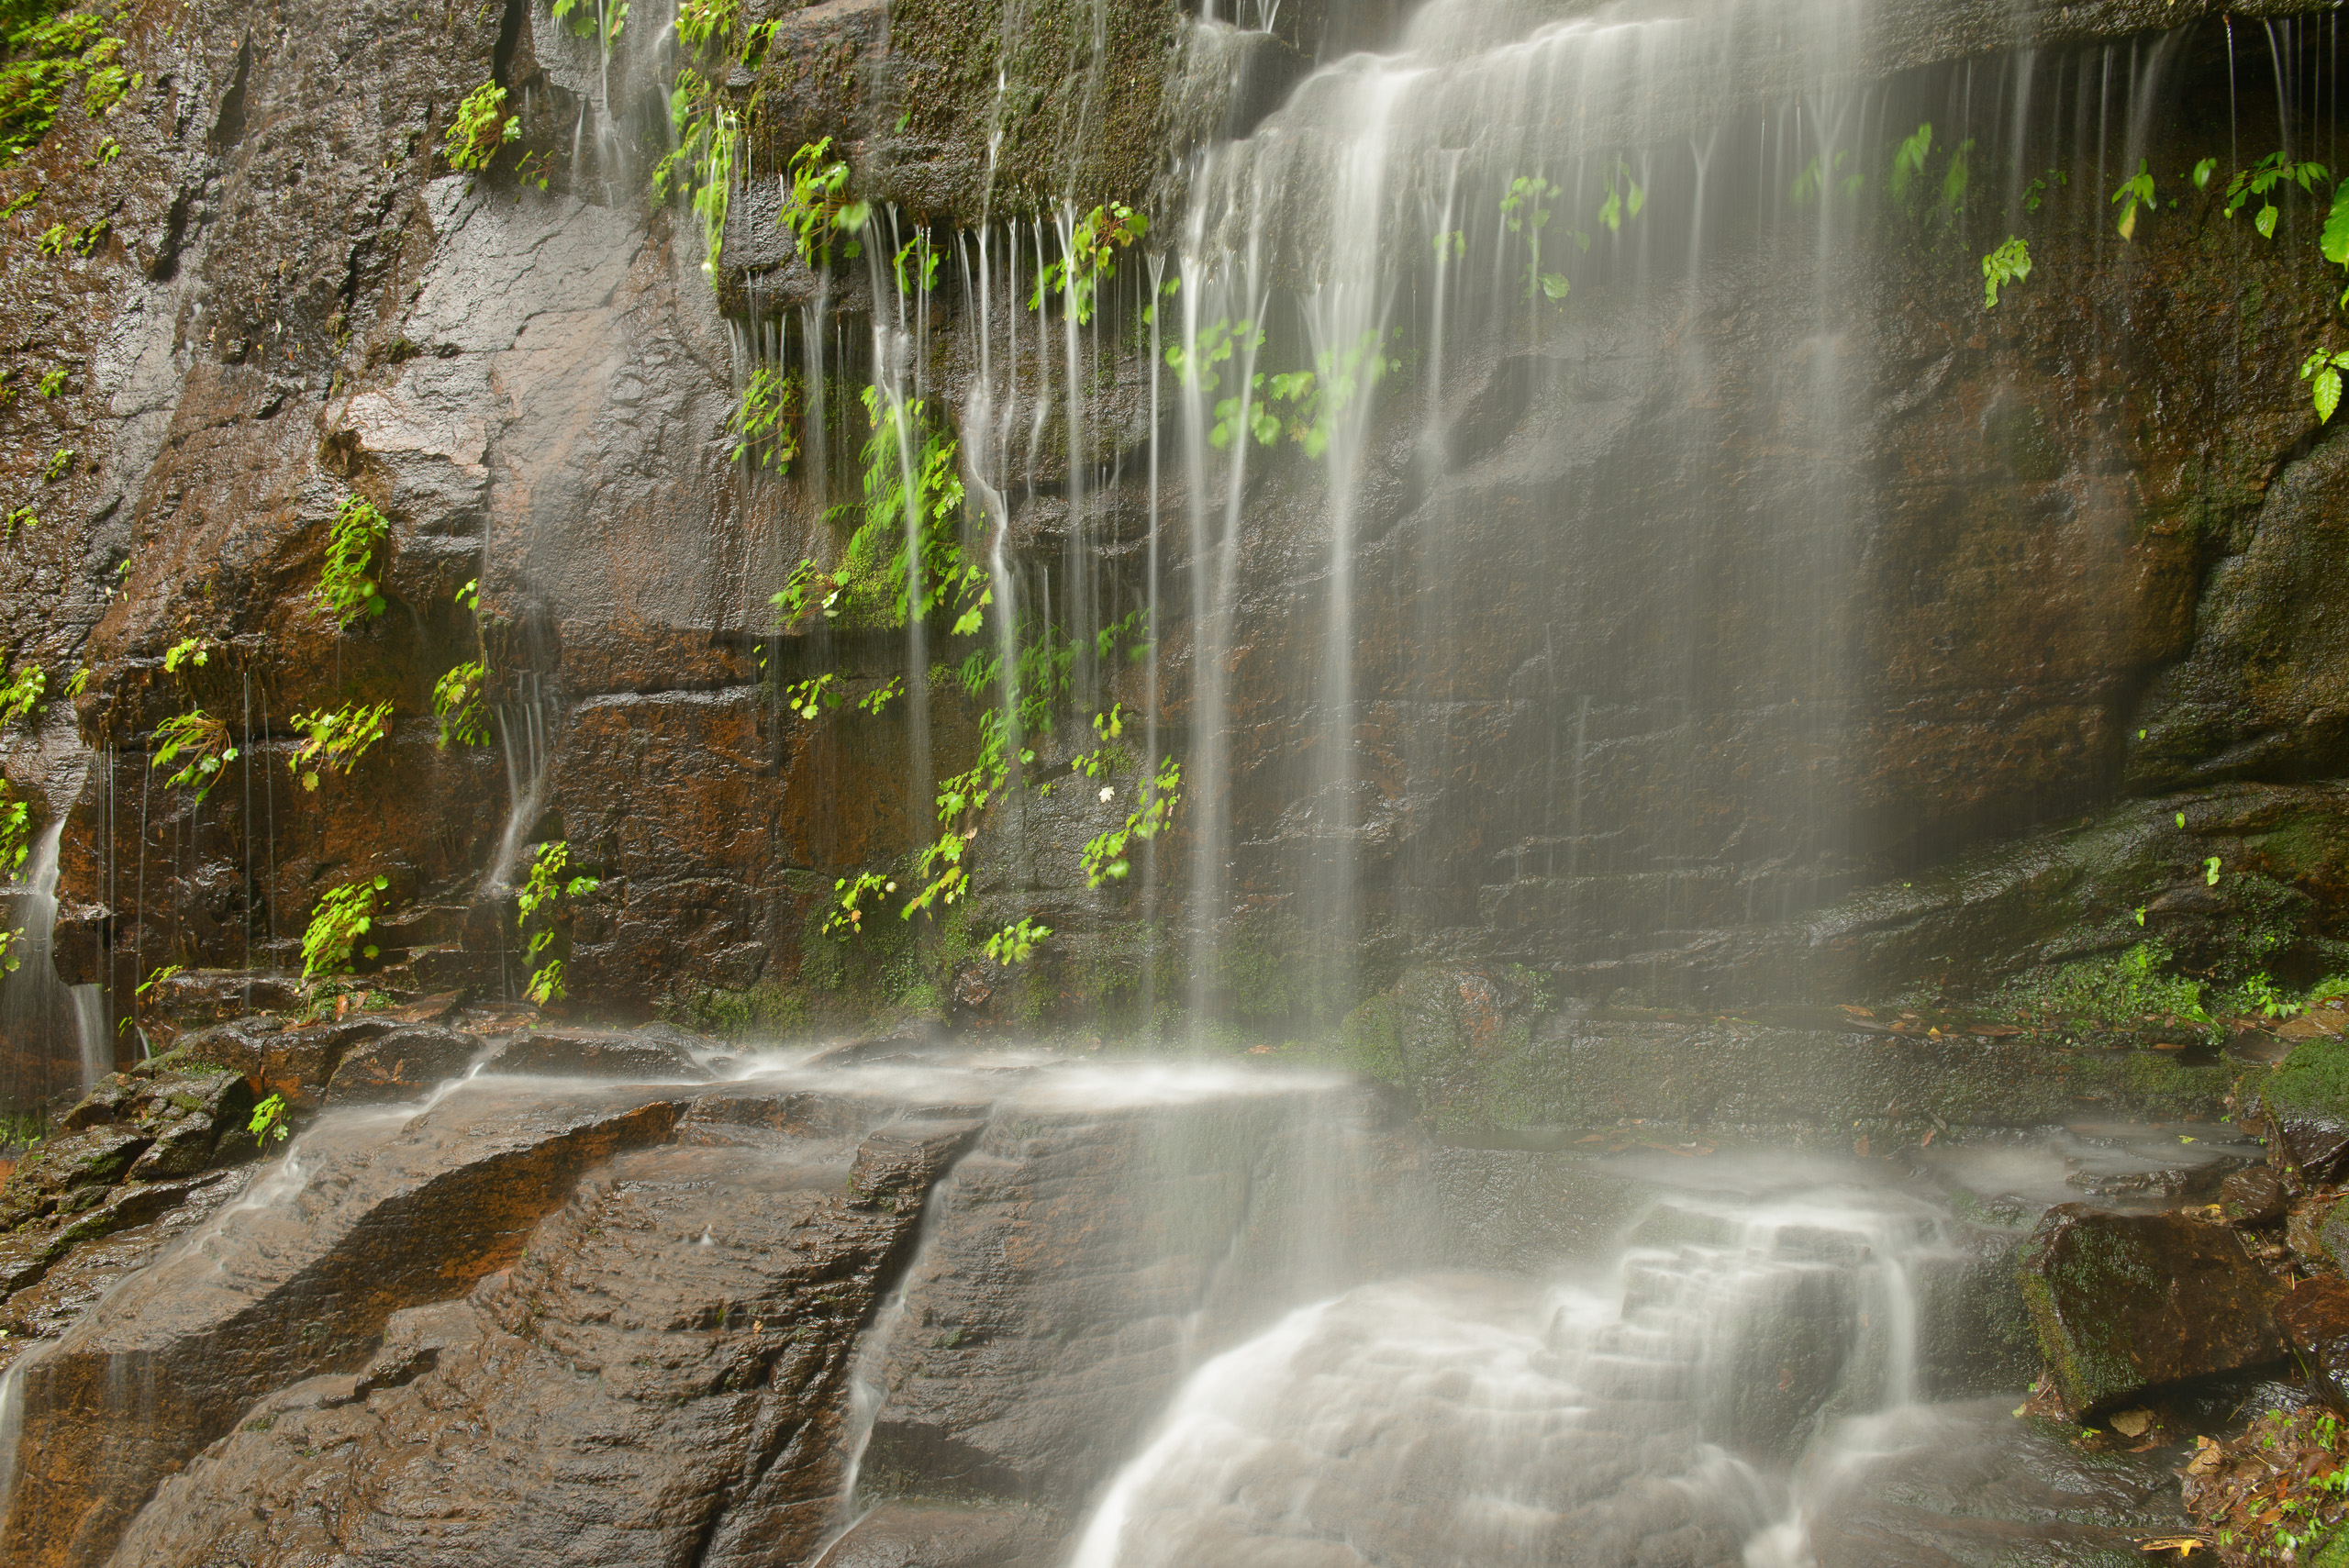
A calm day
Instead, when there is less water, you have a chance to try a longer shutter speed.
In the quiet morning, I tried 60-second long exposure with 10 stop ND filter.
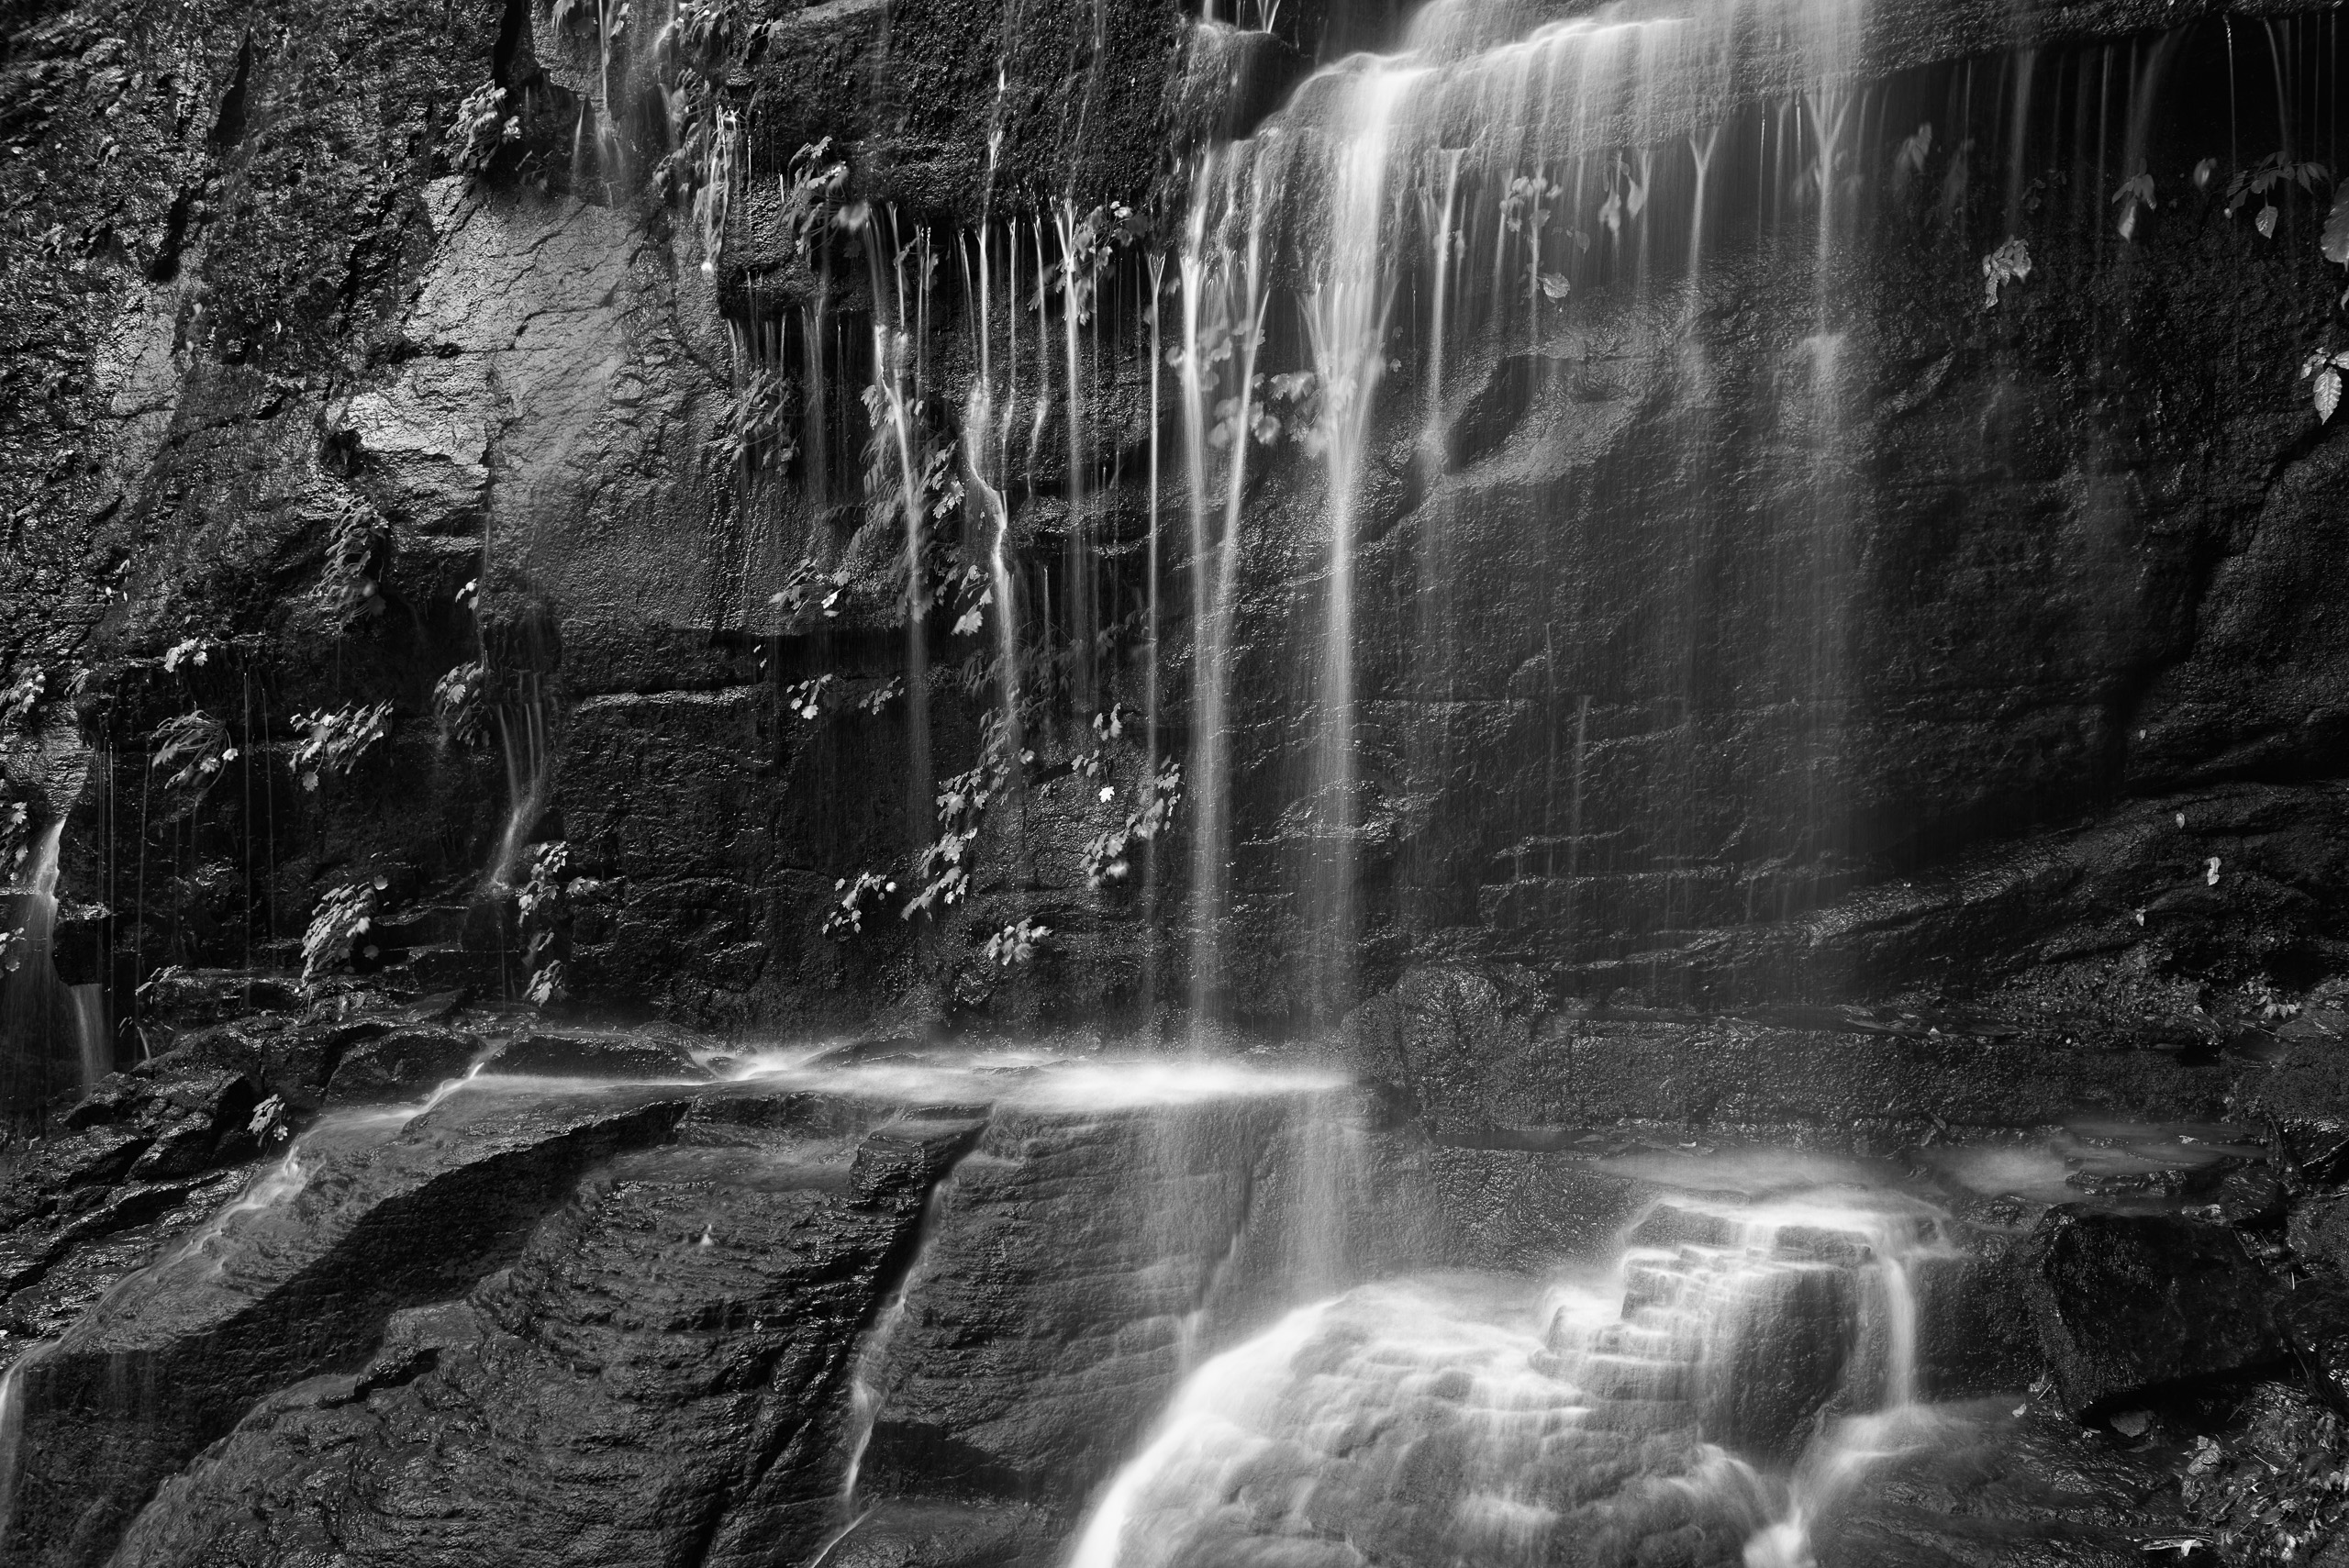
How long is the Best?
It depends on people’s preferences and heavenly depends on the weather and the amount of water. Most of the time I prefer around 1-3 seconds shutter speed for shooting waterfalls.
When I need a maximum silky effect, I set the exposure from 30 to 60seconds.
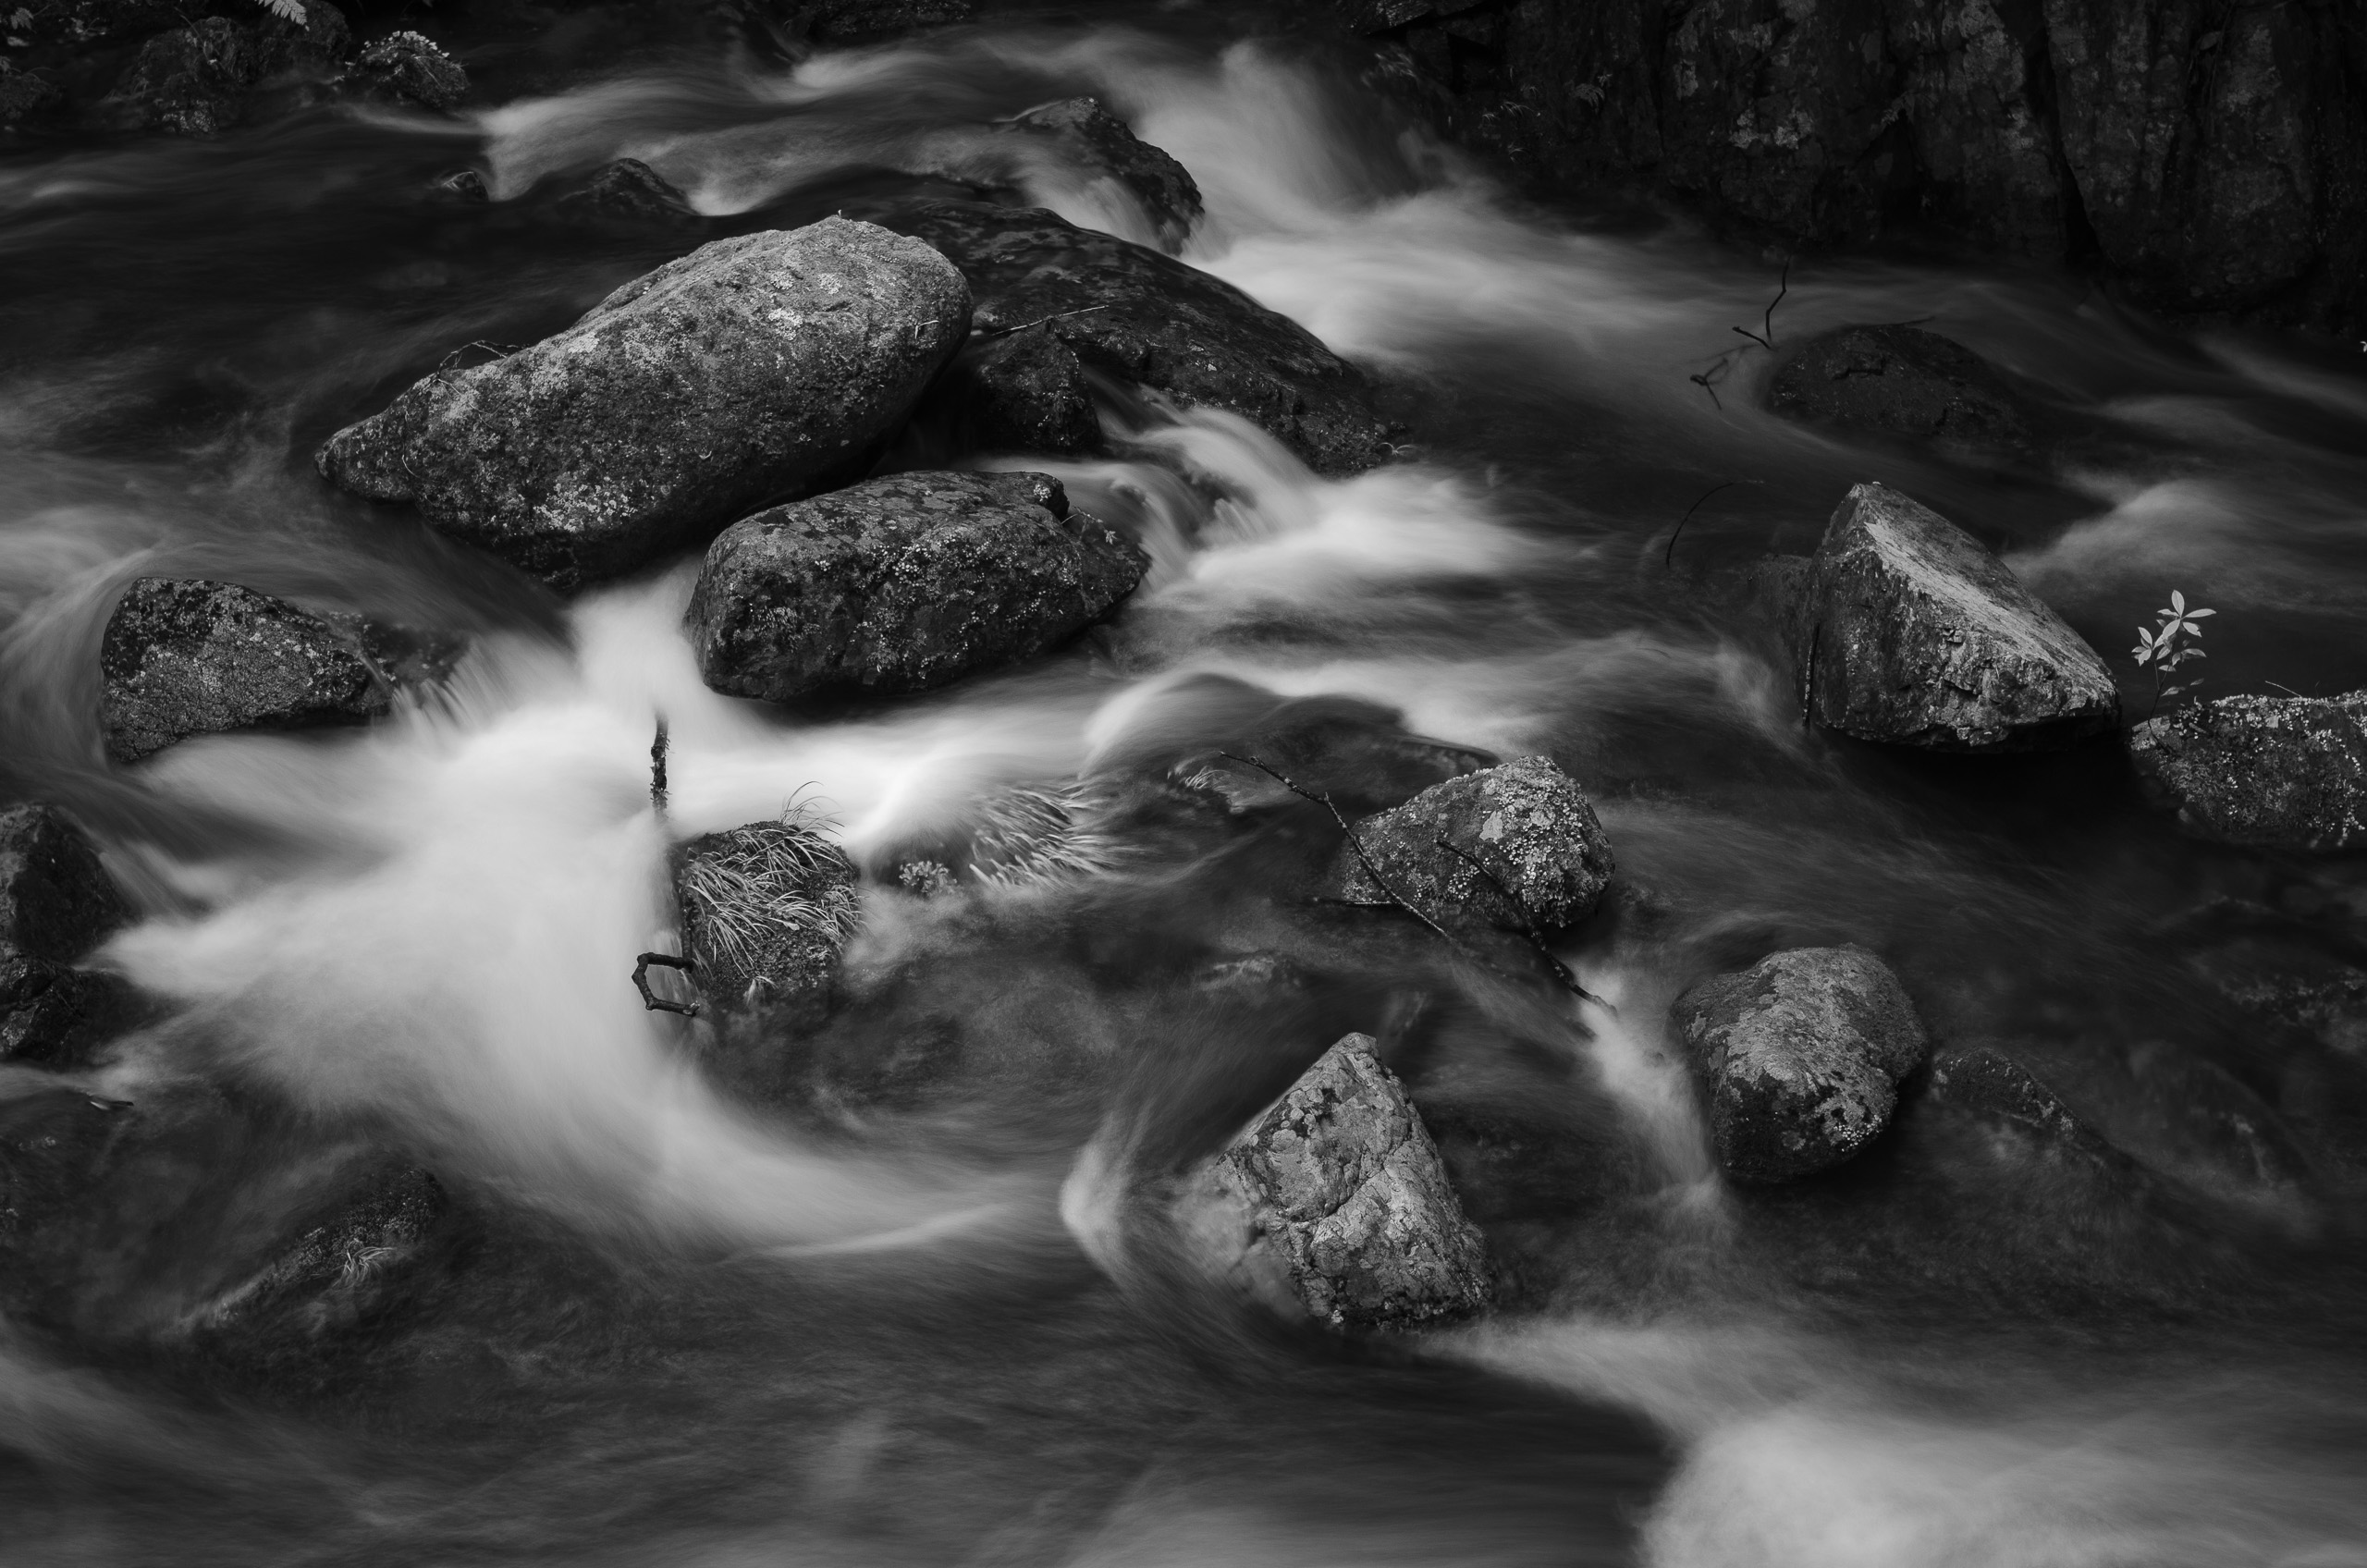
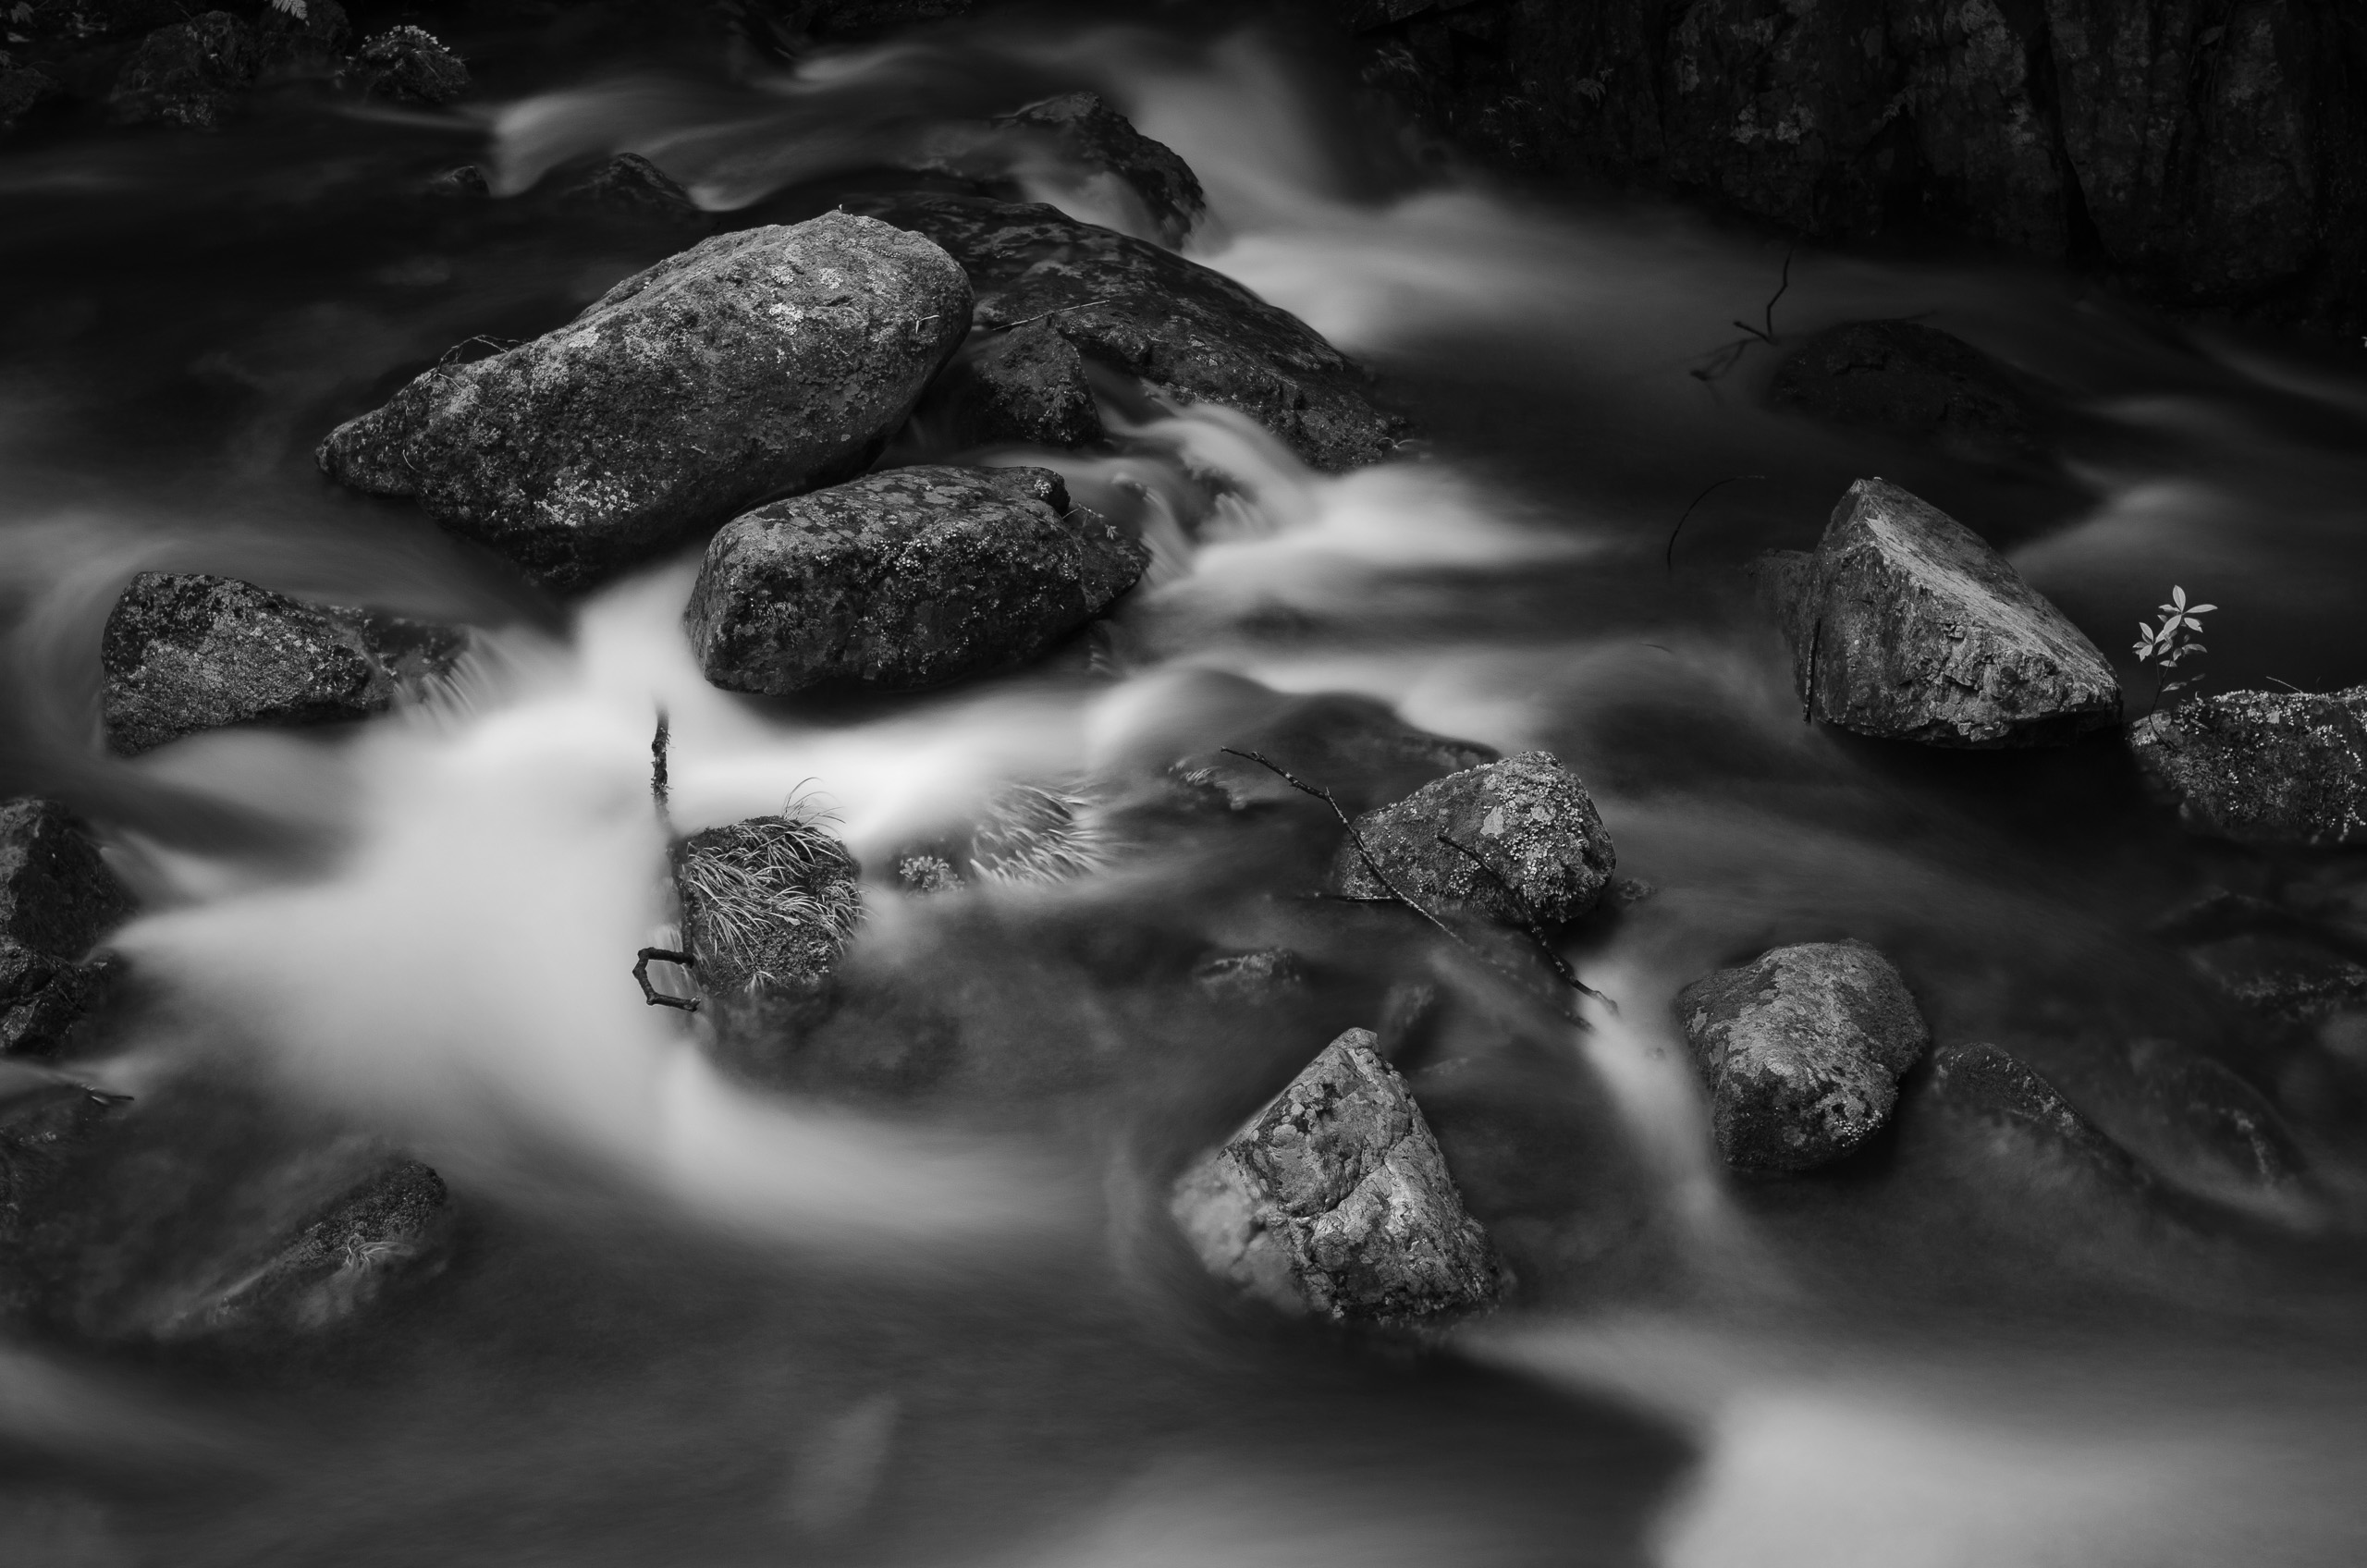
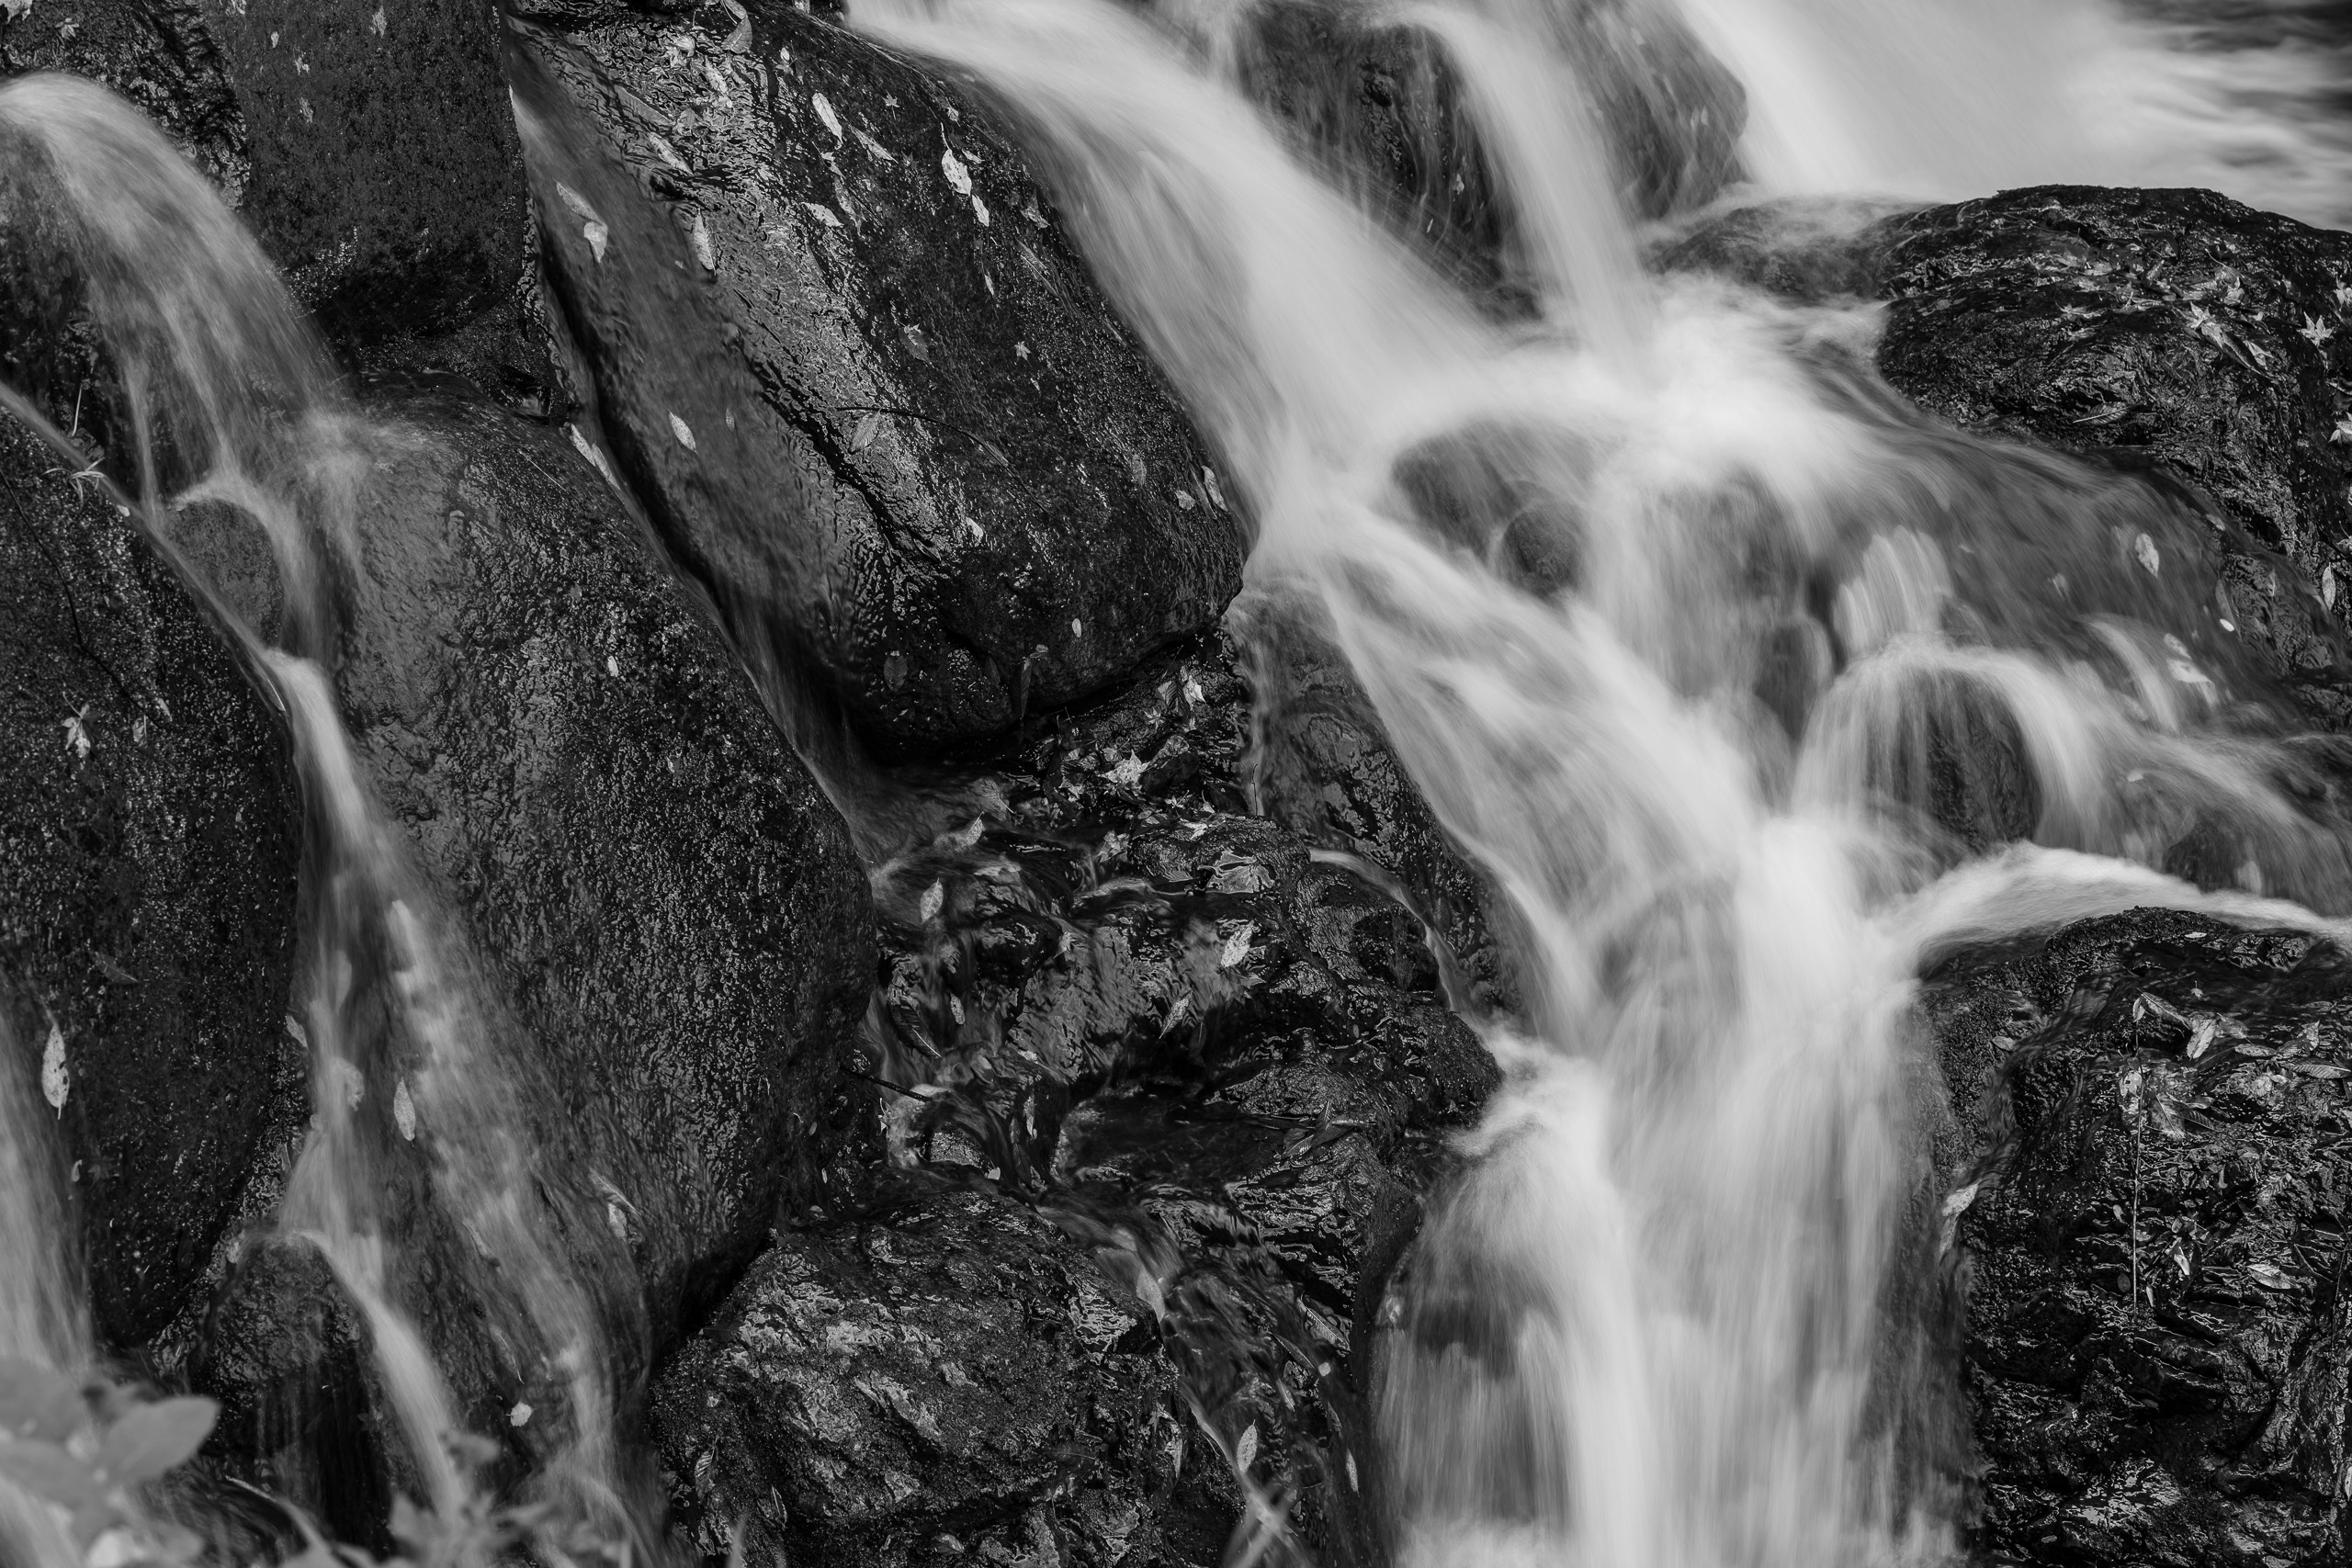
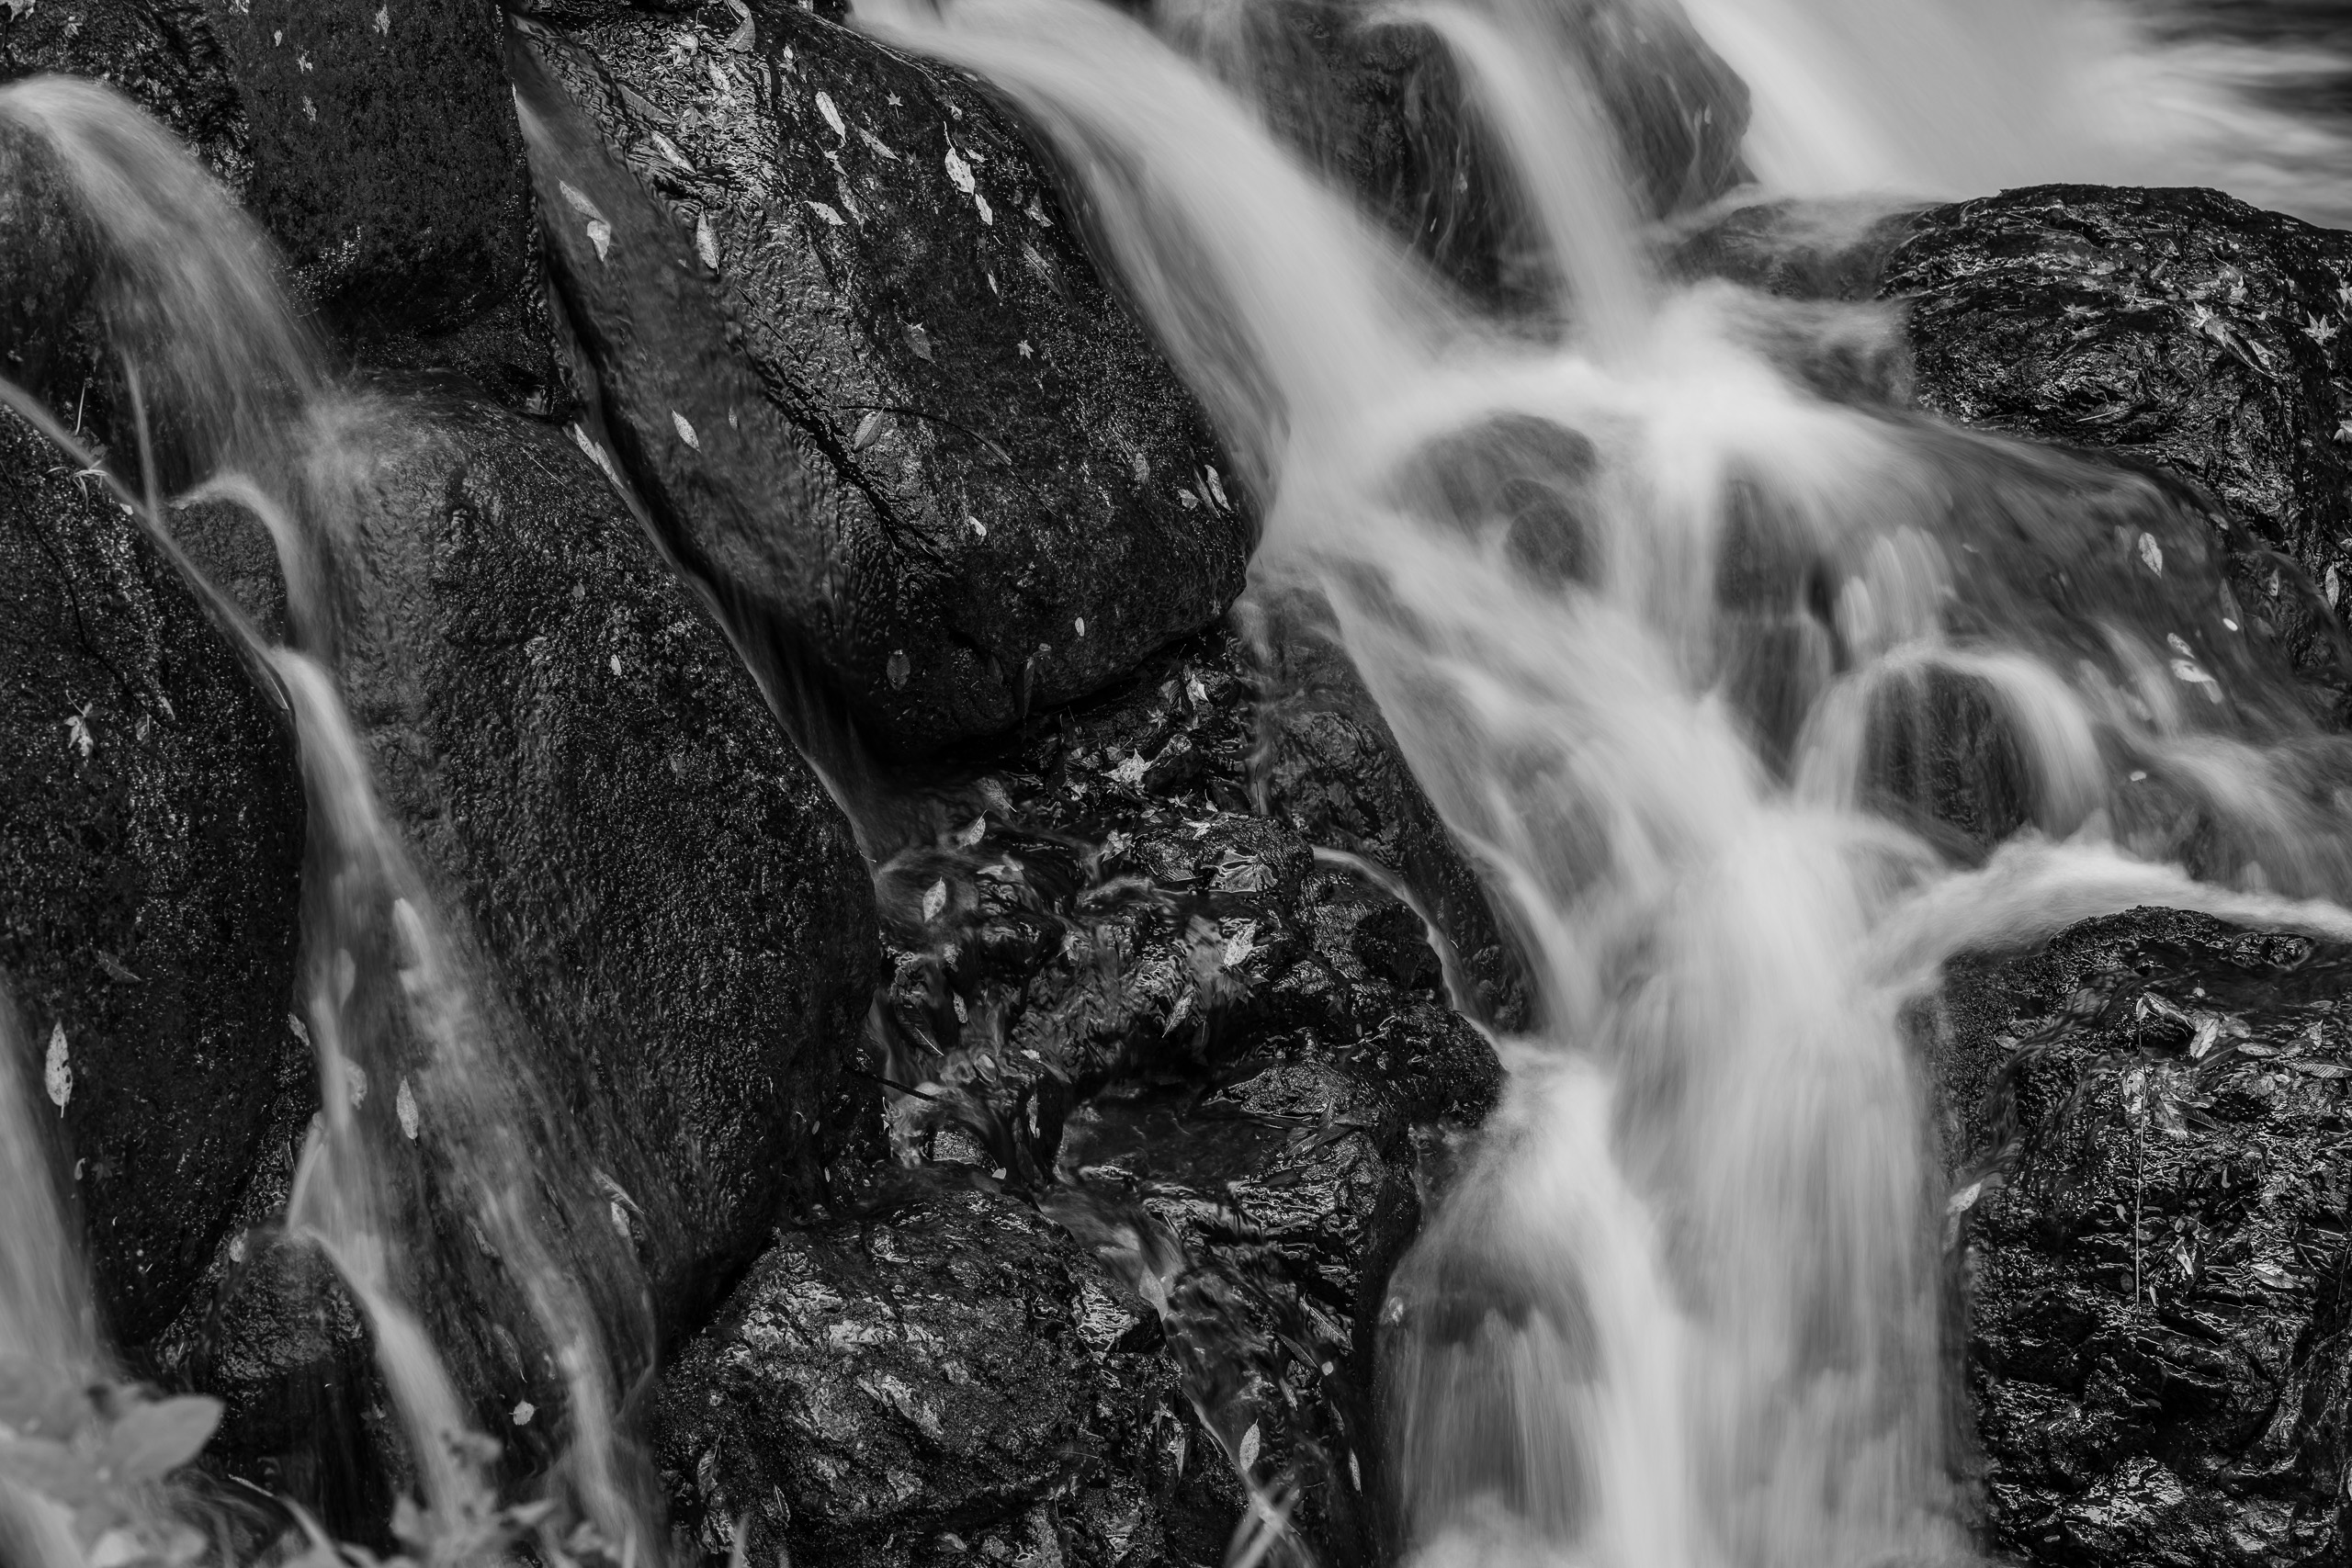
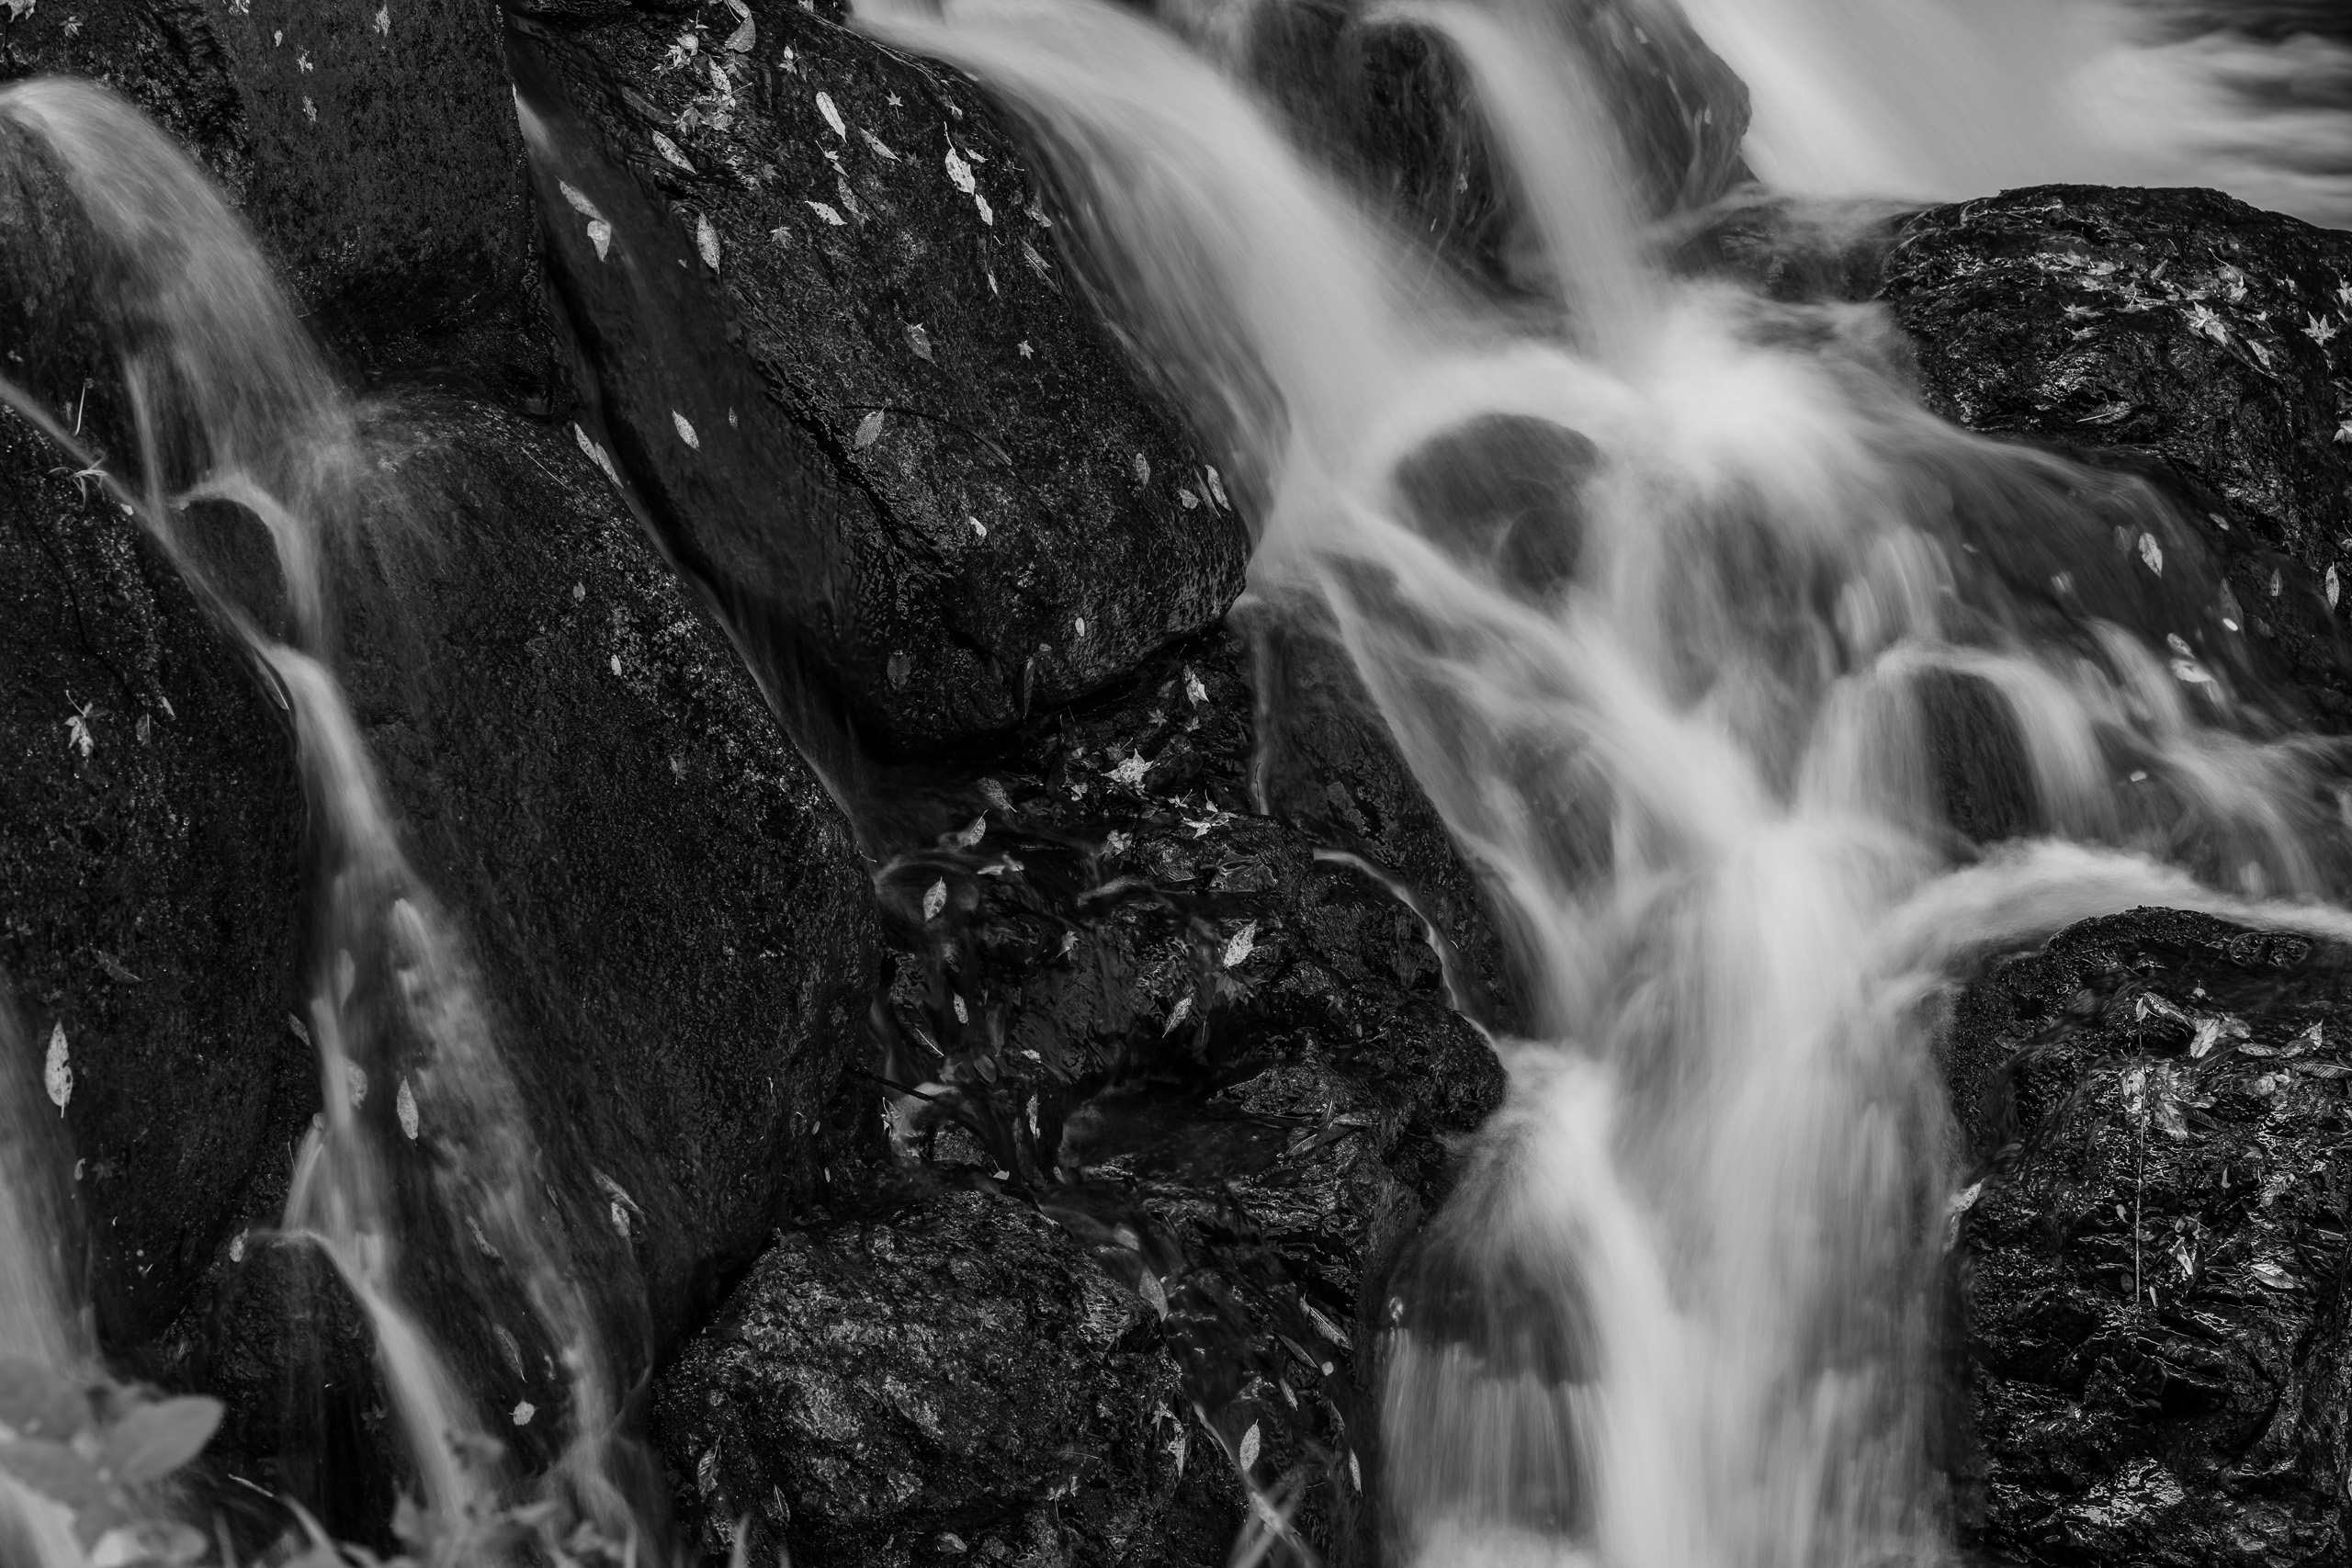
Bellow images are comparisons among three shutter speeds:2sec., 8sec.,30sec.

2. LENS AND COMPOSITION
Wideangle or telephoto?
An ultra wide-angle lens is the best for capturing the entire scene of a waterfall. However, it is often so wide that you should get closer to the subject for taking advantage of its wideness.
Most of the time, you can’t get closer enough to either waterfalls or water streams simply because it is physically impossible.
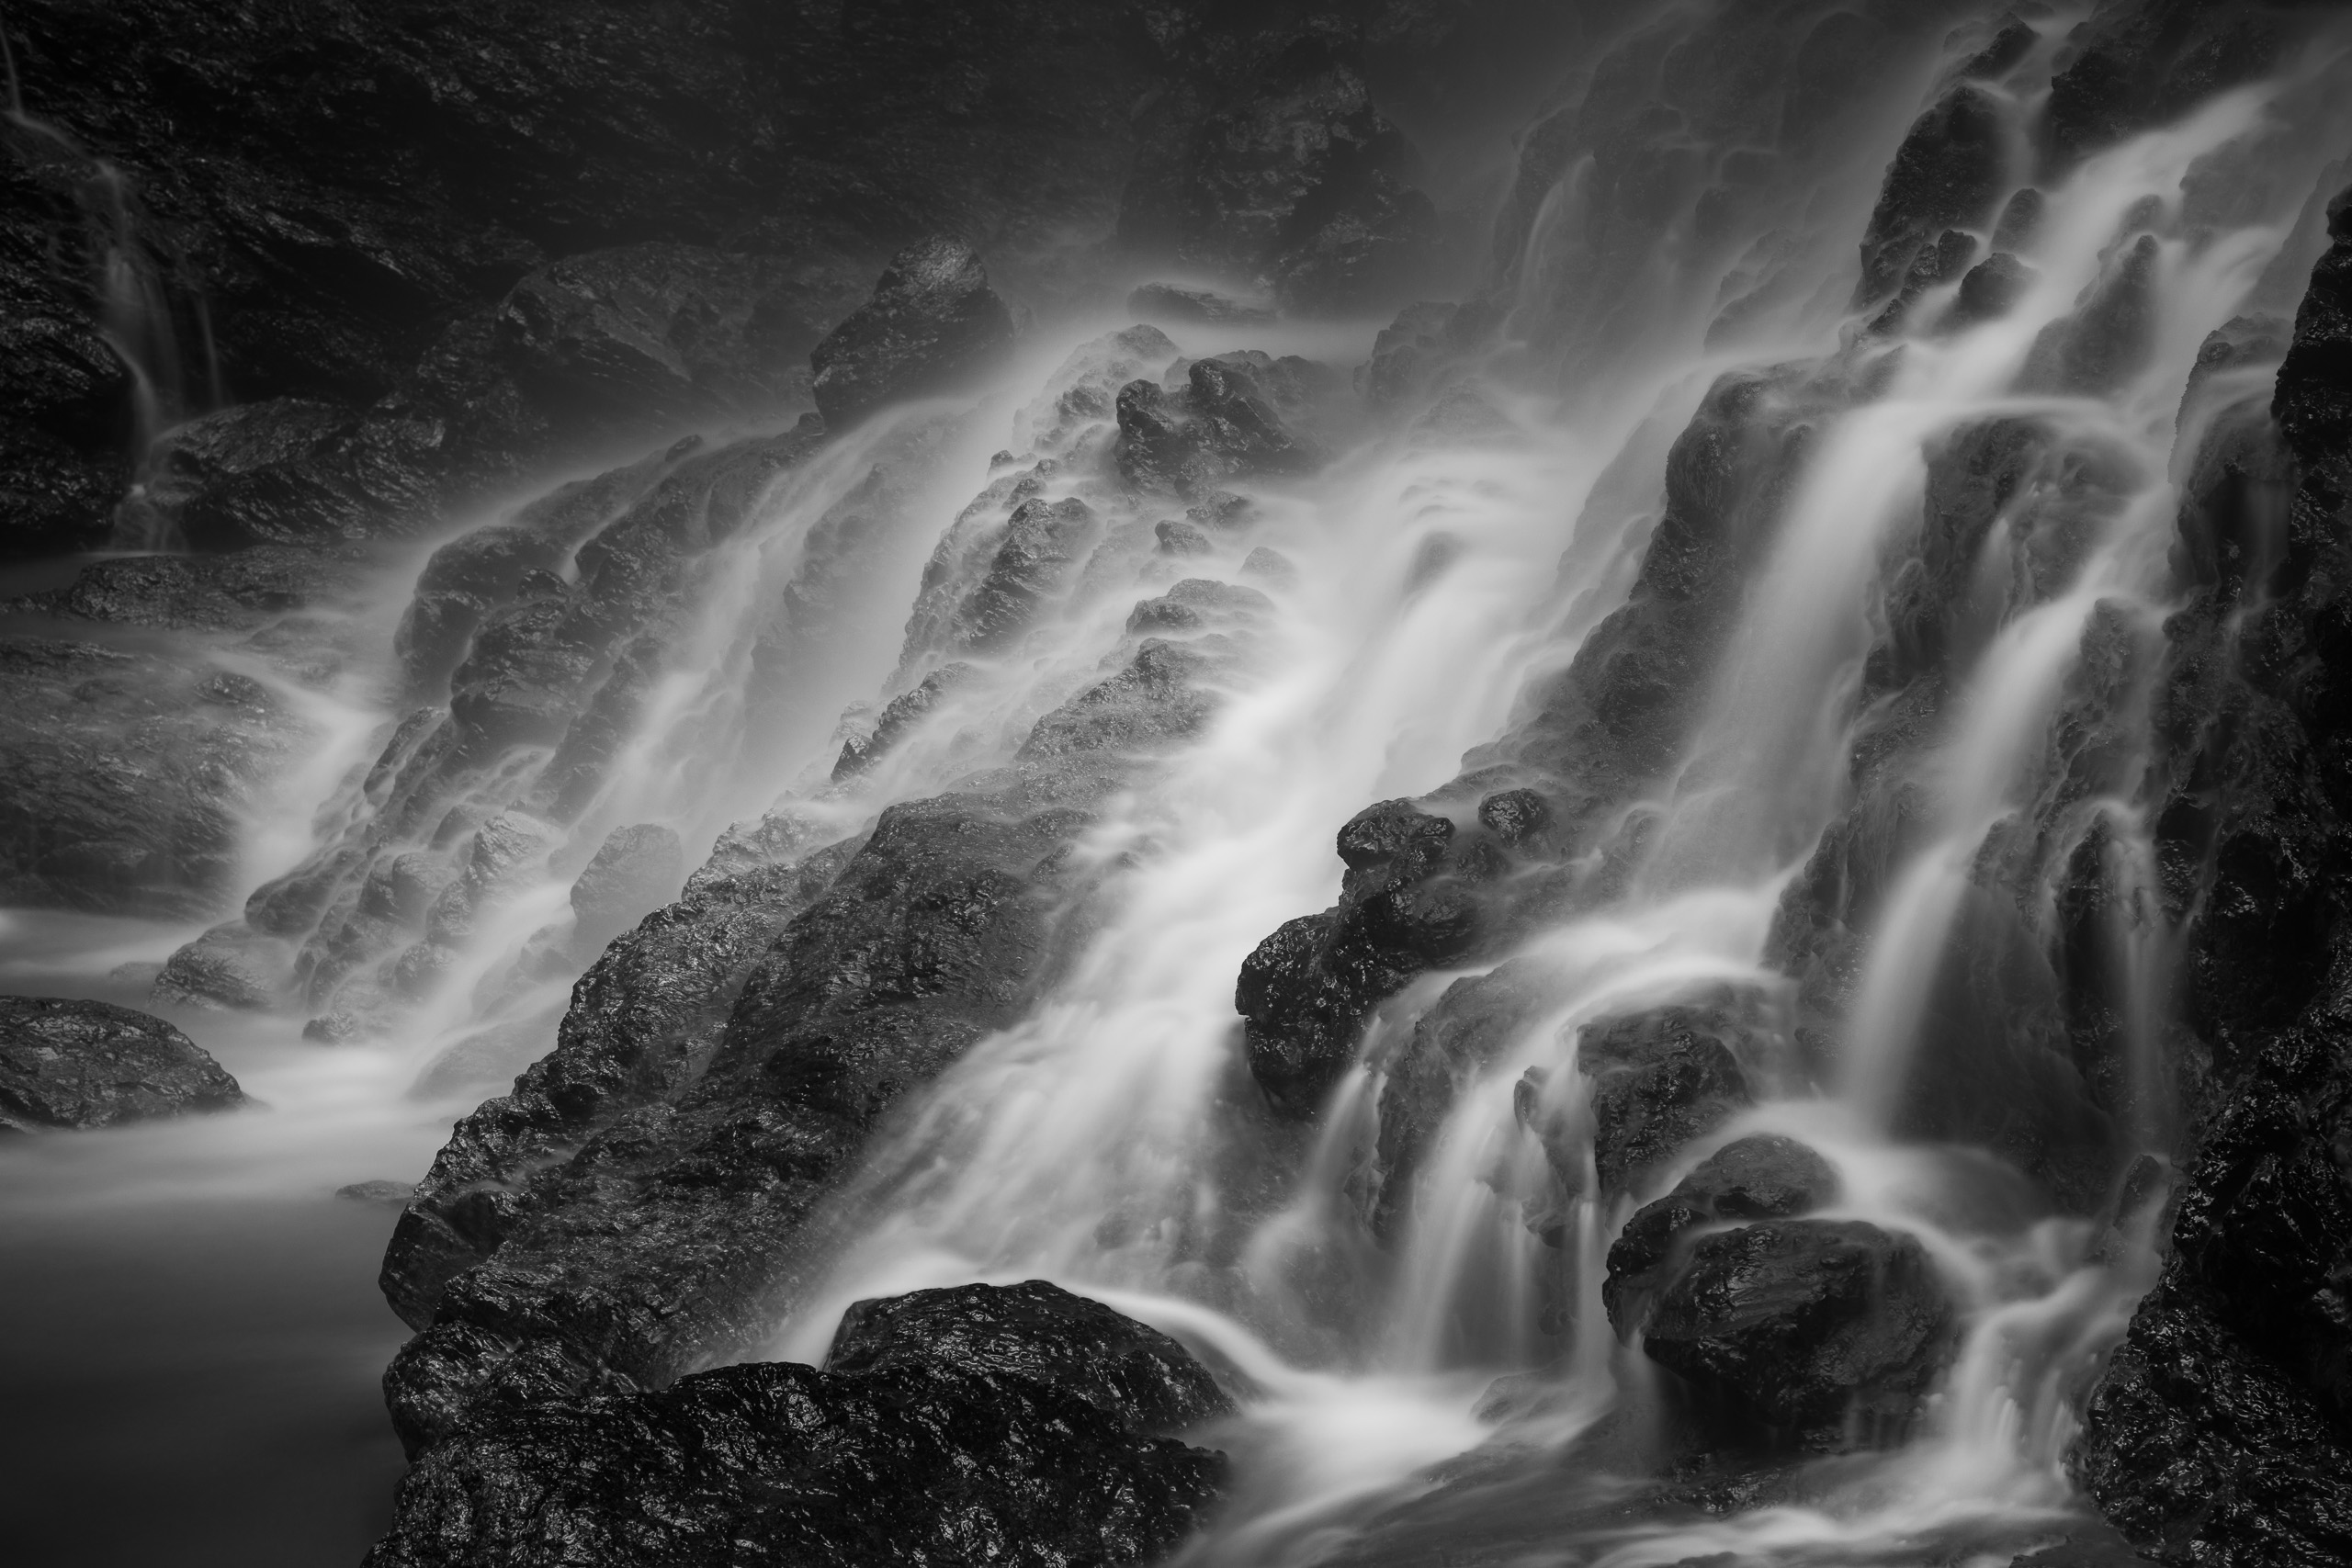
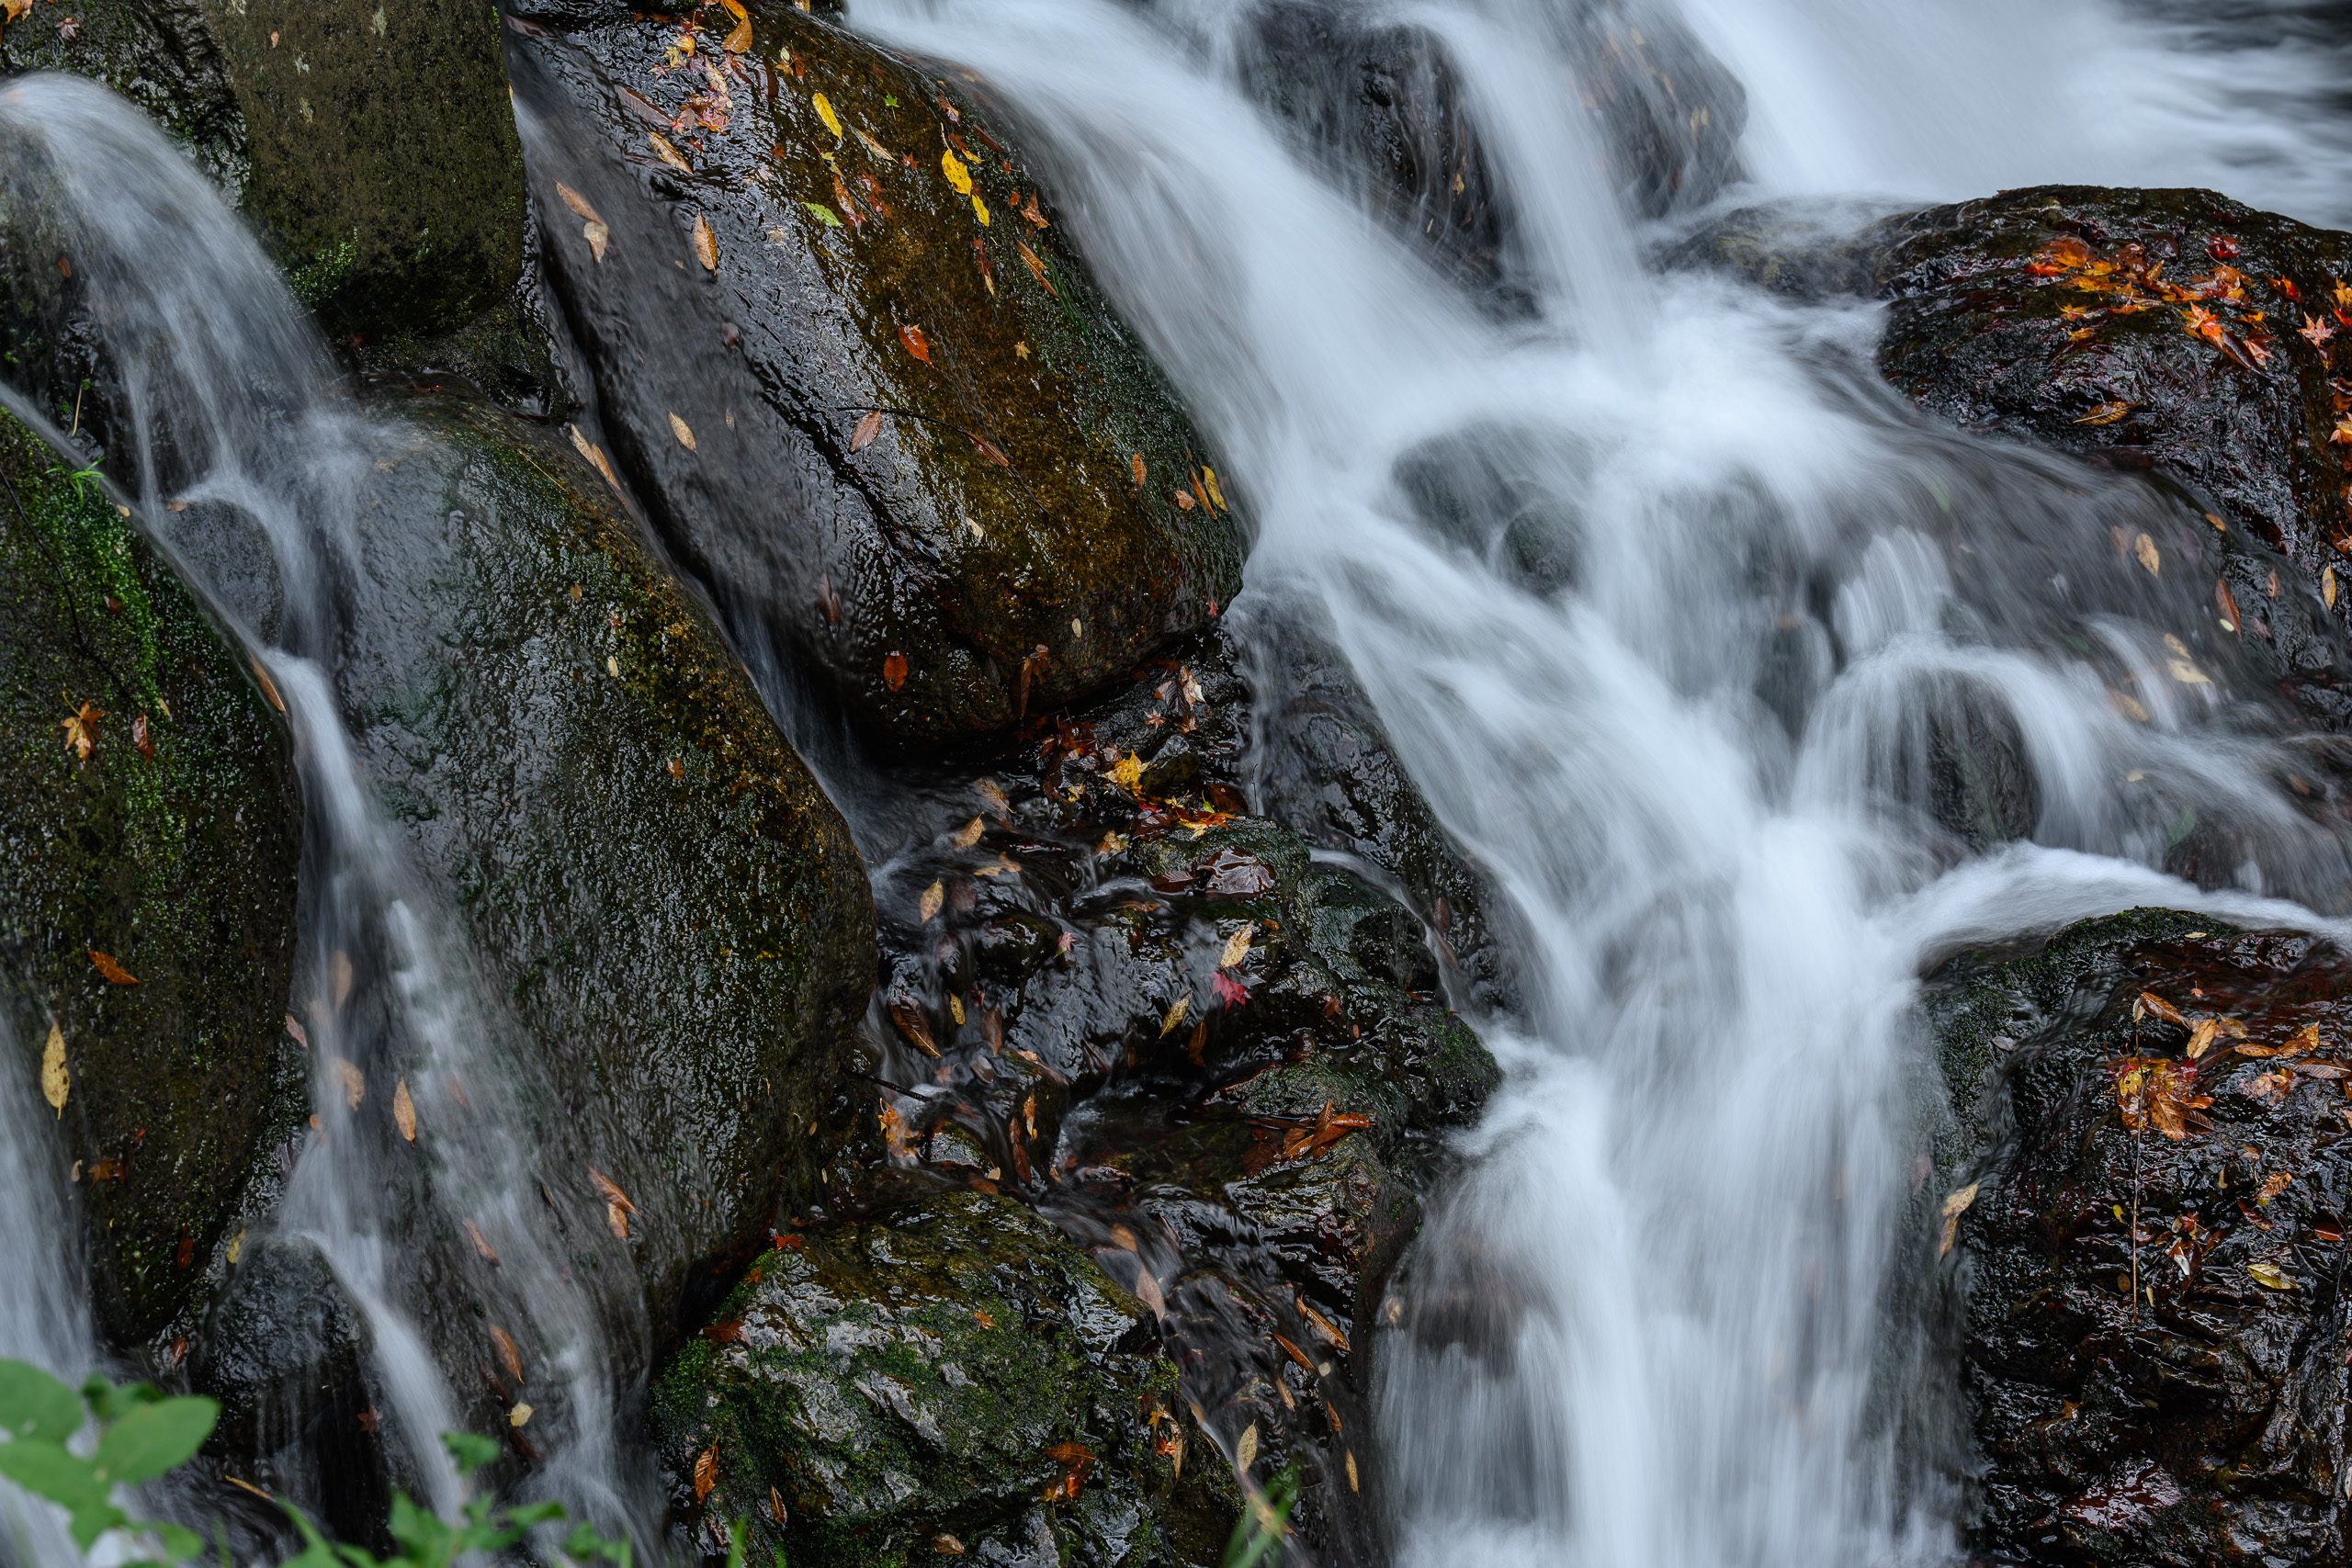
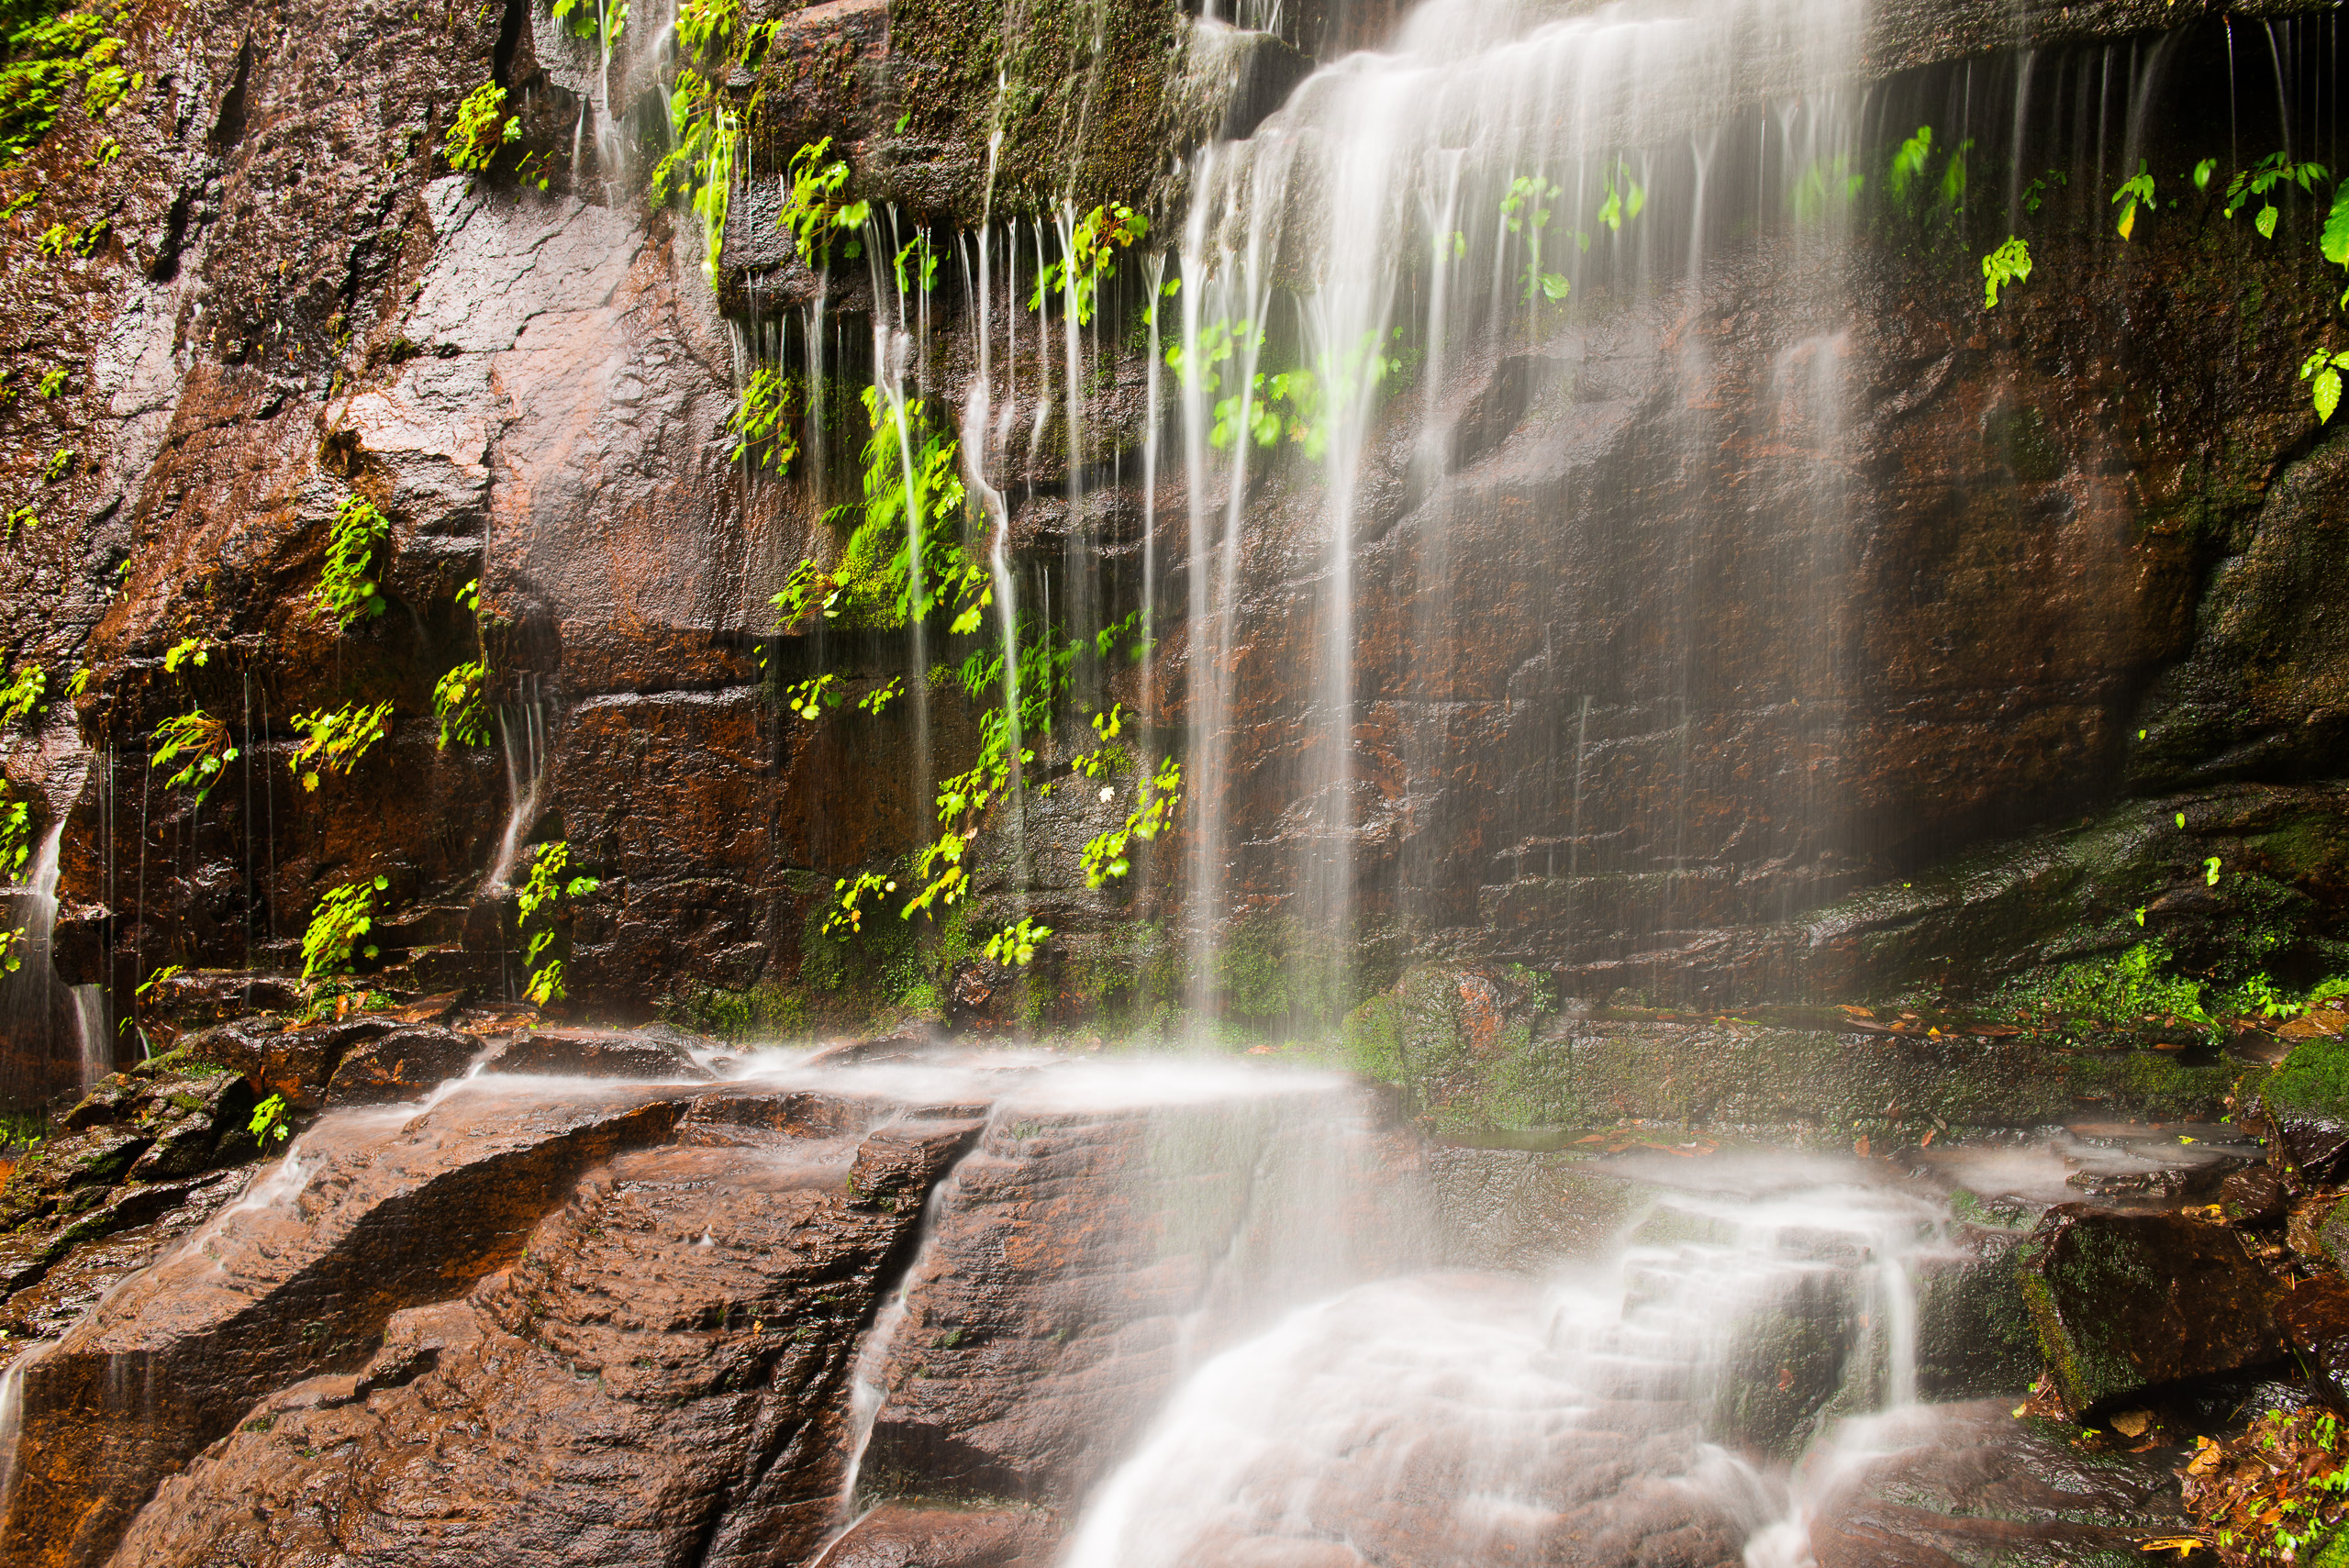
Capture the details
Then switch to telephoto, and you can focus on the unique shape of rocks or movement of water much more easily.
Composition Variation
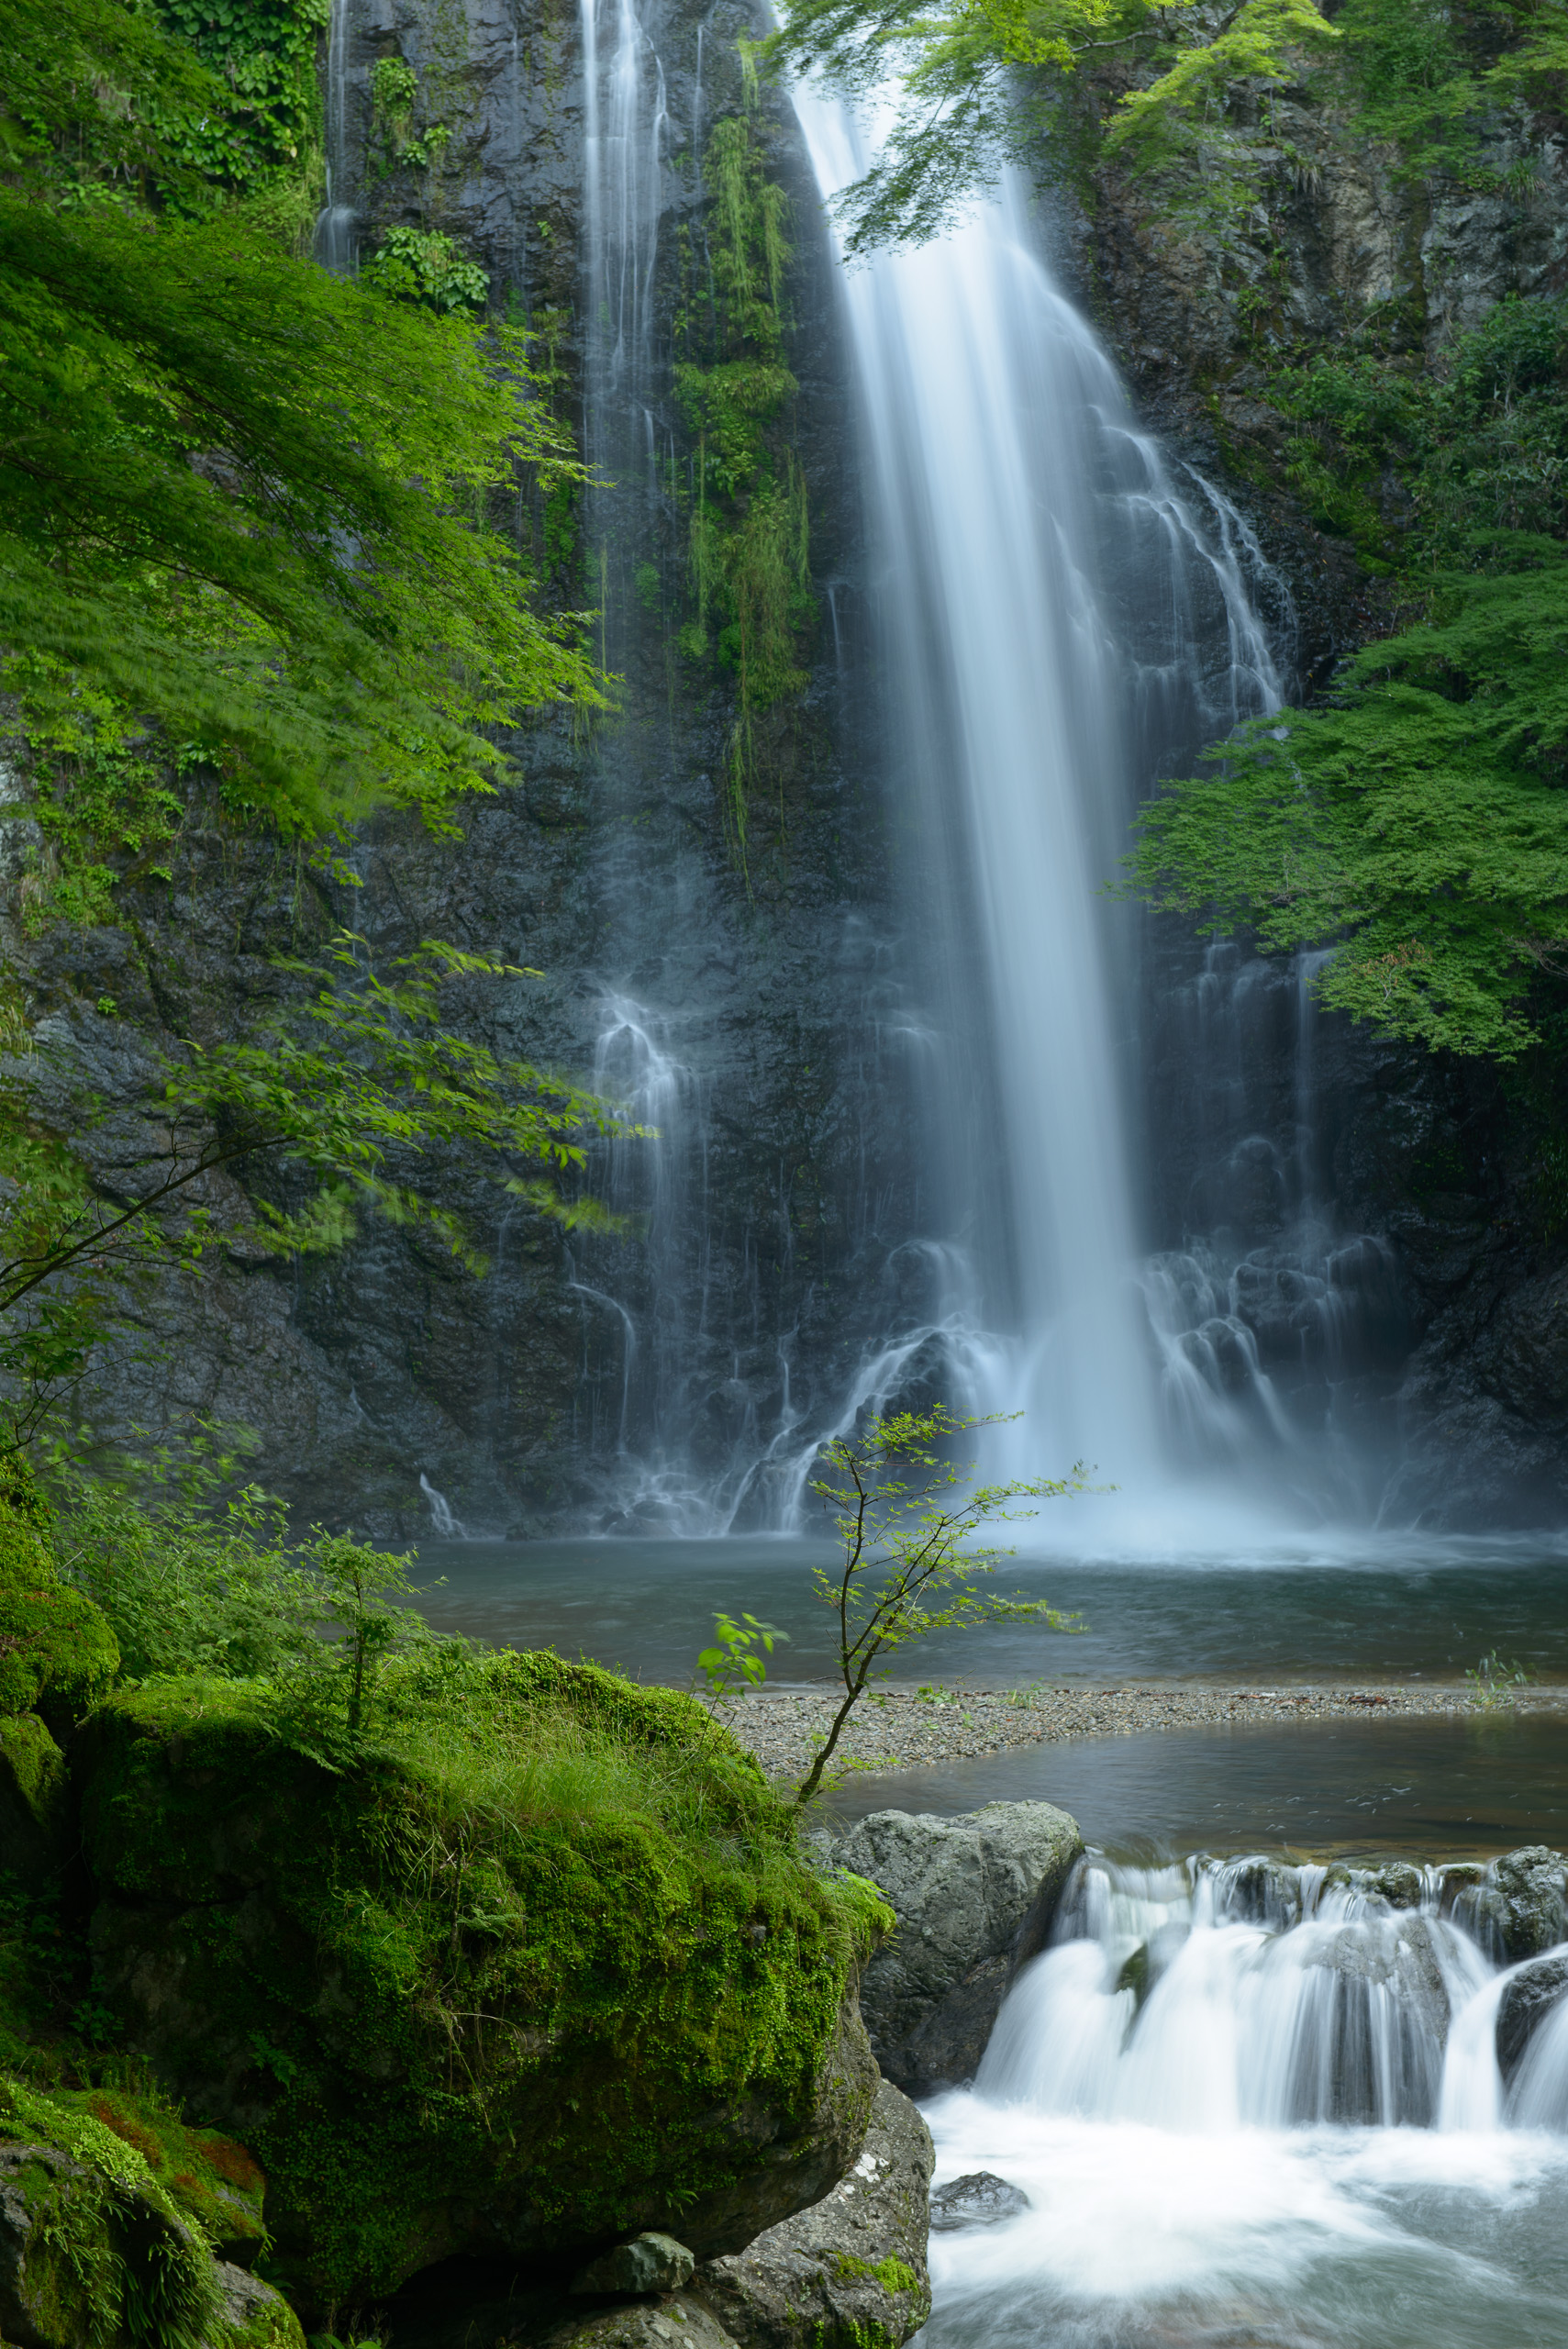
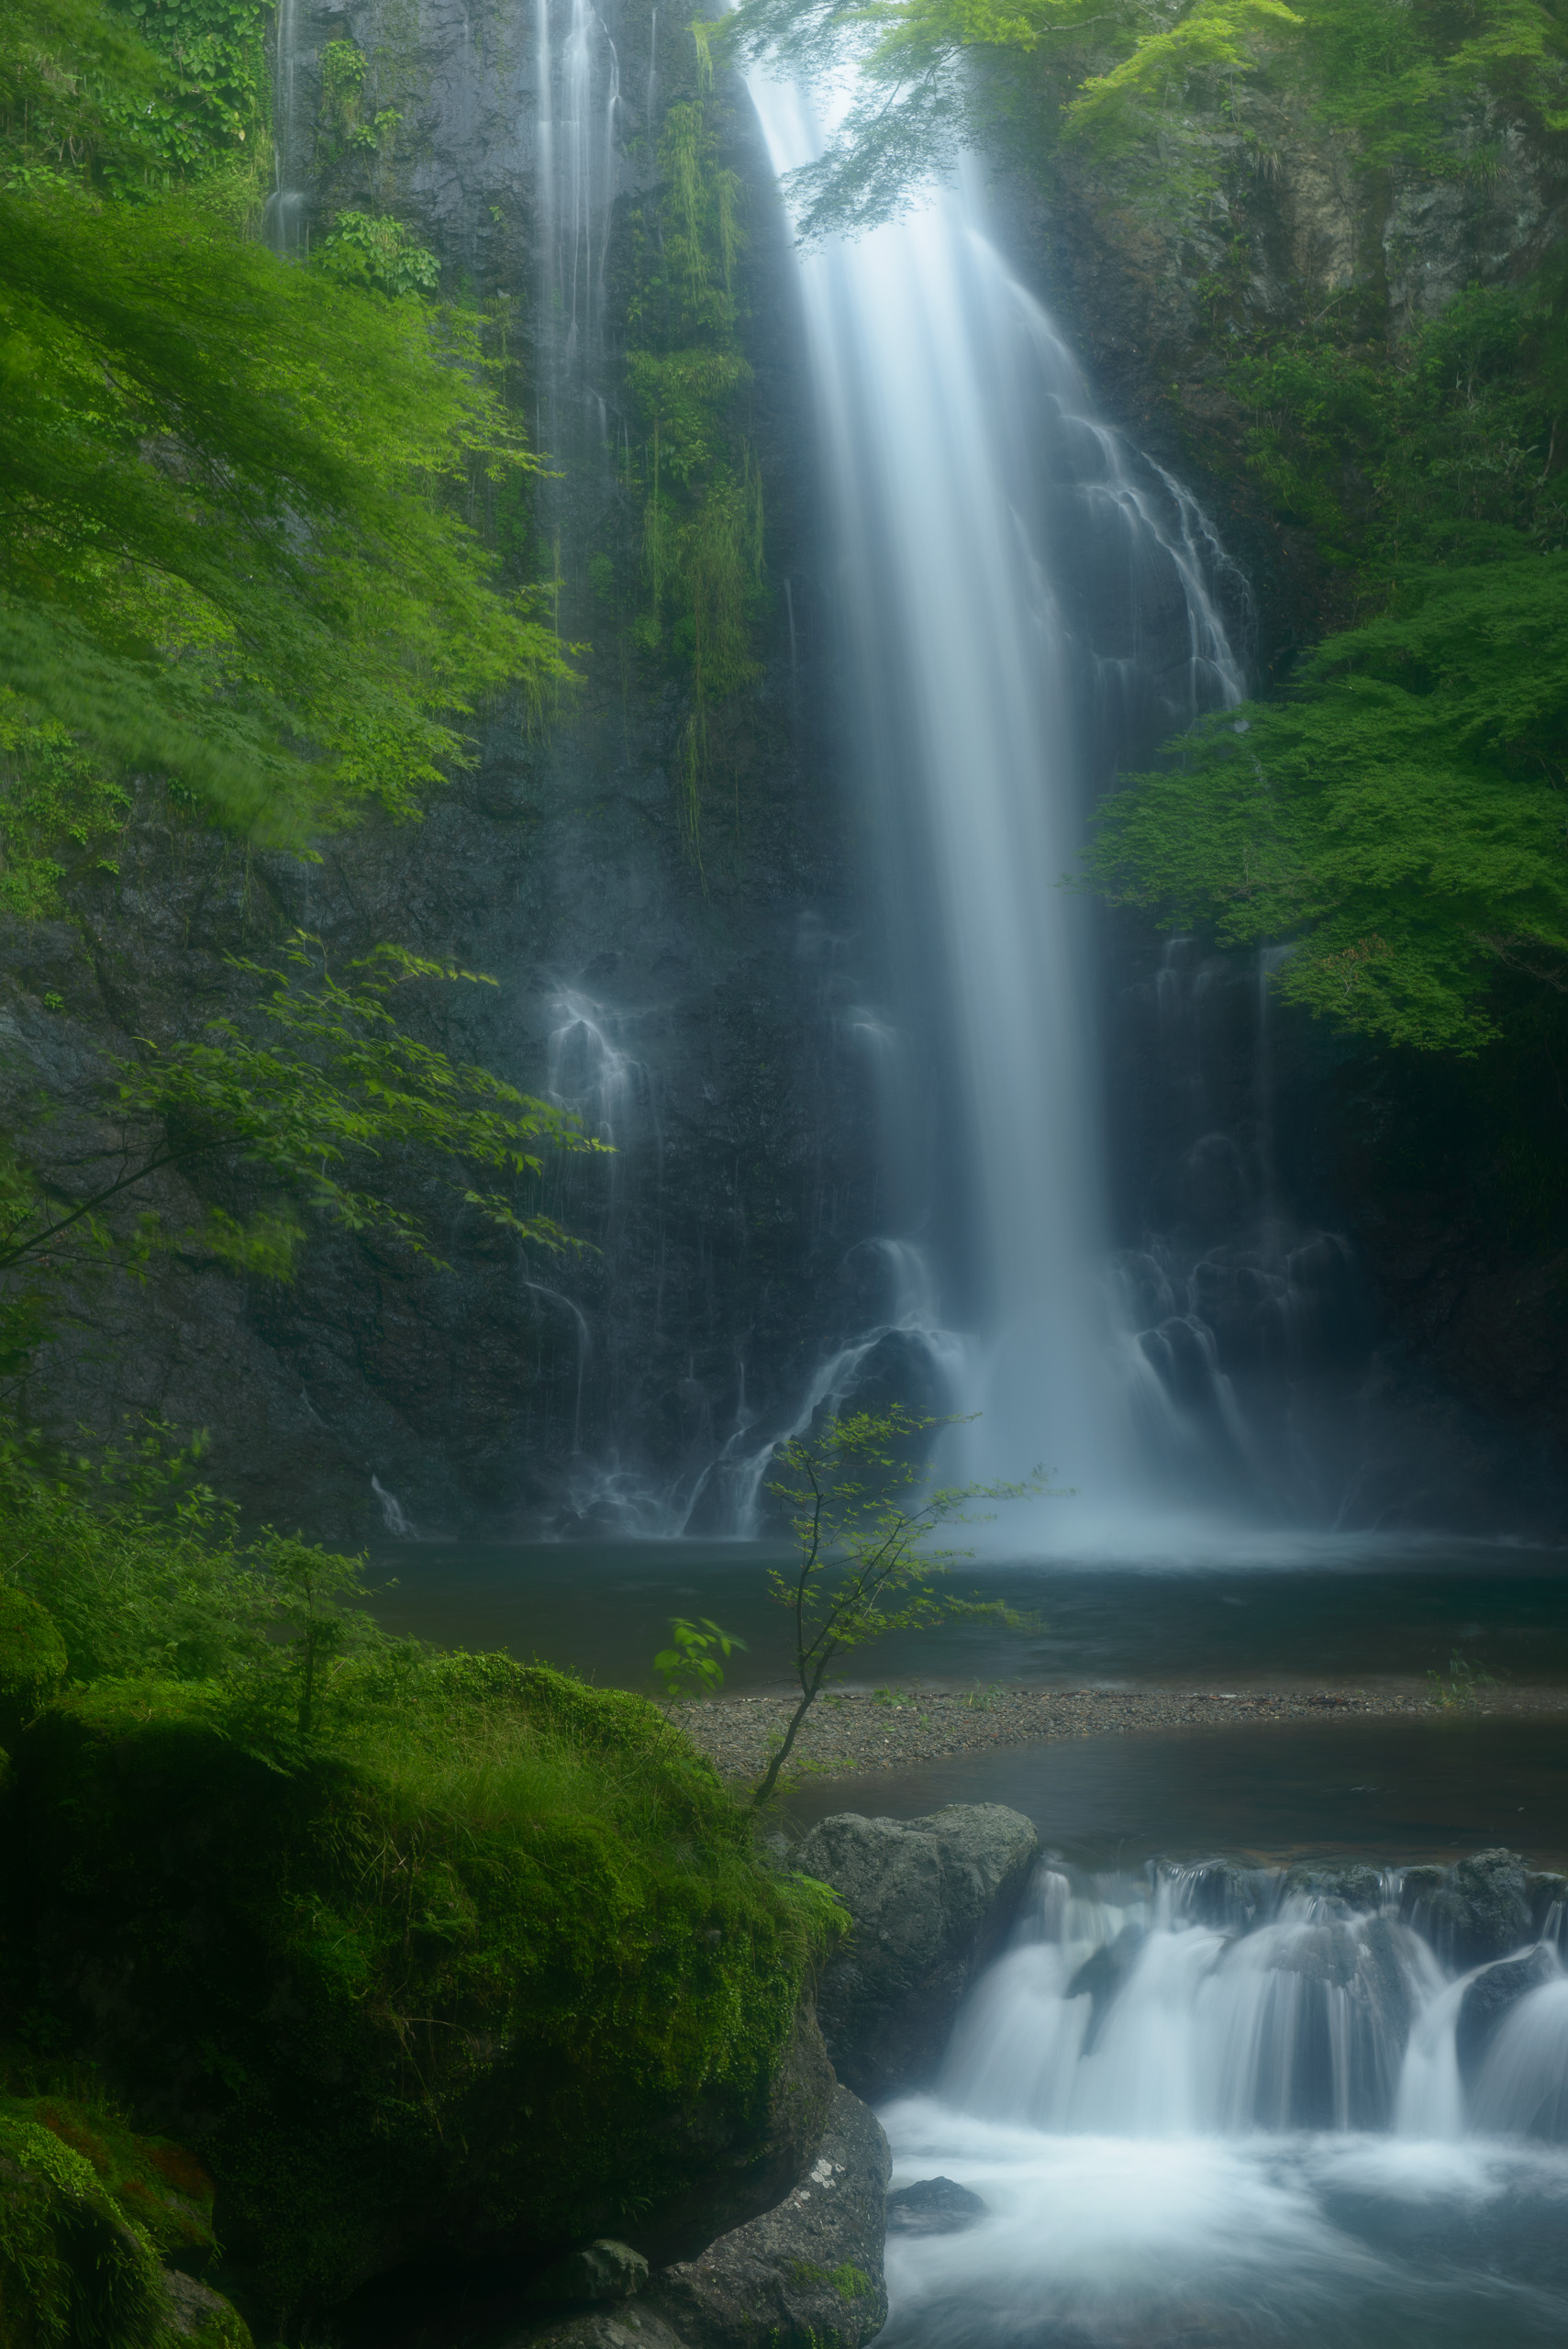
A Same location, different images
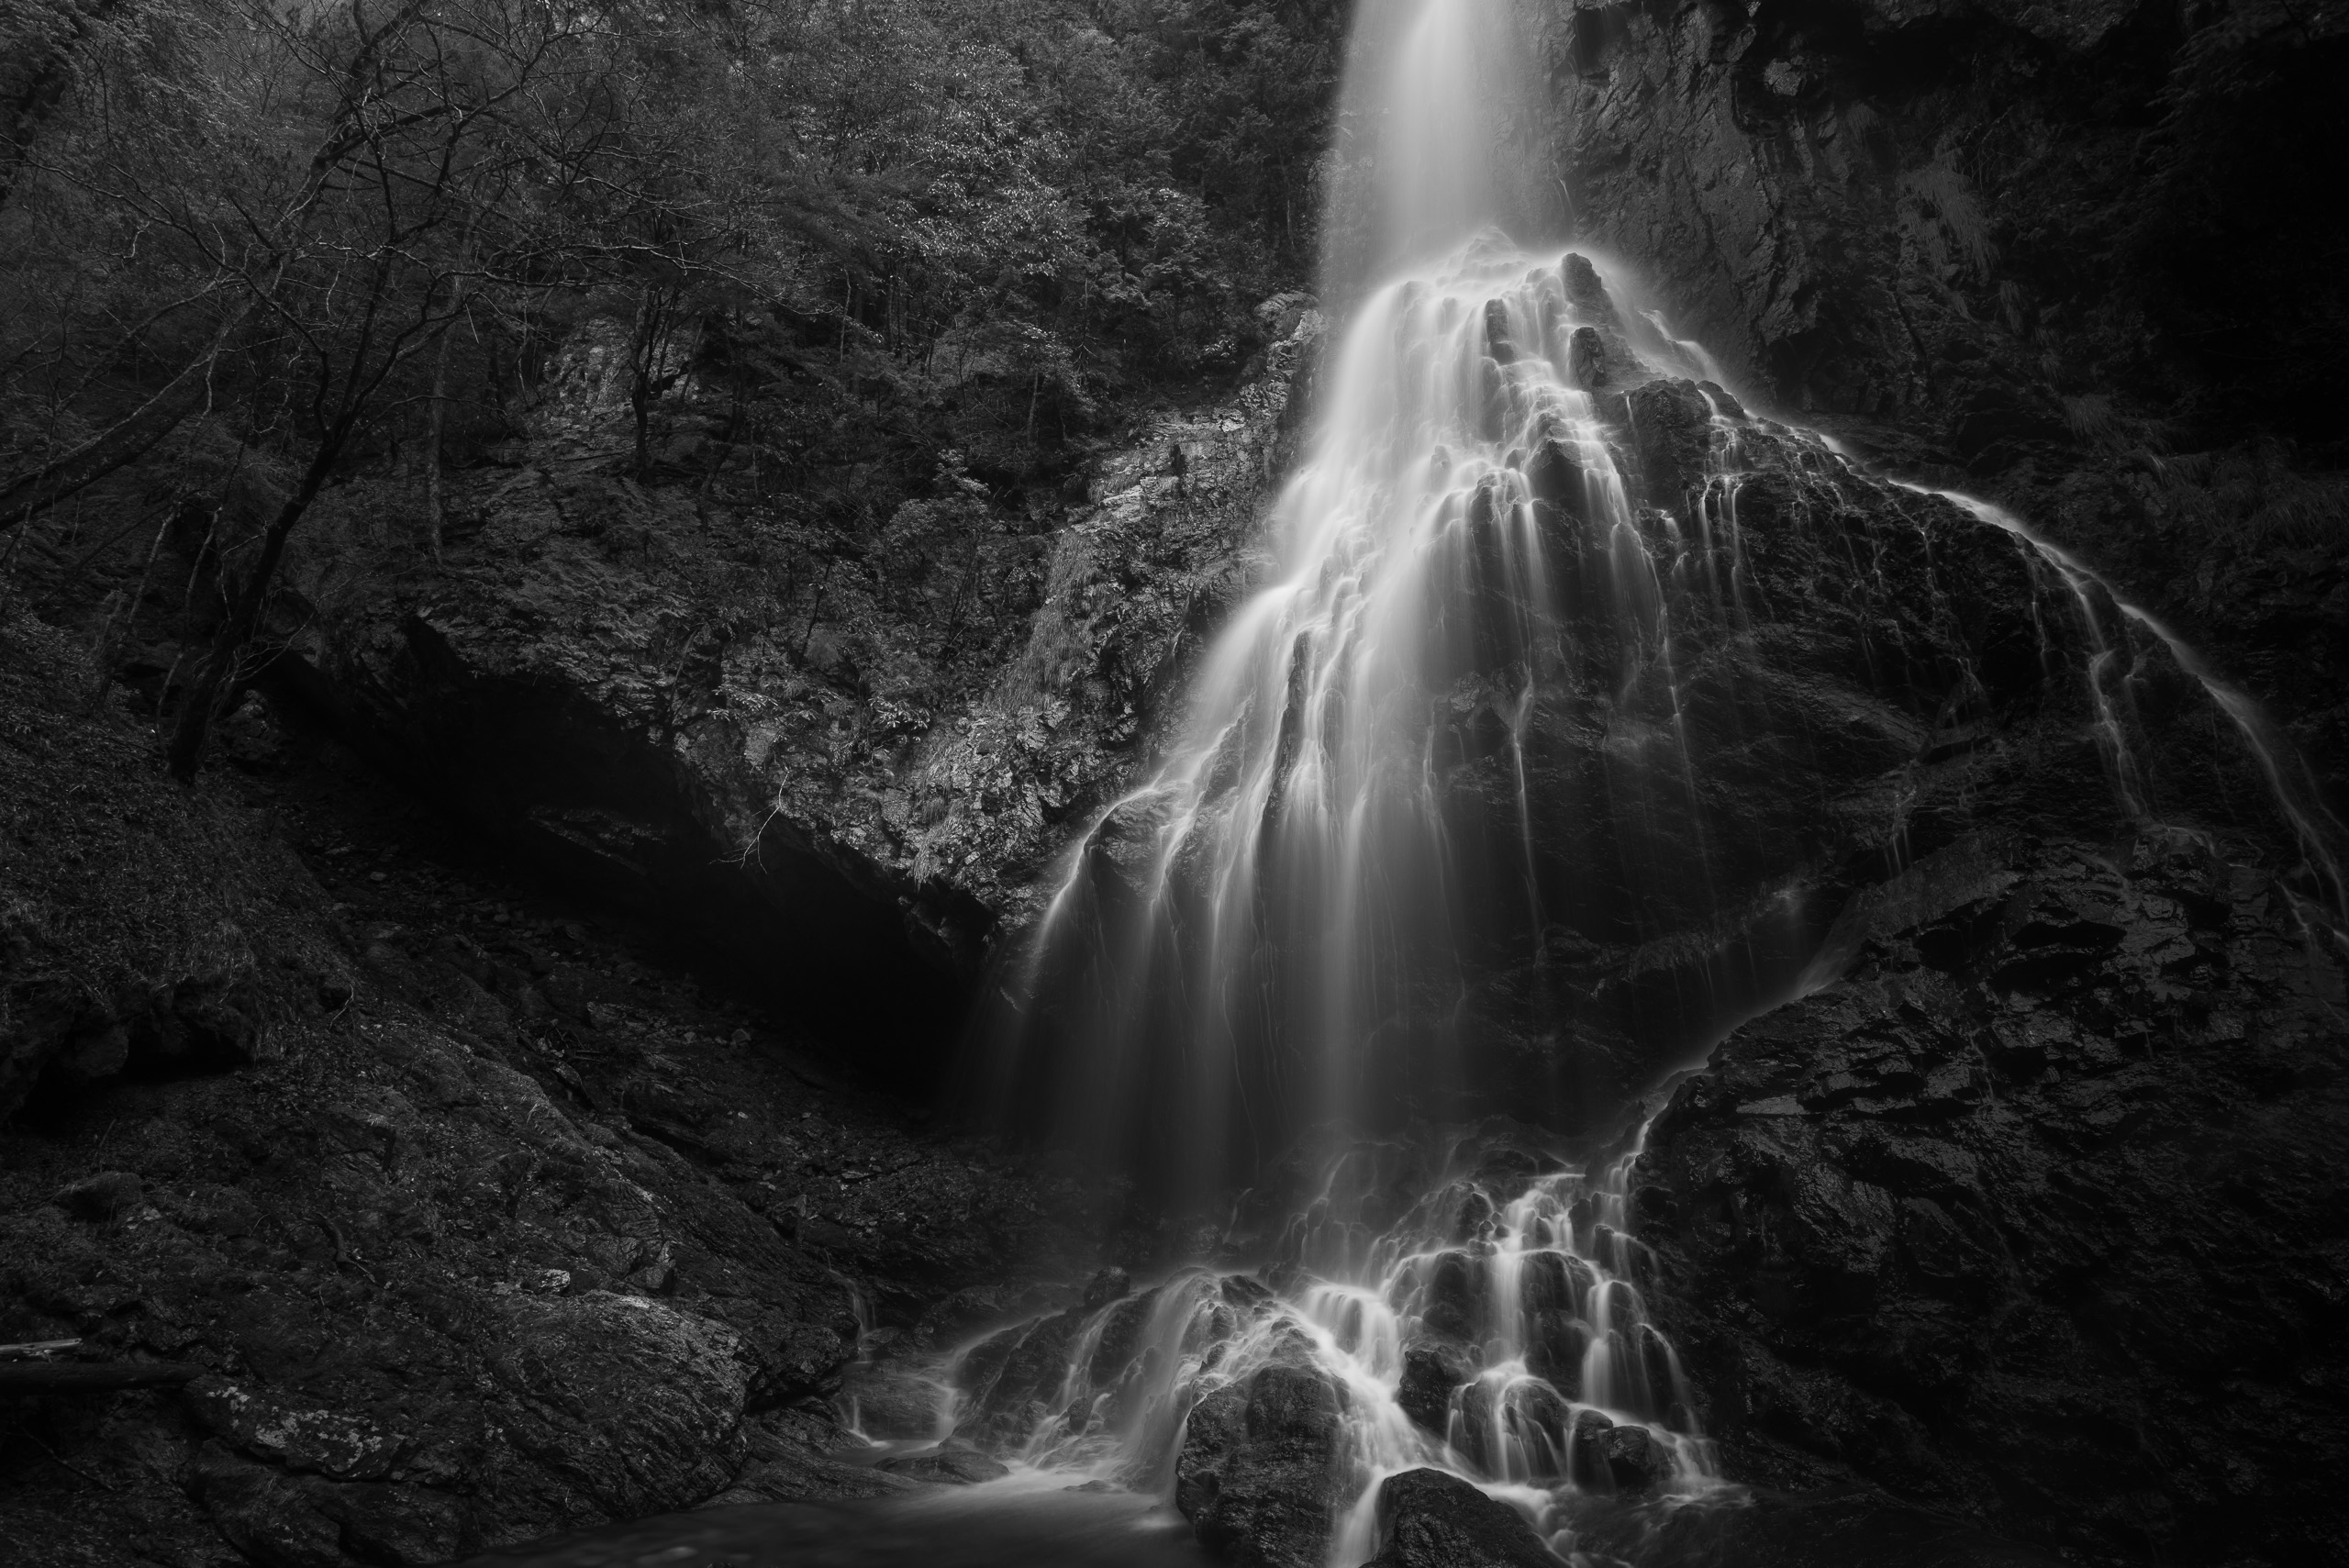
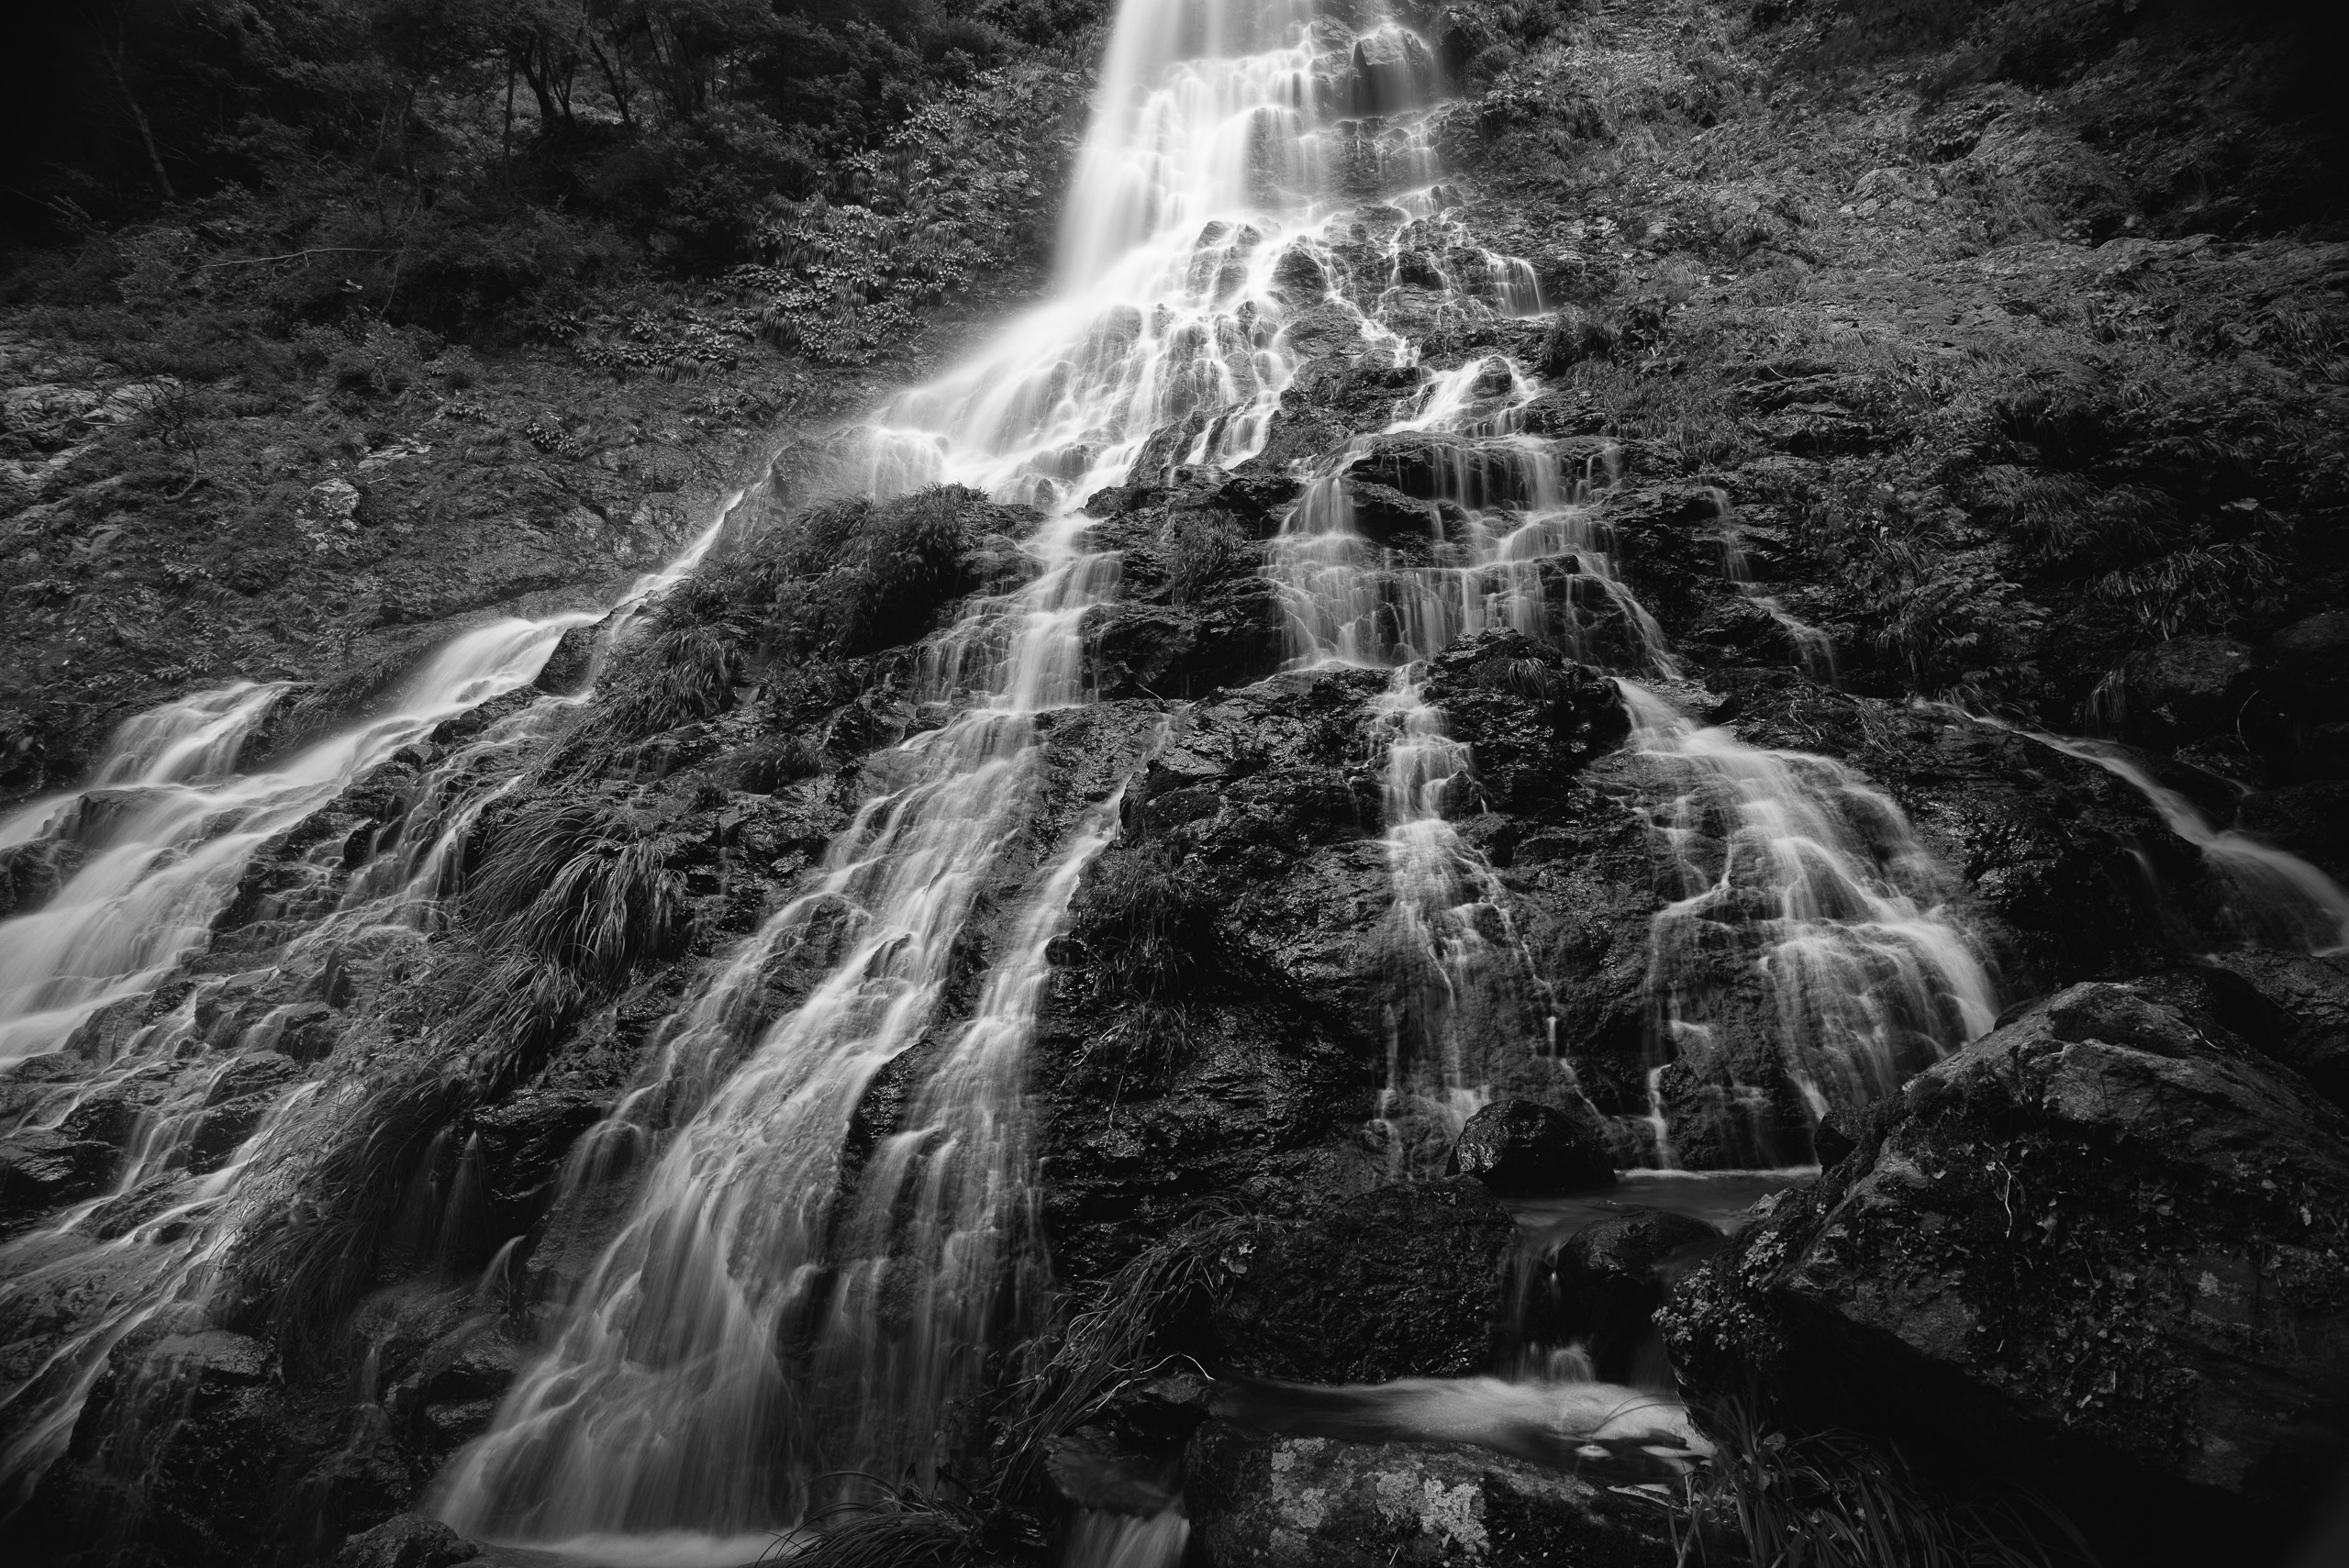
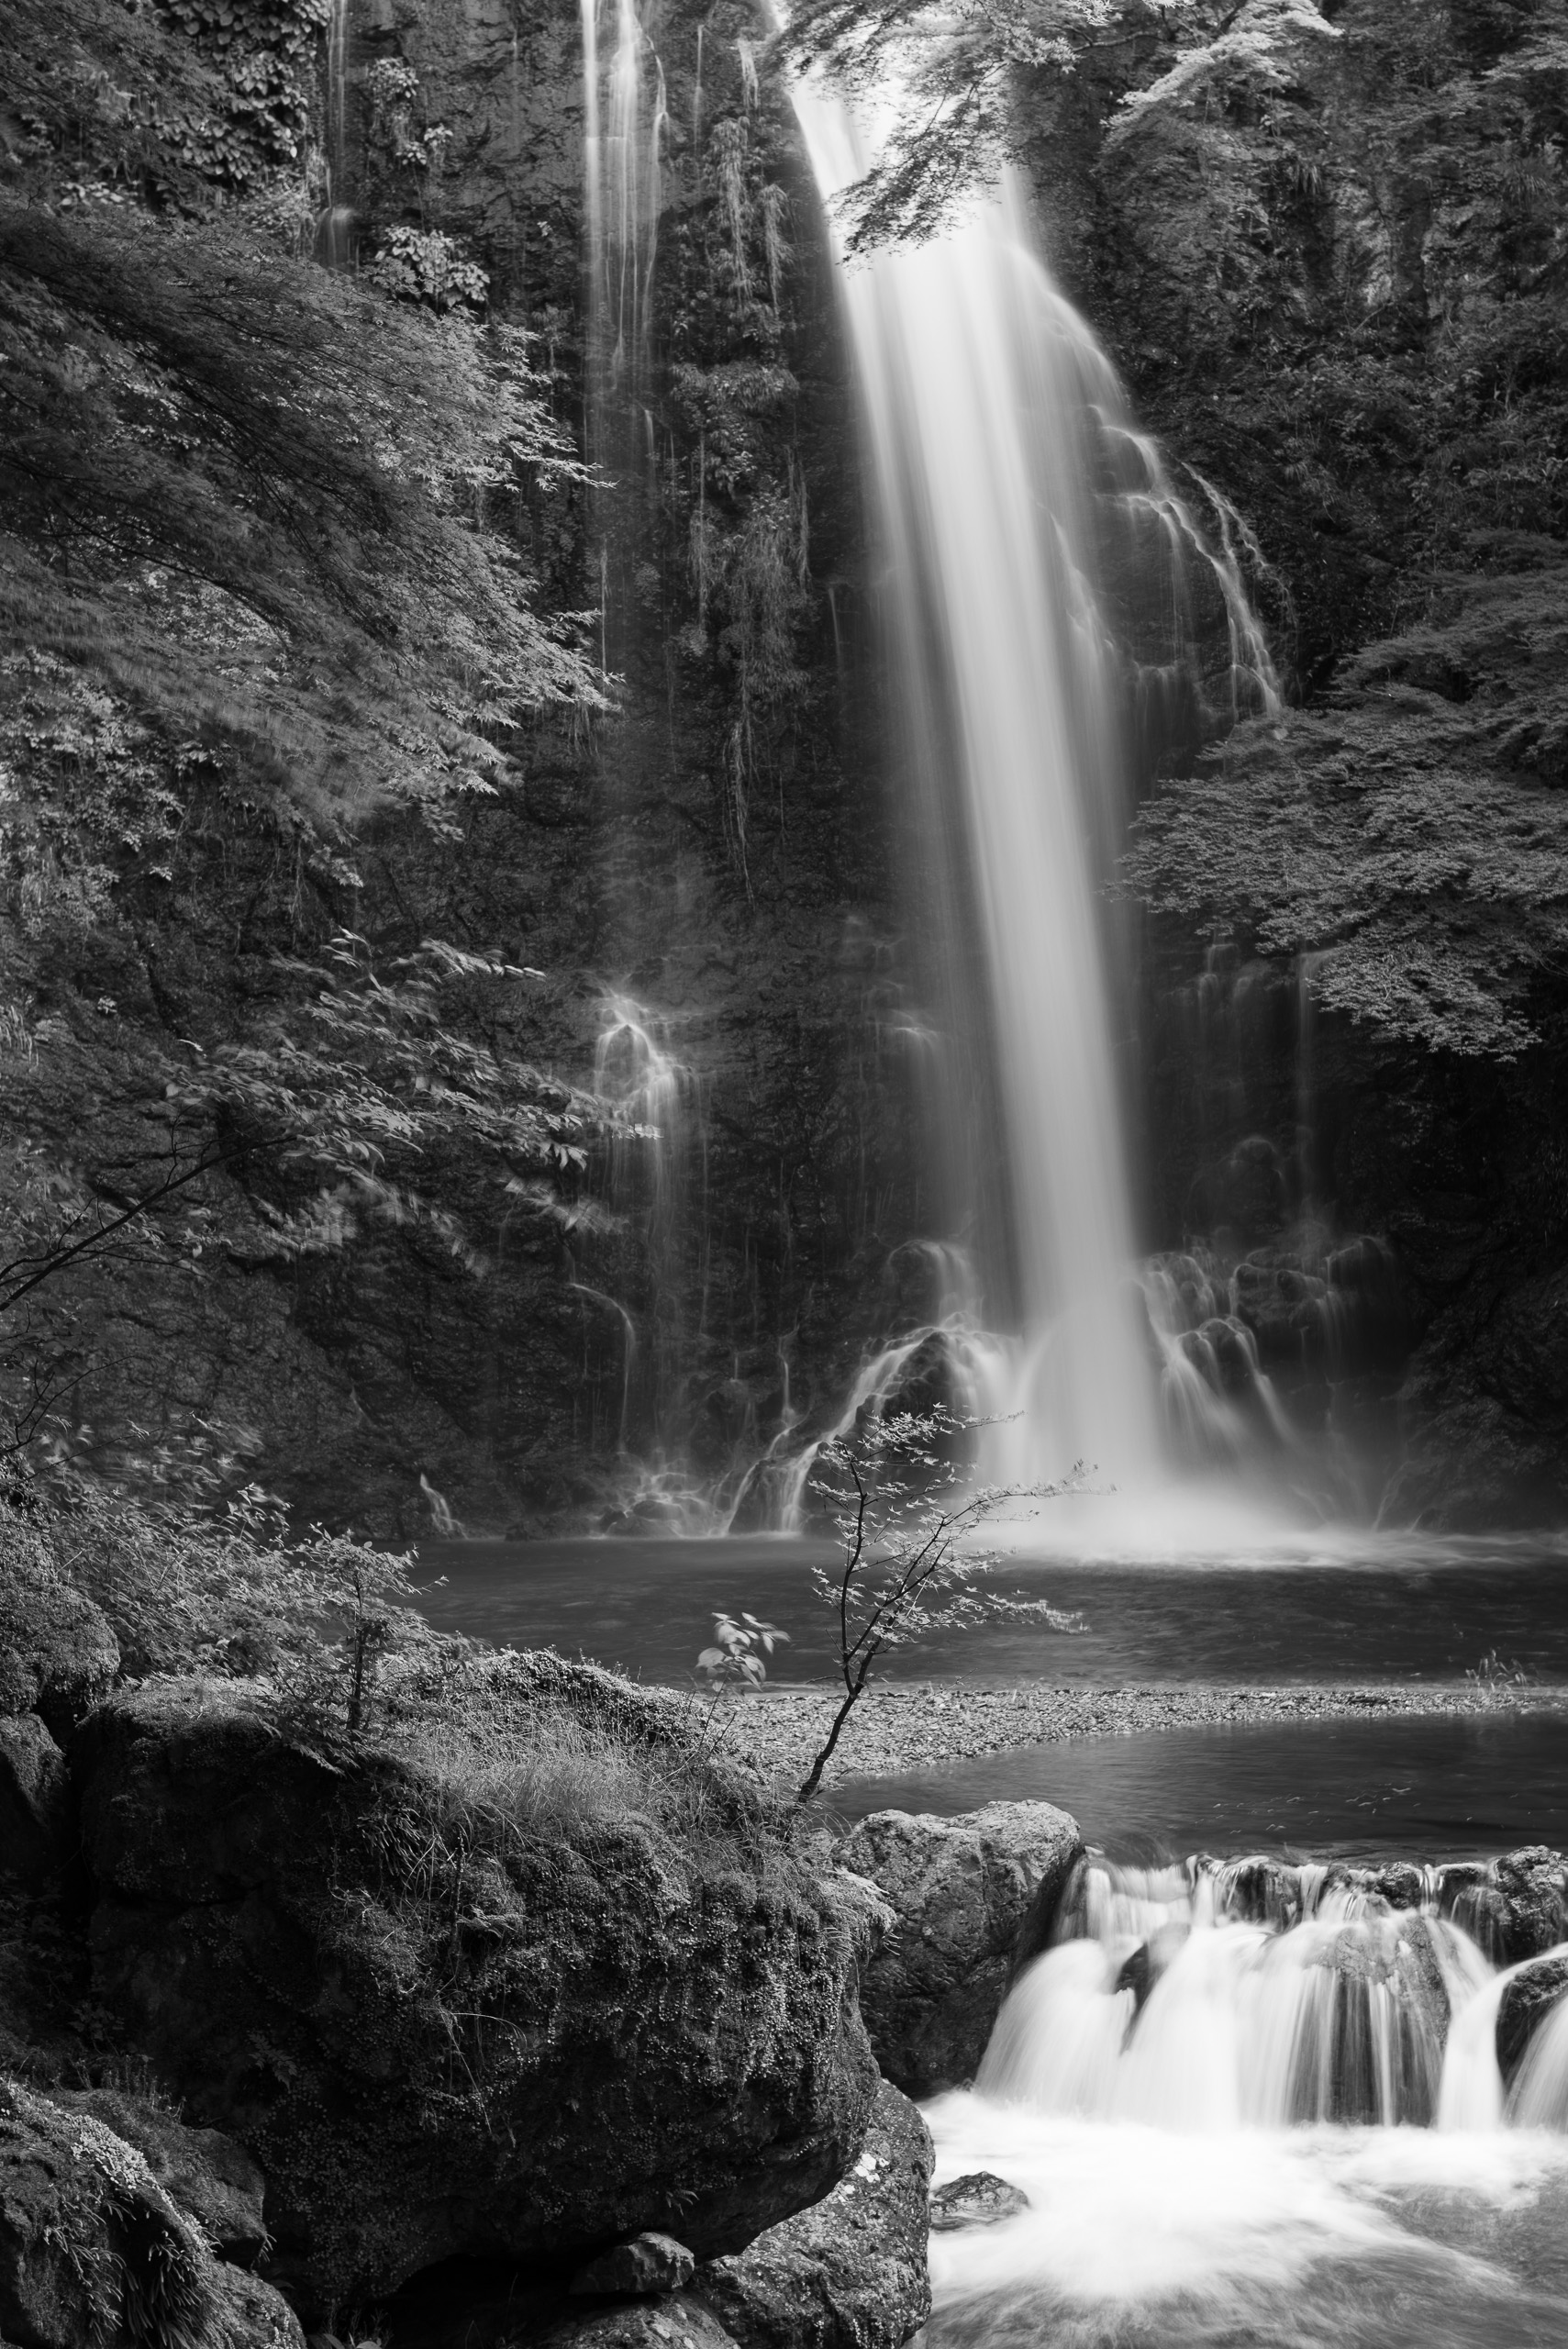
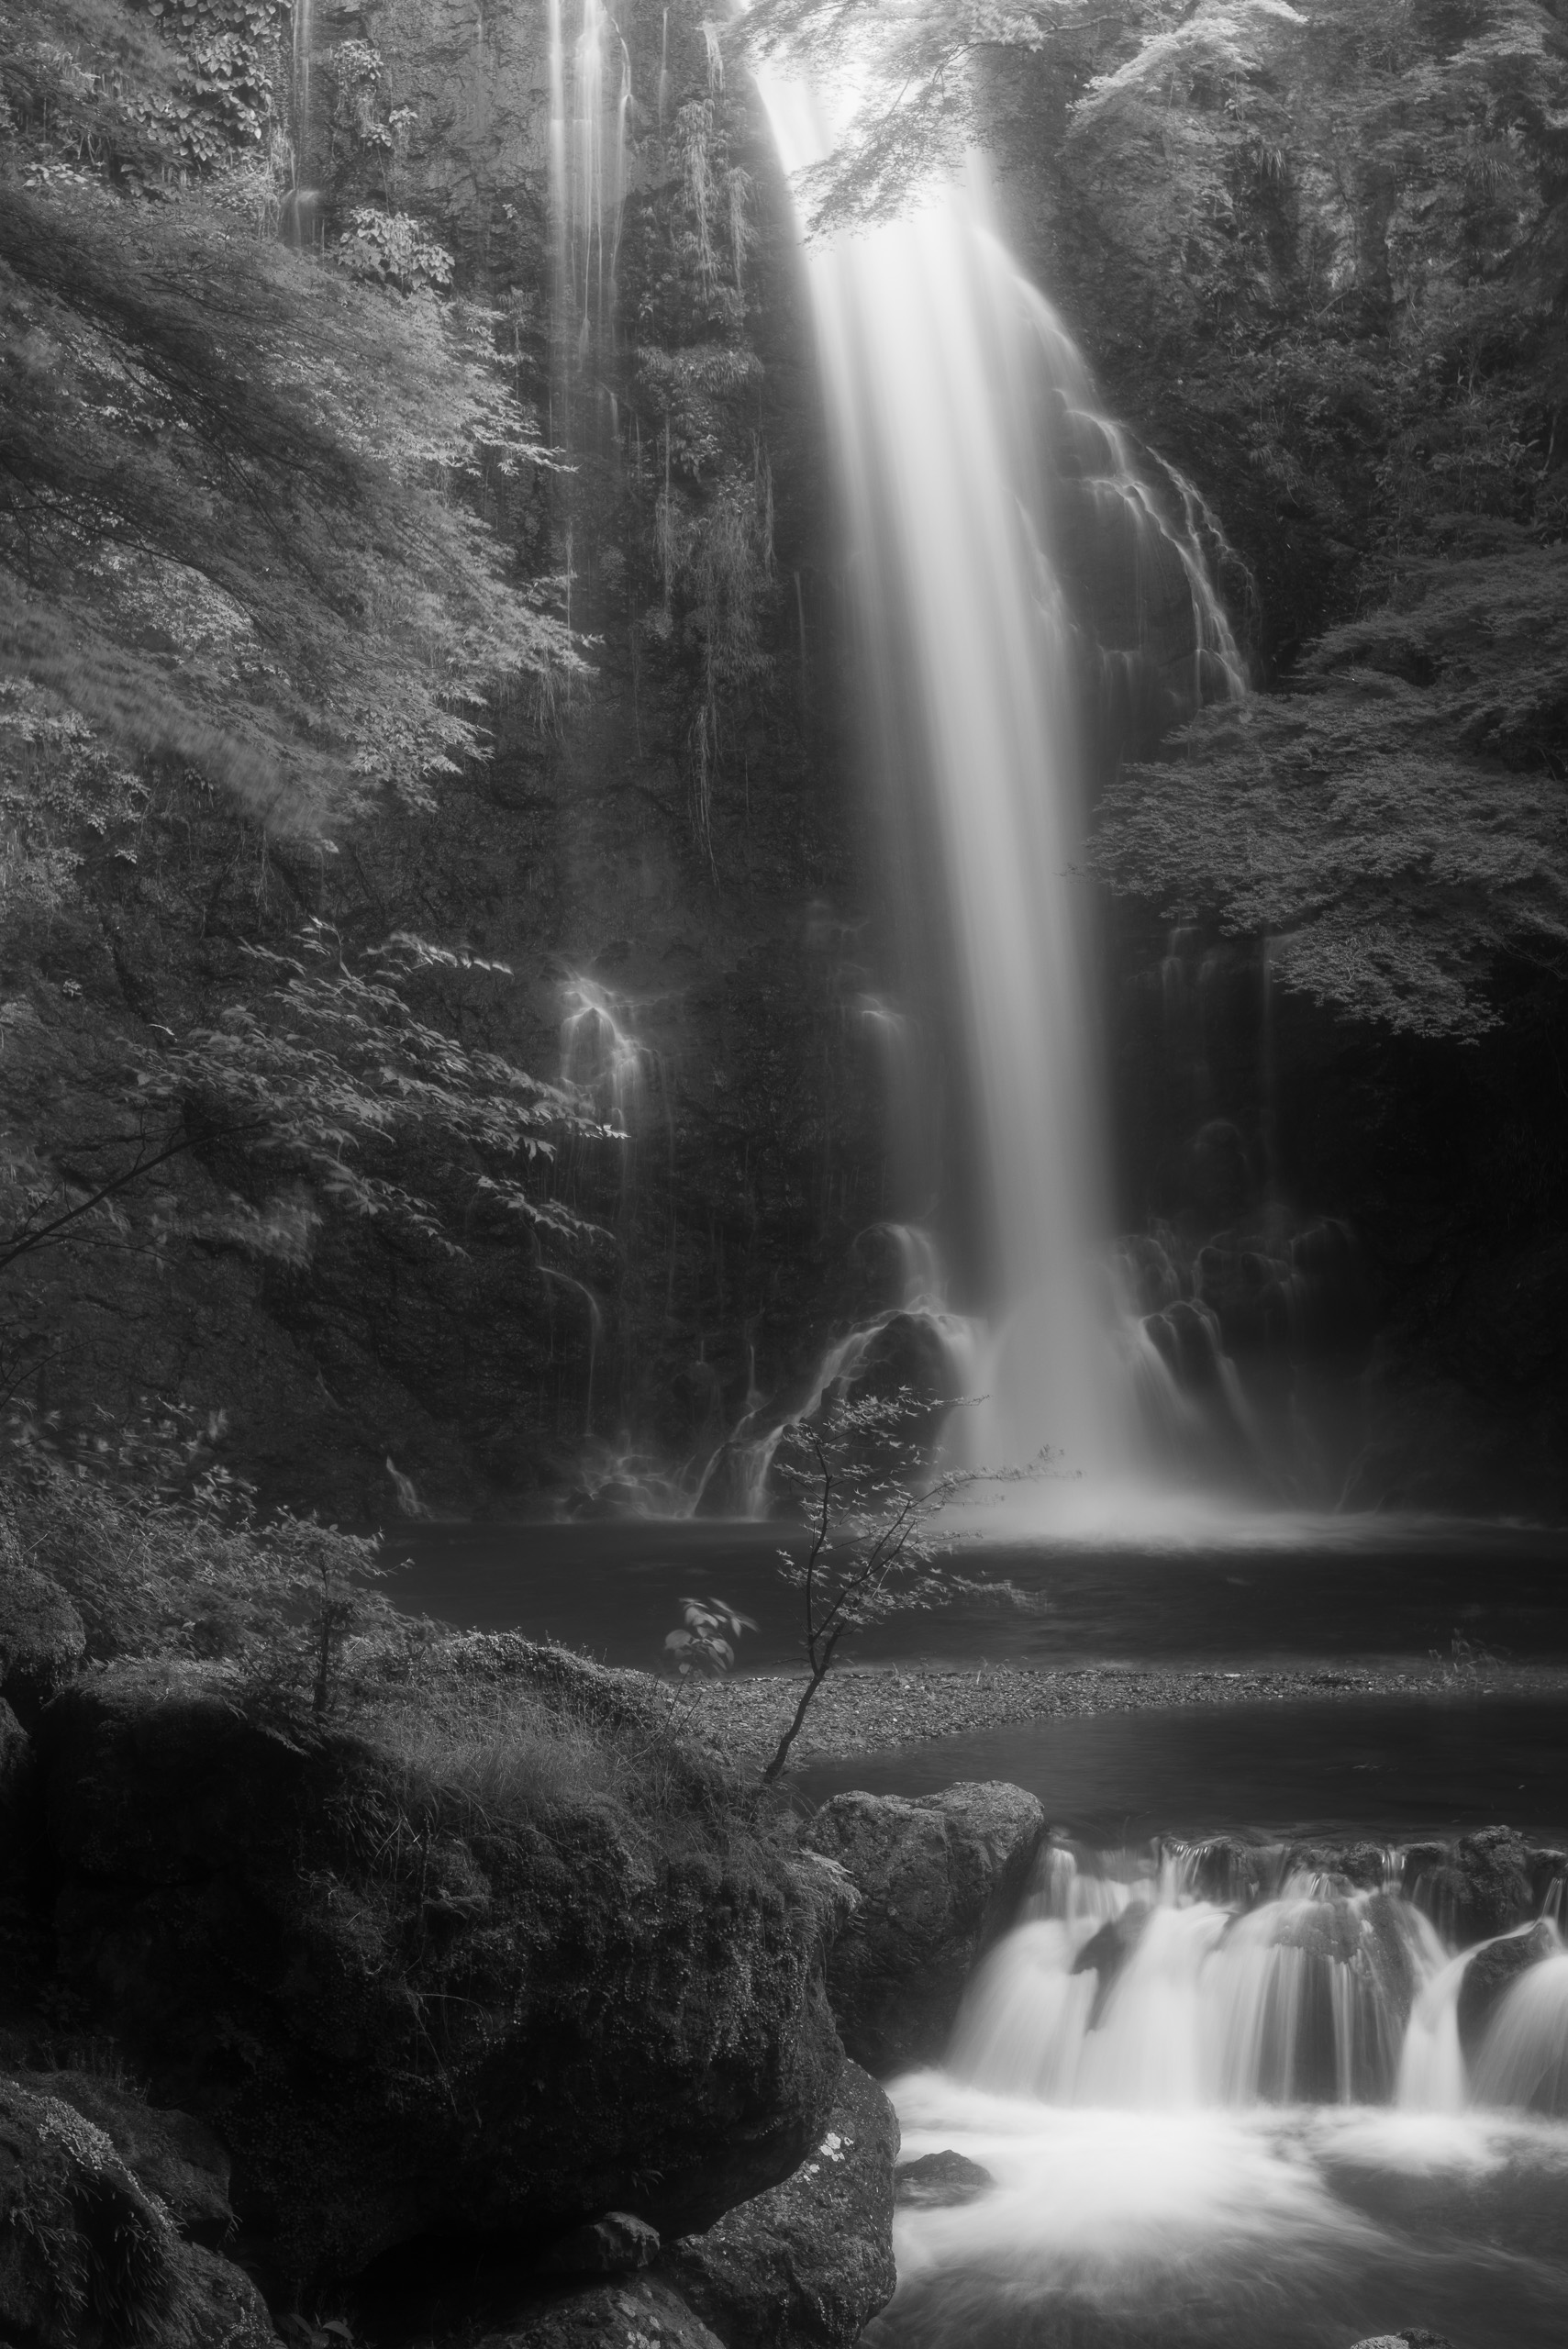
This is my favorite location called “Mifune no Taki” which means Sacred Fall.
I first capture the entire scene of a waterfall(above), then try to find the unique shape of rocks or movement of the scene(bellow).


3.Watch the Sun light
Avoid Direct and harsh light

The direct sunlight is so harsh that you should avoid it as much as possible.
Like the above image harsh light easily makes the water stream blow out.
Be careful with hotspot
Strong sunlight, even coming from between the leaves, makes hotspots easily. They remain no matter how to be lowered the exposure in the post process.

Cloudy is always the best
A longer shutter speed needs stable light conditions, so you can choose over 30 seconds shutter speed without blowing out.
4.Filters
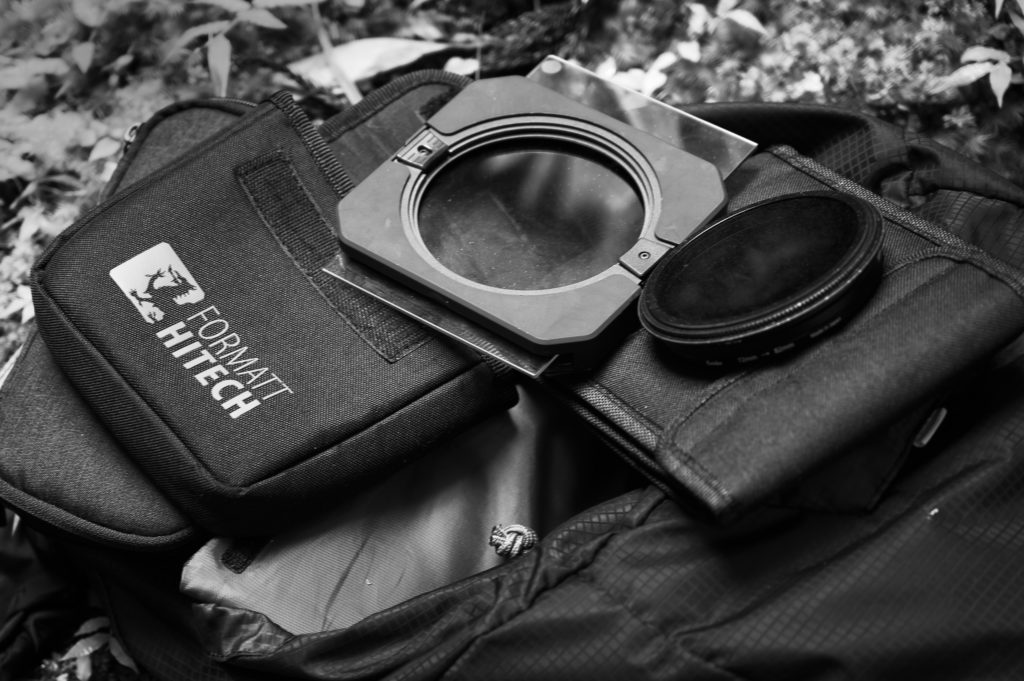
I have nothing to do without ND filters.
Yoshihiko
ND filters
What density is the most useful?
Needless to say, you need ND filters for waterfall photography. So this time I just mention the least ND filters you need to have.
2stops for IOS64. 3stops for ISO100
When my main camera was D800E which base ISO was 100, I used 3 stops the most.
Now Z7 which base ISO is 64, I used 2 stops in the most cases.
When I need to 30sec. to 60sec, I switched for 6 stops. If I need more longer, or a brighter situation, I stack them (2+6=8 stops), or changed to 10 stops ND filter.
But I rarely use 10 stops ND filter in waterfall photography.
So You should have..
2 (3) stops, 6 stops, and CPL. That’s it.
CPL FILTER
No one shoots without CPL filters in Landscape photography.
In Black and White Waterfall photography, you definitely use a CPL filter to control the reflection and contrast.
Since black and white photography is expressed with only grayscale, you should be more careful about the reflection control, than when you do it in color images.
CPL effect comaprison in color
These are the color image captured with a CPL filter. The 1st image is no CPL effect. 2nd one is
half, the 3rd one is full. 4th one, I added subtle reflection on rocks with a less CPL effect.

CPL effect comaprison in Black and White

As you can see, you can gain a maximum contrast with the full CPL effect(3). I prefer to remain subtle reflections(4) for making clear outlines of the rocks.
Below is a real example of how a CPL filter did excellent work in controlling the contrast and reflections in the field.
Defusion filter
Defusion filters are my recent favorite for shooting waterfalls.
There are various defusion filters in the market, but I strongly recommend using cinema quality diffusion filters. My recomandasion is Pro mist [Tiffen] or Clear Supermsit Clear Supermsit[Formatt Hitech]. Their defusion filters have various densities, so you can choose subtle effects to notable effects. I prefer the density from 1/4 or 1/2. A little density does not lose any details and, most importantly, softens the highlight and adds a subtle glow to the water stream.
COLOR
BW
A real glass always wins
You might say:
“Hey Yoshi, just do them with Photoshop!”
I know, I know, “glamor grow effect” or using some plugin, like color efex pro, you can make the soft-feeling image. However, for me, the fake effect is equal to buying a fake brand bag.
For seasoned experts, the difference between “real” and “fake” is always clear.
5.Postprocess
My workflow for black and white waterfall photography is mainly 3 ways.
1.Lightroom
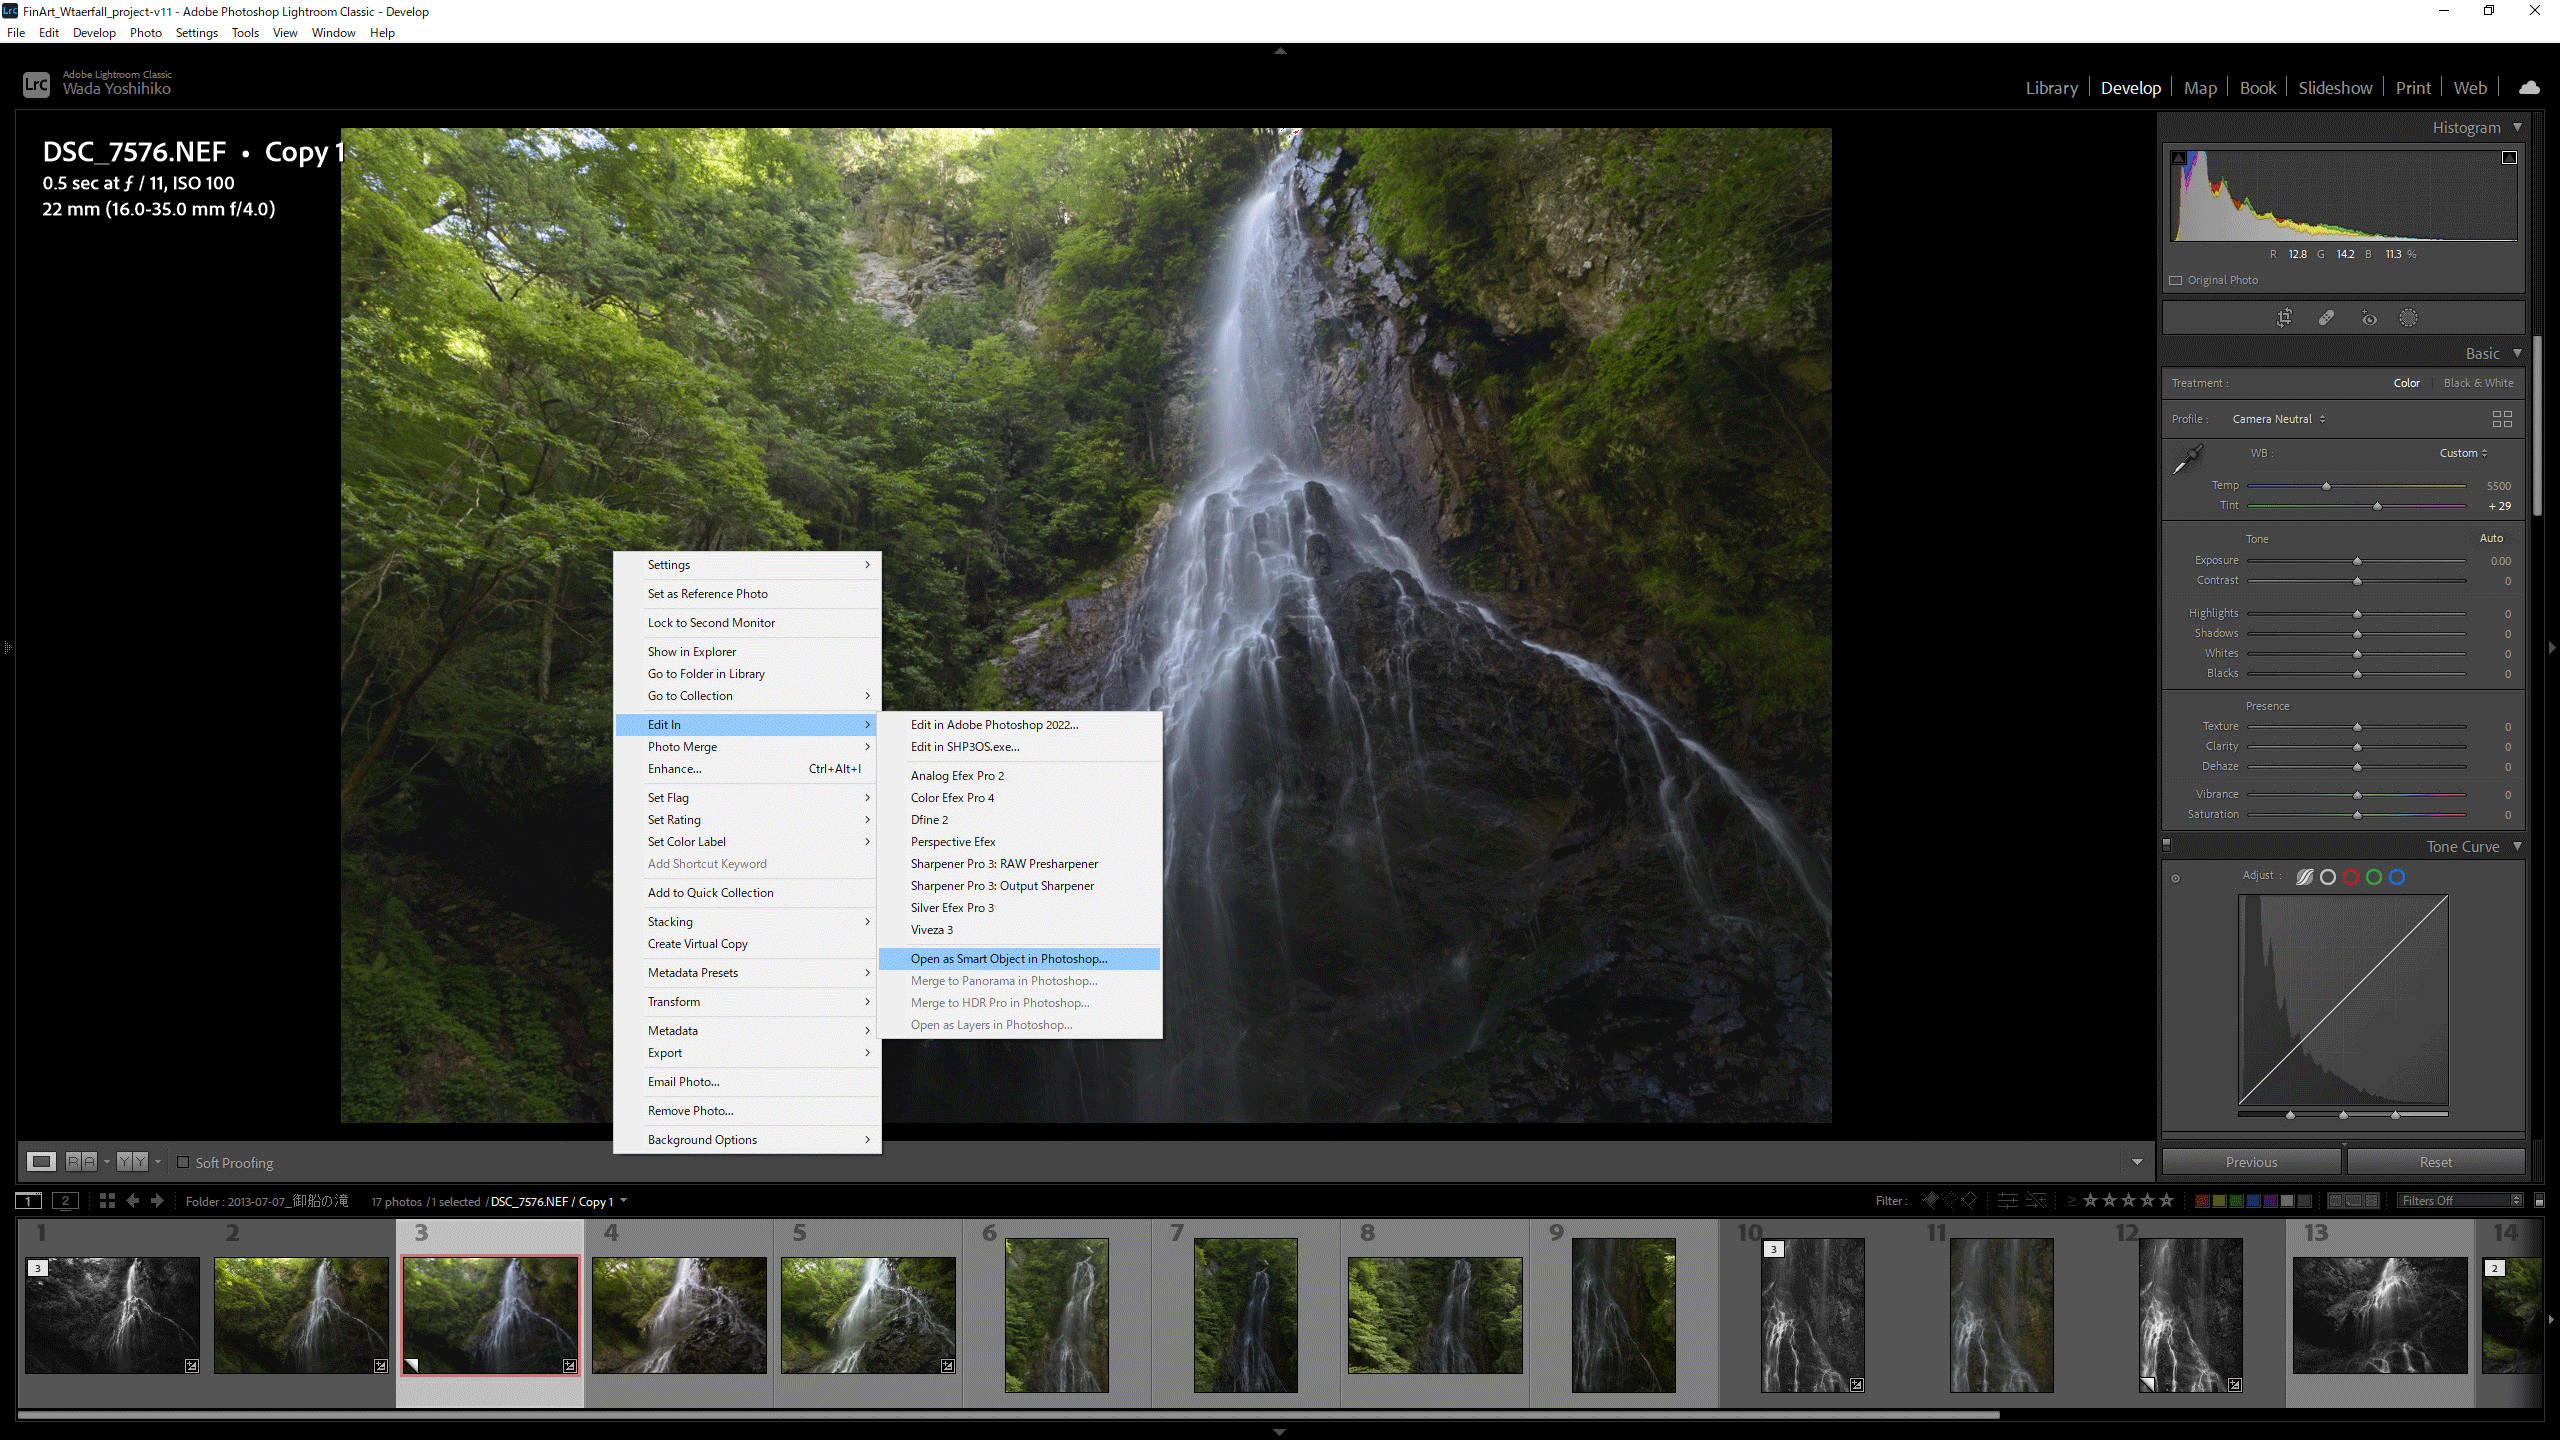
I prefer Adobe Lightroom since it is RAW-based editing software that can control and keep every aspect of the original data. You can explore and experiment with your raw images for reach the goal. If you do not like your edit, you can always go back to the original data with one click.
Local adjustment
Today’s Lightroom can do pretty much as same as Photoshop:
has many tools and more precise selective masks than previous versions of it.
I only go photoshop when I need multiple layers for editing details, which is difficult to do with only Lightroom.
DXO Nik Silver Efex
This is the most famous B&W editing software (or plugin) and had been known as Silver Efex Pro. I abbreviate it as “SFP” from now on.
Instead of Lightroom, this is Tiff-based editing software.
This means you have to apply a camera profile before you start to edit it.
That means when you set a contrasty color profile (like adobe landscape), the starting image in SFP will also be the contrasty Black and White image.
So I recommend setting a “Flat” or “neutral” camera profile for the starter.
Having said that this won’t be a problem. “Tiff” has enough information for editing,
But you’d better know that a converted “TIFF” does not have the same information as same as an original RAW.
Photoshop with Nik Silver Efex
Smart Object and Smart Filter
When you edit with Silver Efex Pro on Photoshop, you can use smart object and smart filter: which means you have fully non-destructive editing.
How to use
After the basic treatment in Lightroom,
Open as a smart object in Photoshop. Then chose NIK “Silver efex Pro.”
After edited with Silver Efex Pro,
You can back and forth from Photoshop to SFP or the original RAW if you need to.
You can use multiple SFP layers for editing like fanart architecture photography of course.
I’ll write about tutorials for Black and White Photography in waterfalls in the future on my blog.

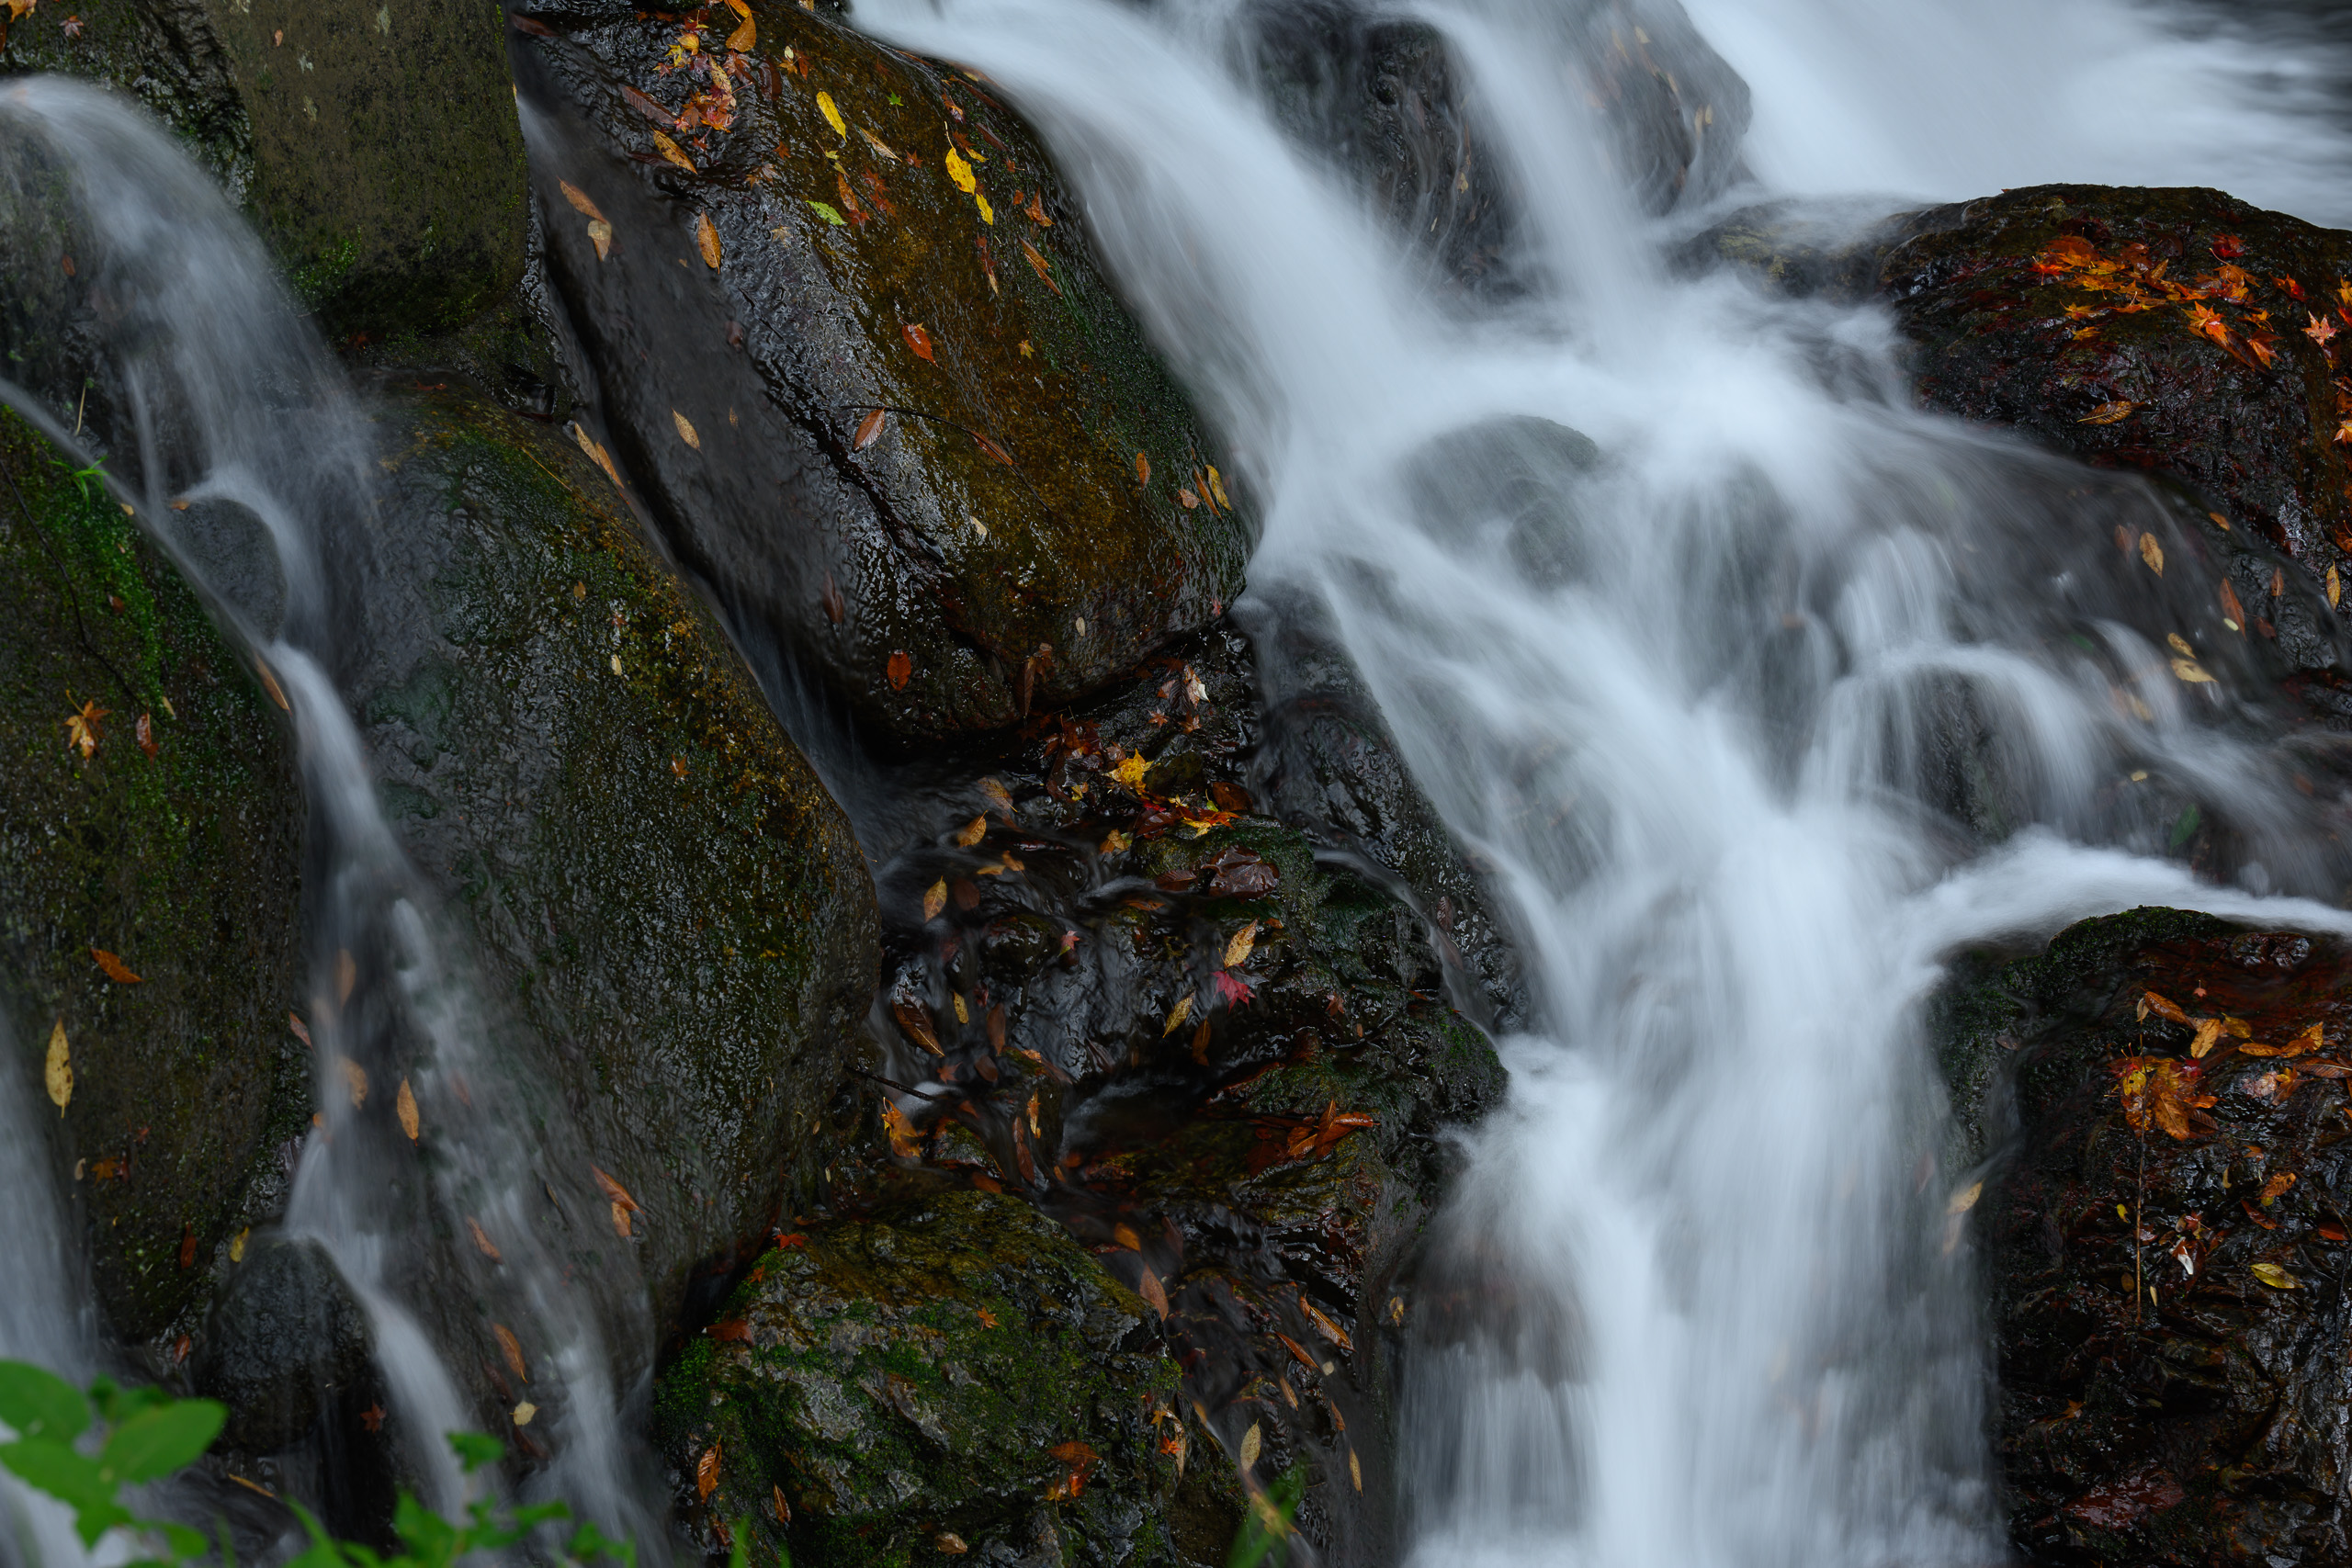
+1 tips: Keep them in color
Paradoxically for this blog, in many cases, I prefer waterfall images seen in color.
Especially every Autumn, I love to shoot colored leaves in a creek.
I hope you can enjoy this article, and found some beauty in nature. See you in the next blog!


Comment