
What do you do when you think “OK, it’s done!”?
Is the image really finished?
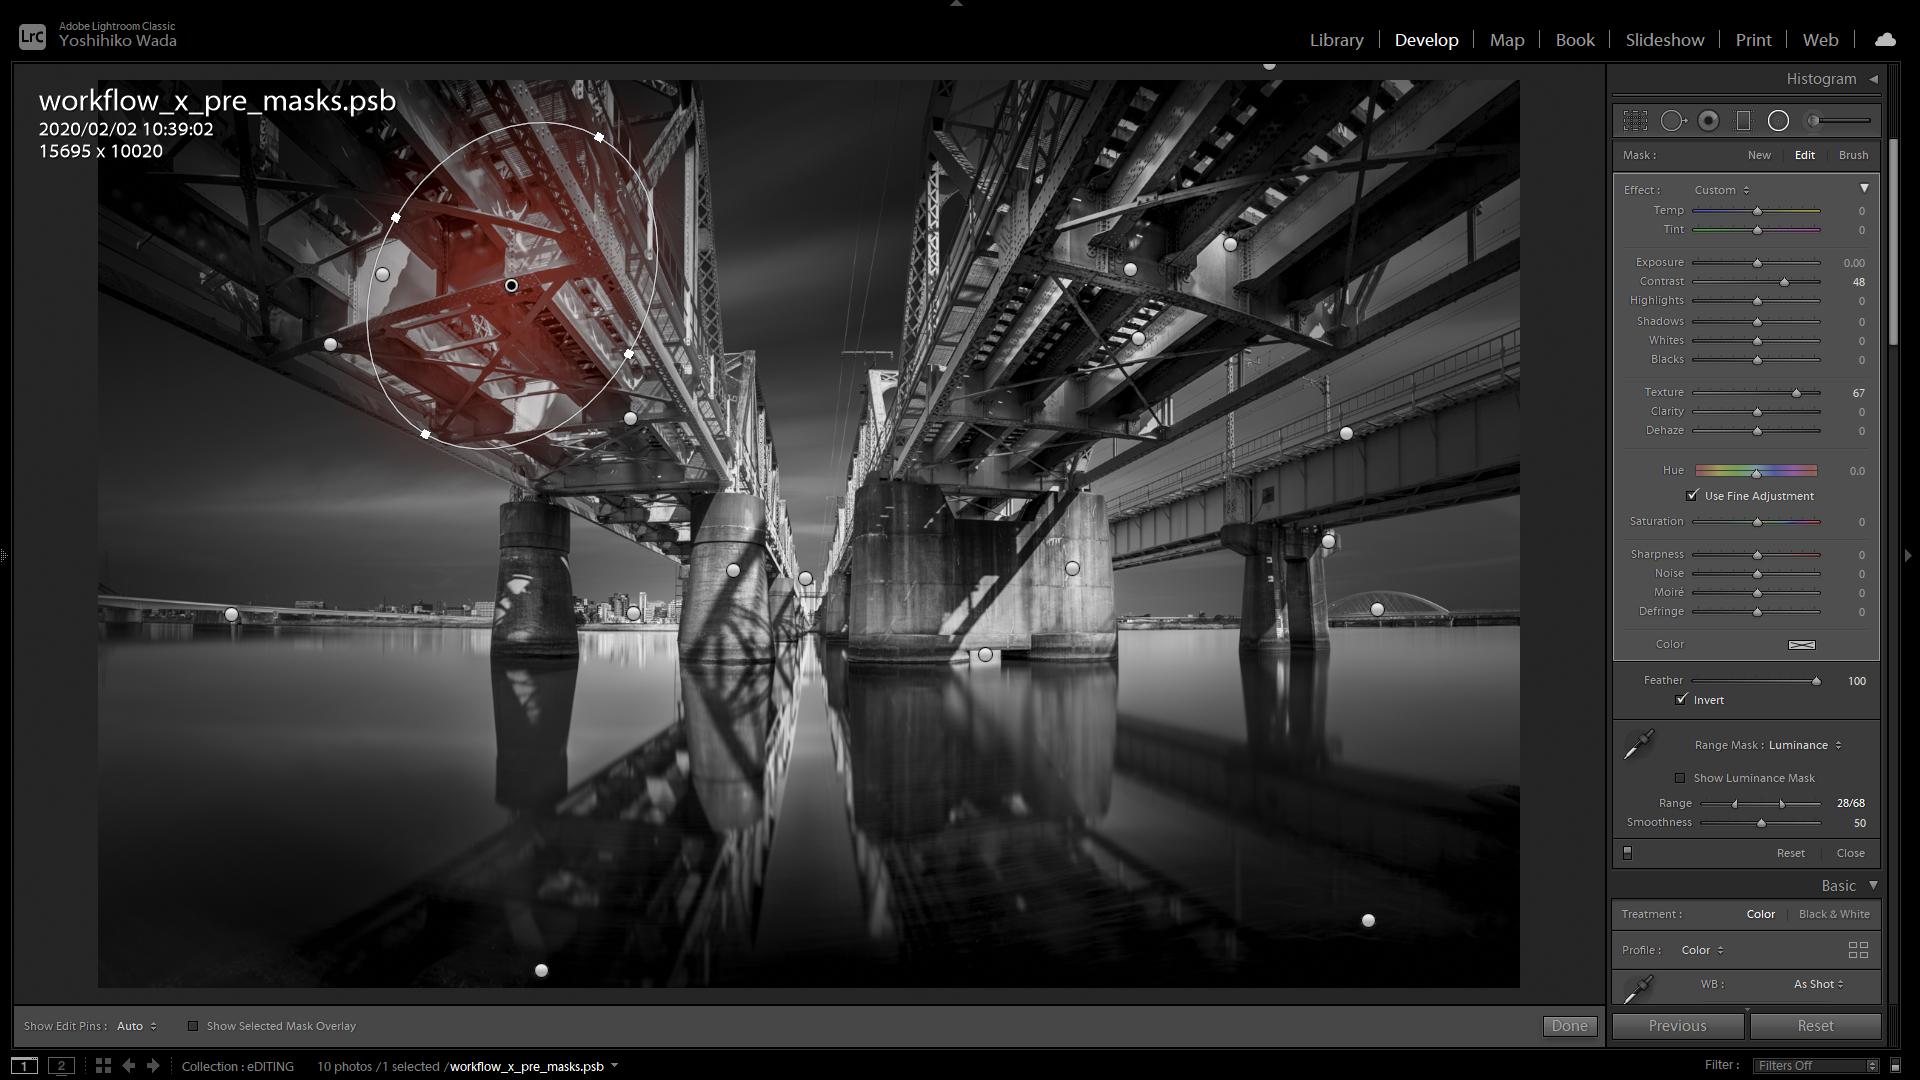
De fringe
eliminate the fringe
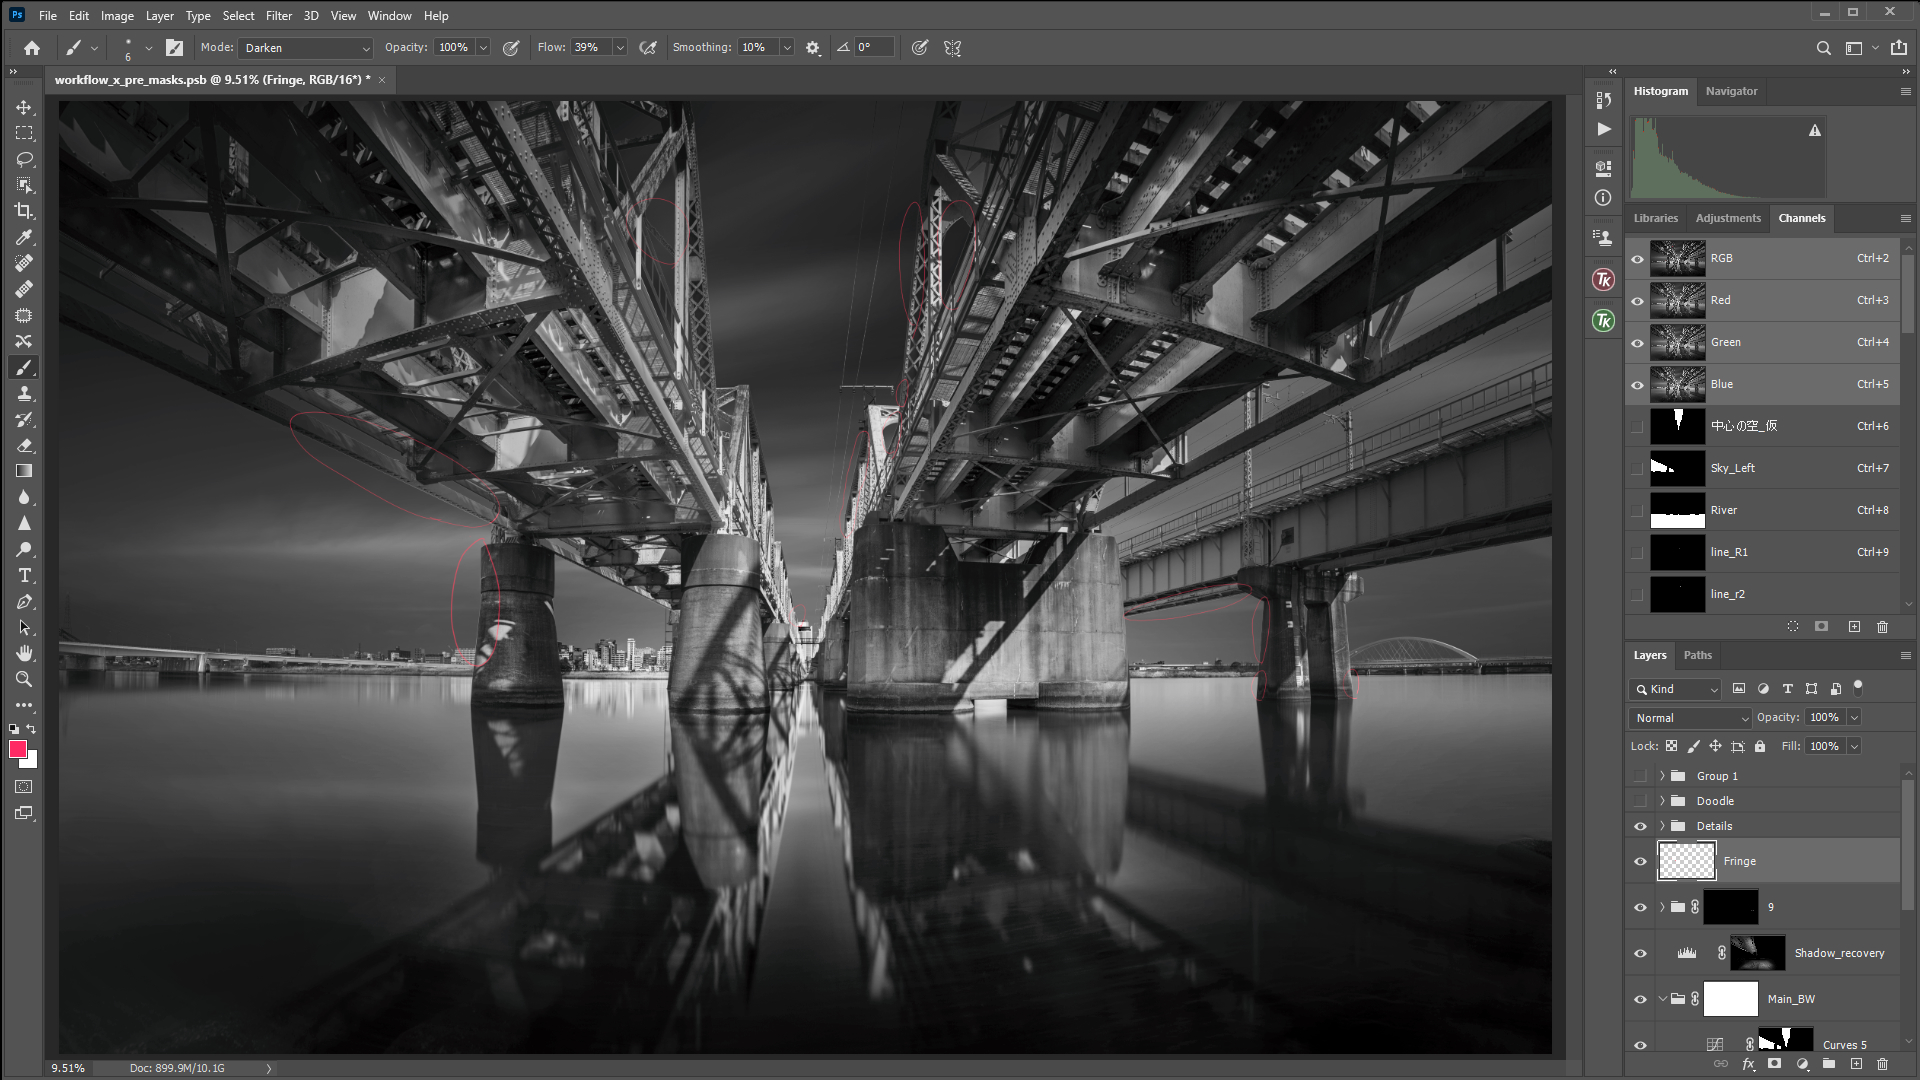
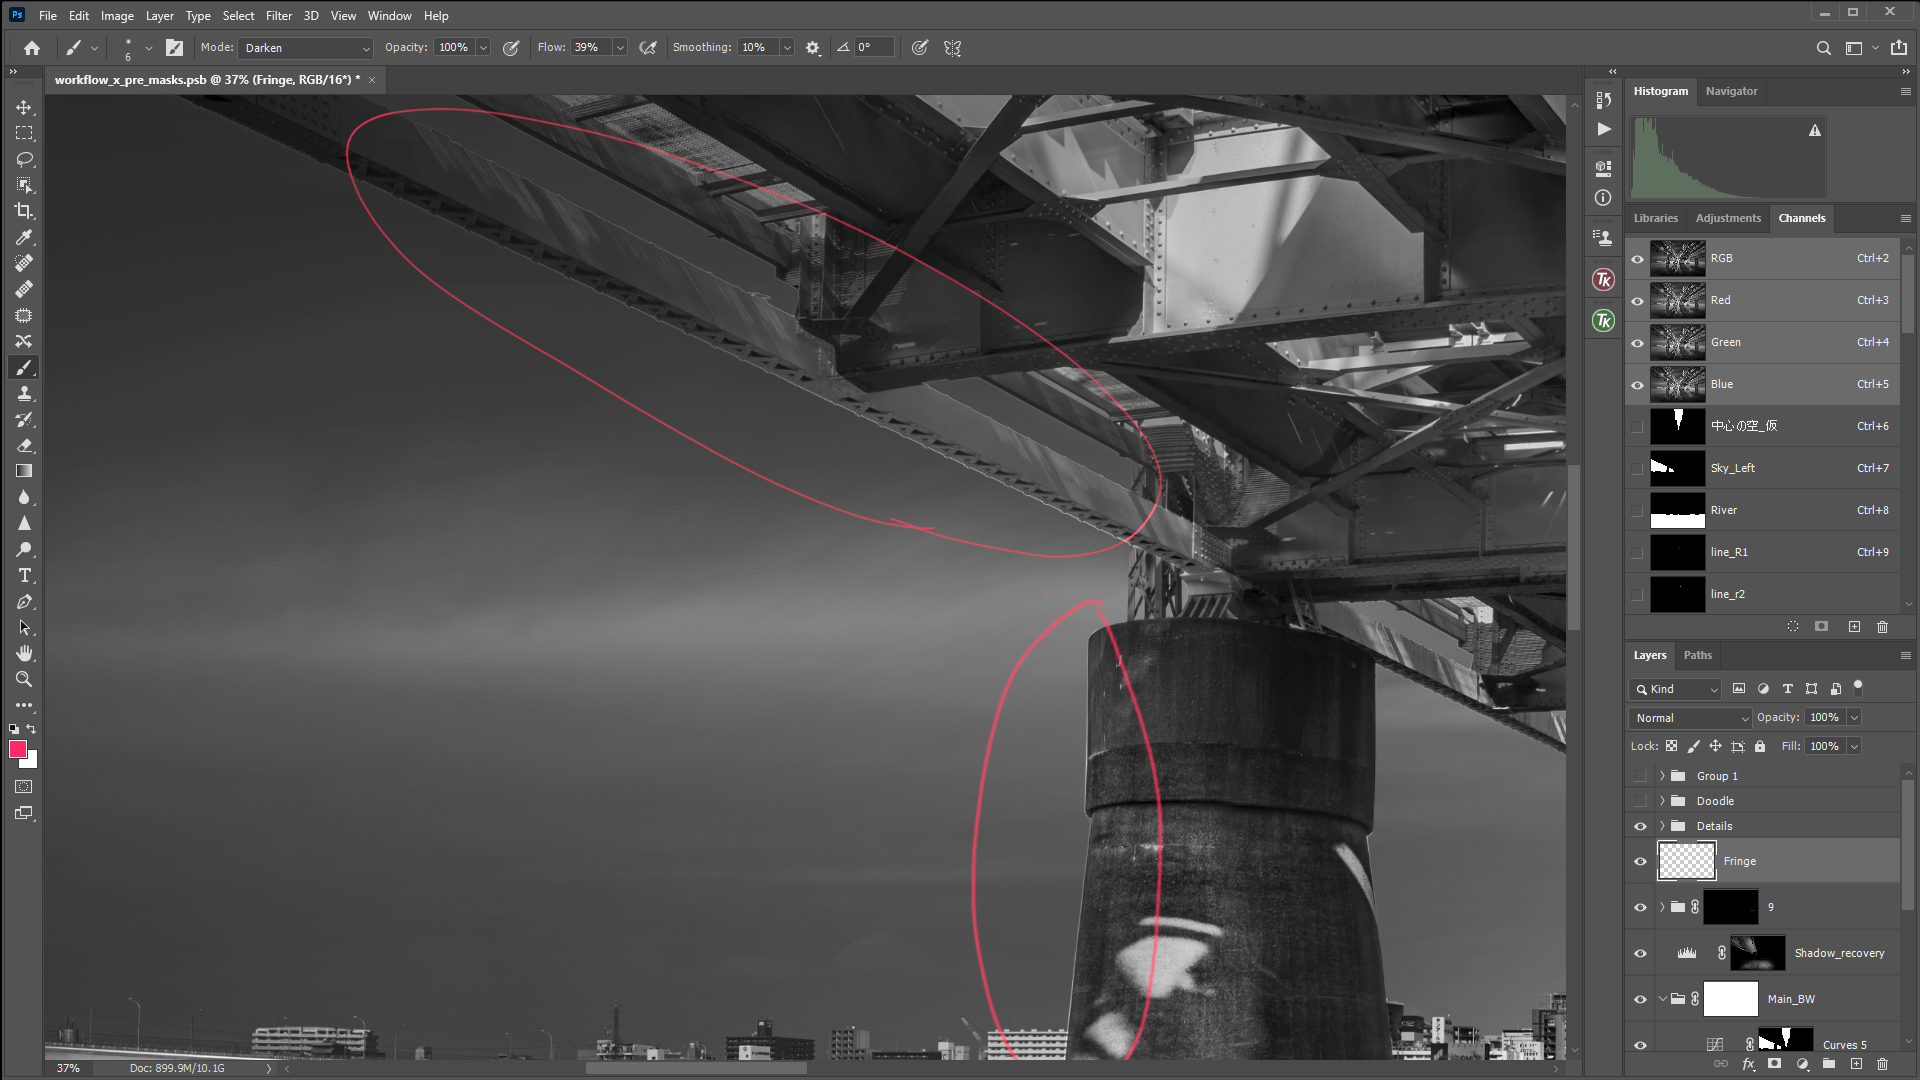
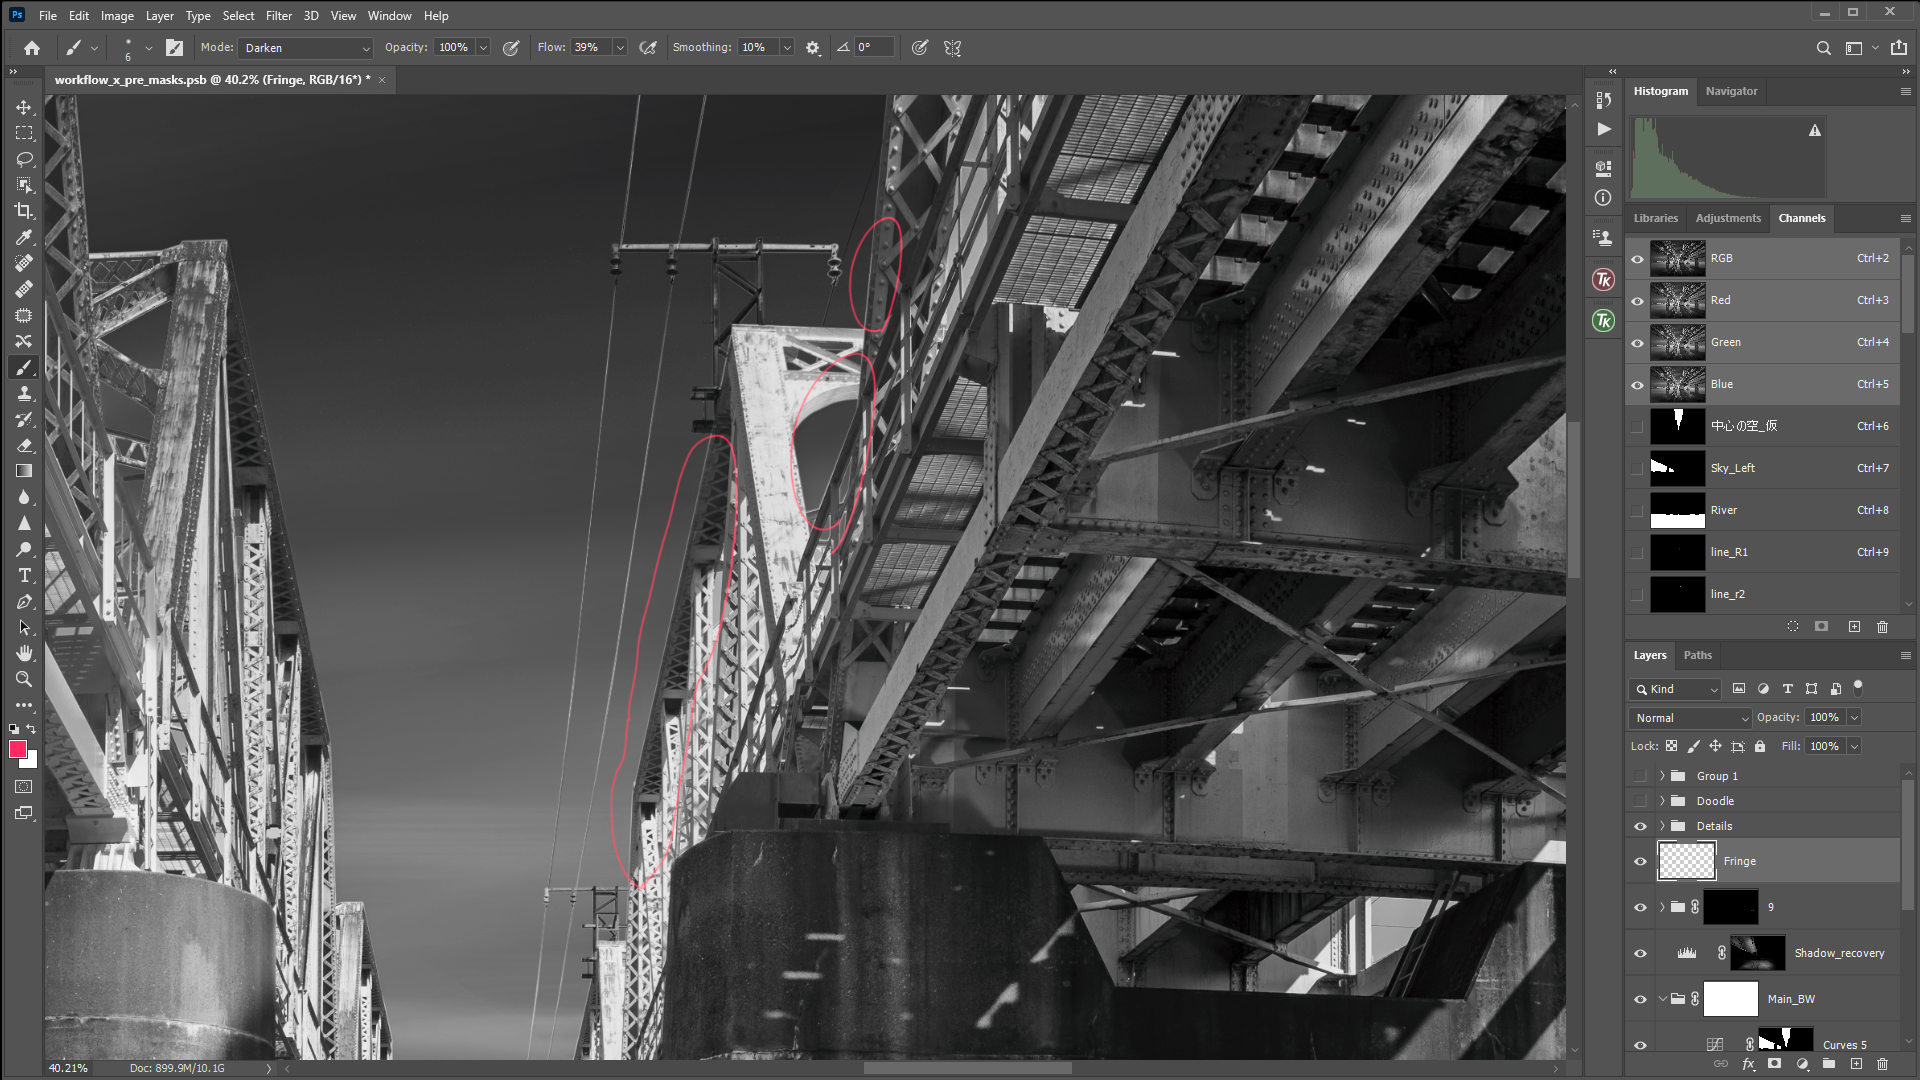
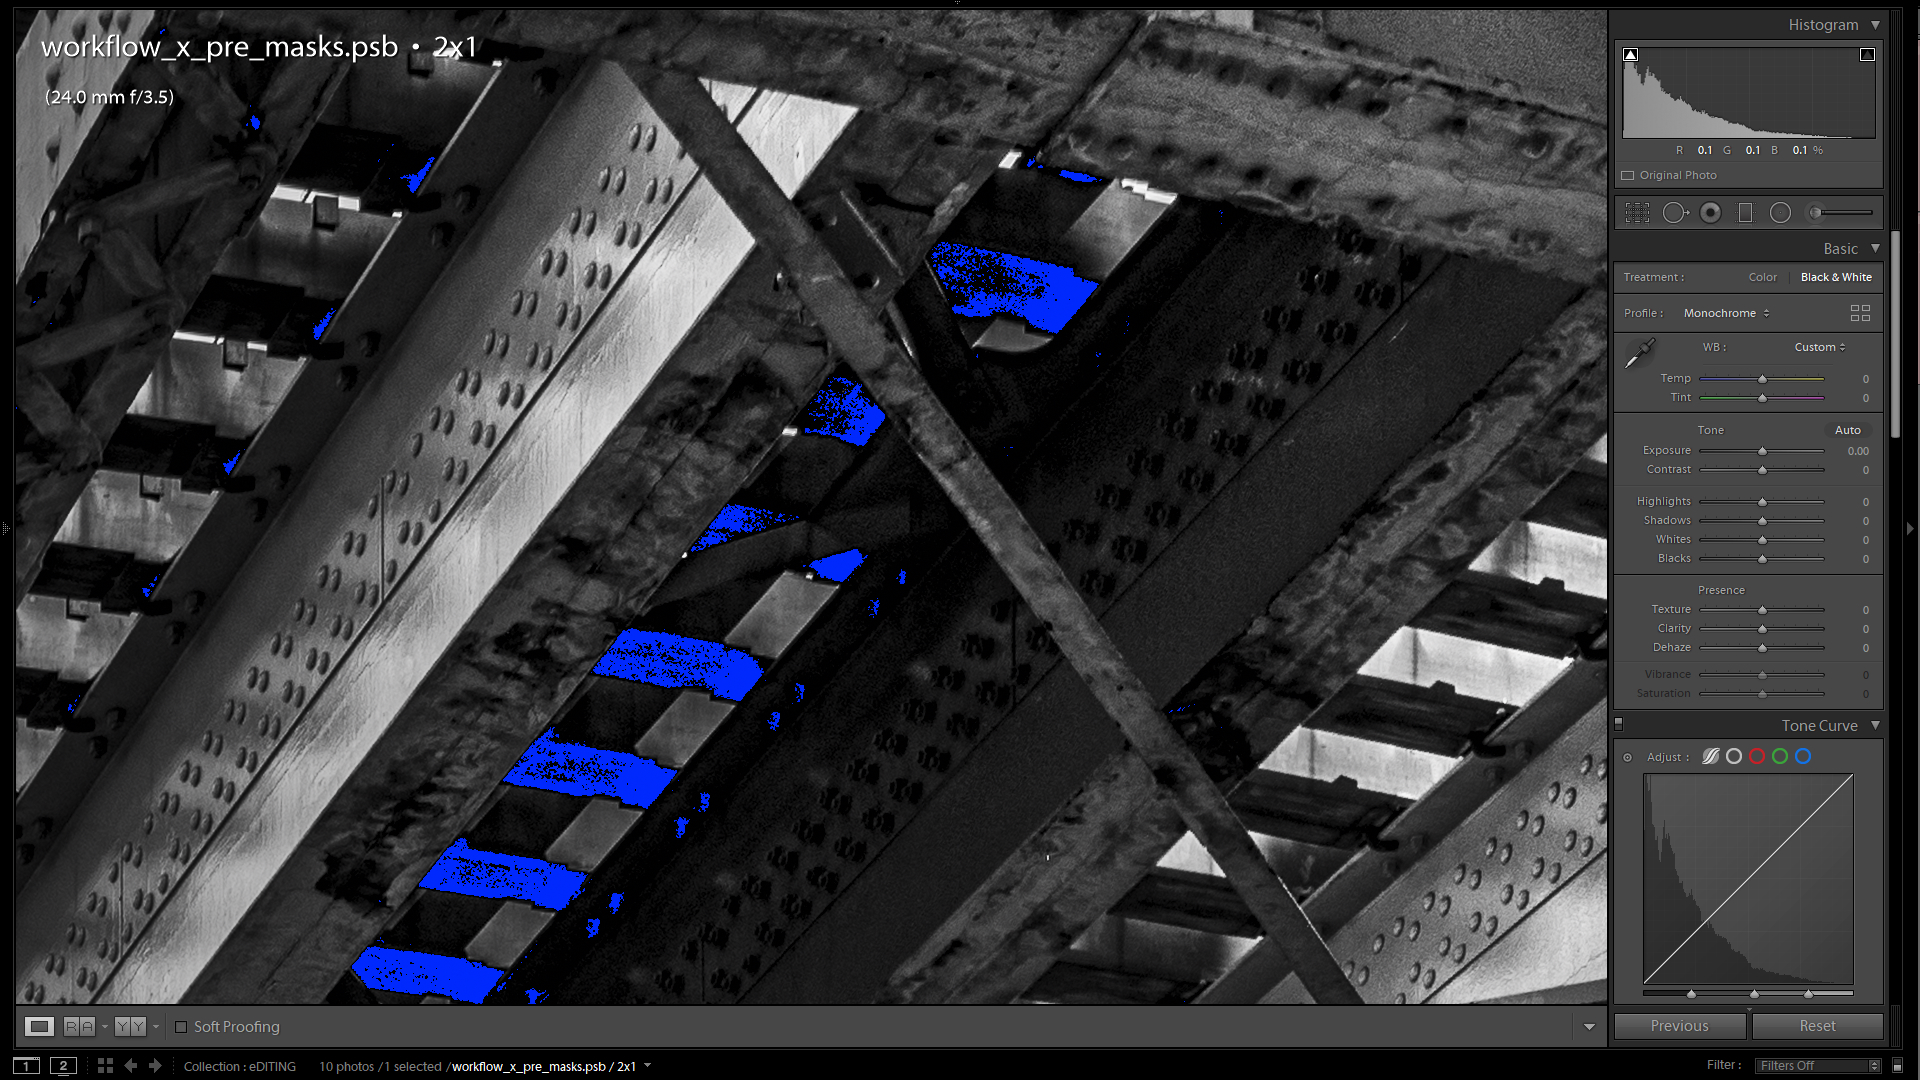
Even though you masked carefully each objects, you will ended up having some fringes
in your images, especially the borders of the sky.
In the bellow images, I checked the red circle where fringes occurred.
There are several ways to fix them. I’ll show you two of them.
clone stamp tool
This is a common way to fix the gap.
1.merge all the layers, and duplicate as a new file.
Make an empty layer, and select the”clone stamp tool”
select samples : “current & below”, then you can paint the gap without affecting the original image.
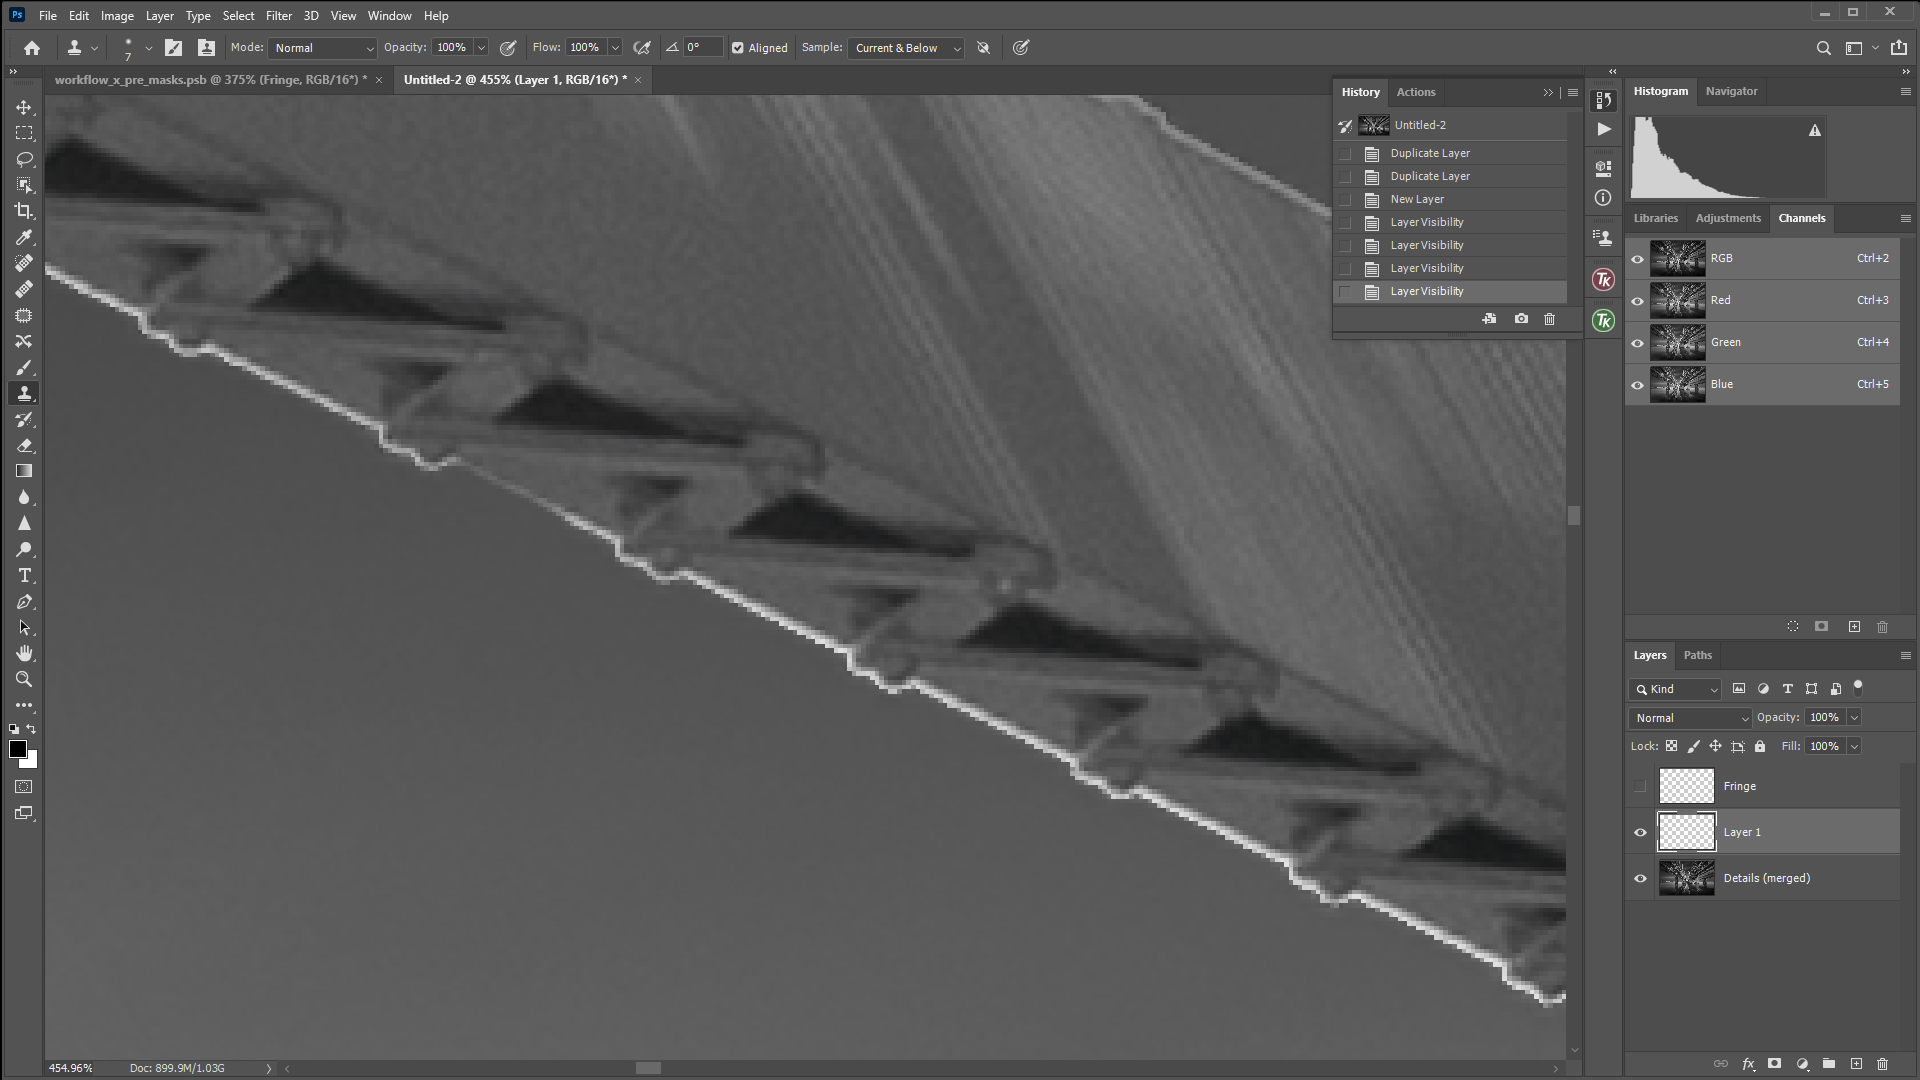
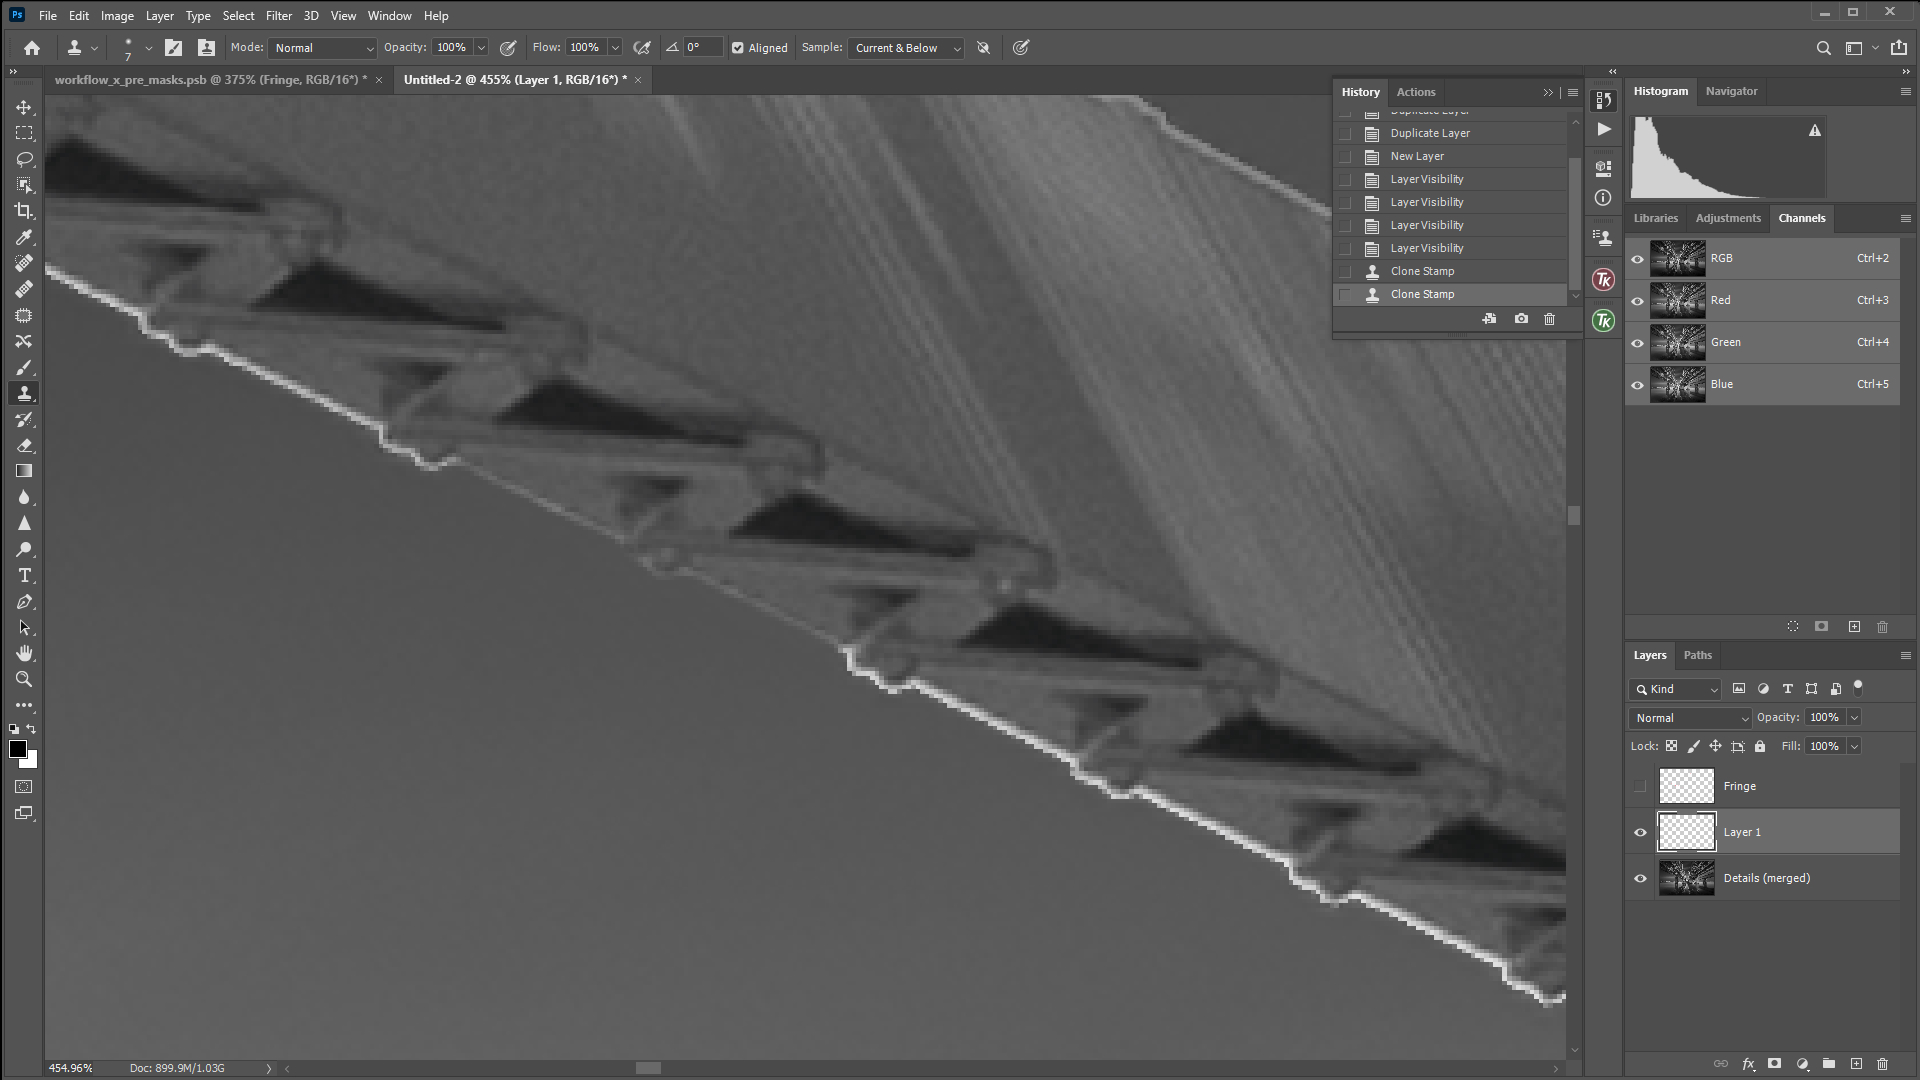
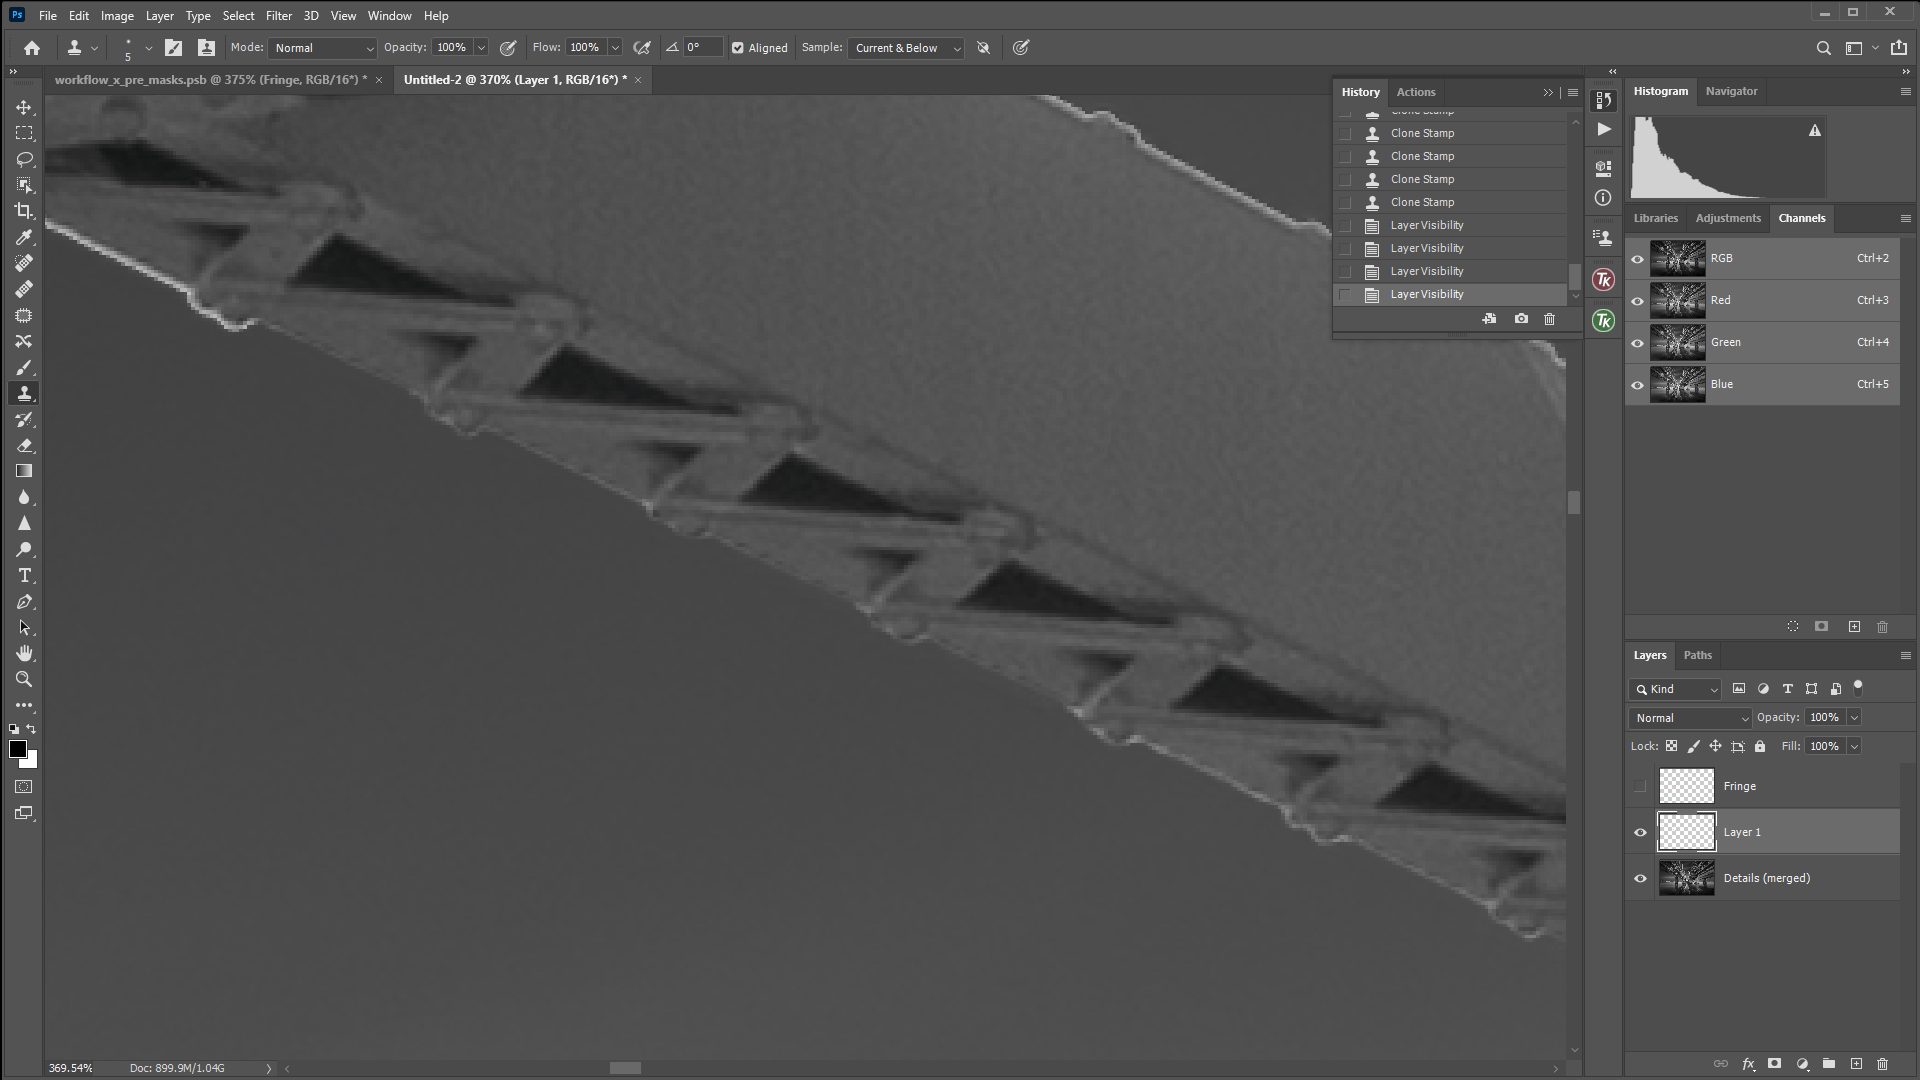
This way is OK when the area is small, though you’d be frustrated when the gap is broad.
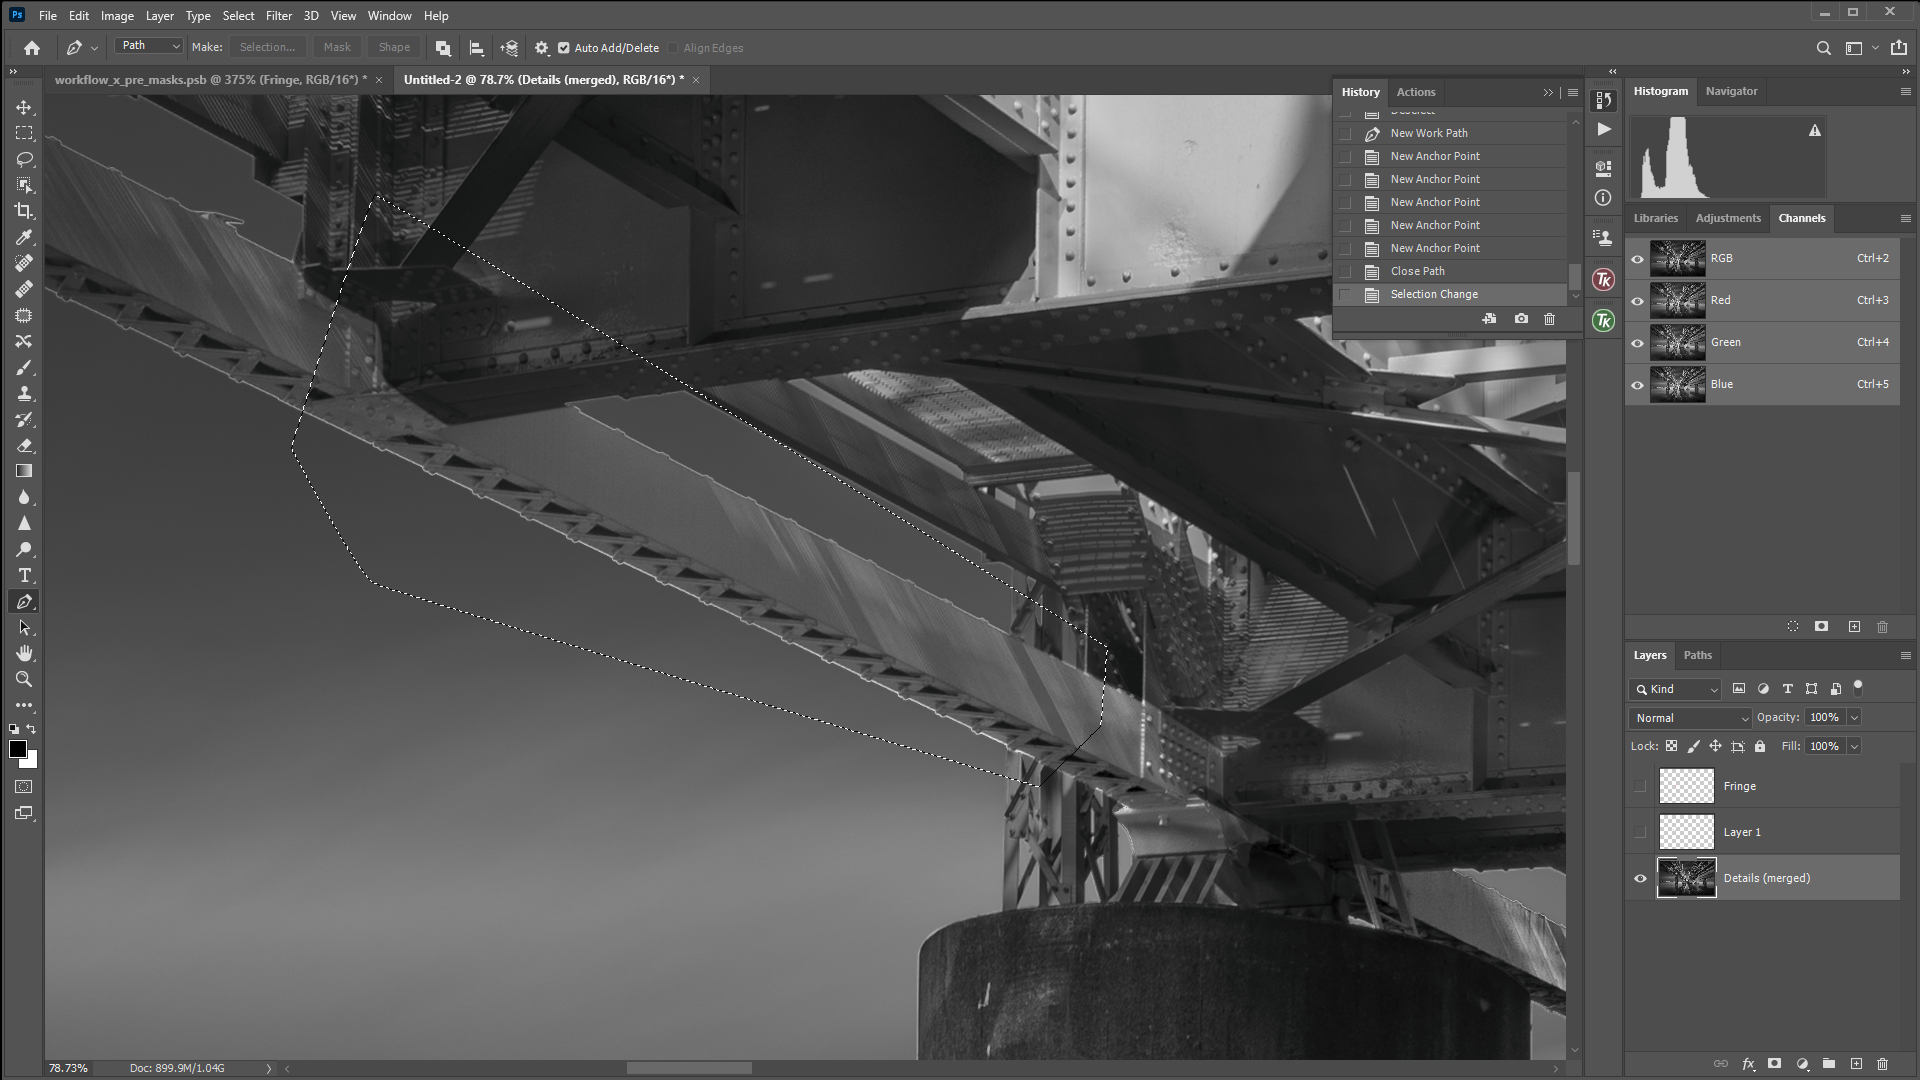
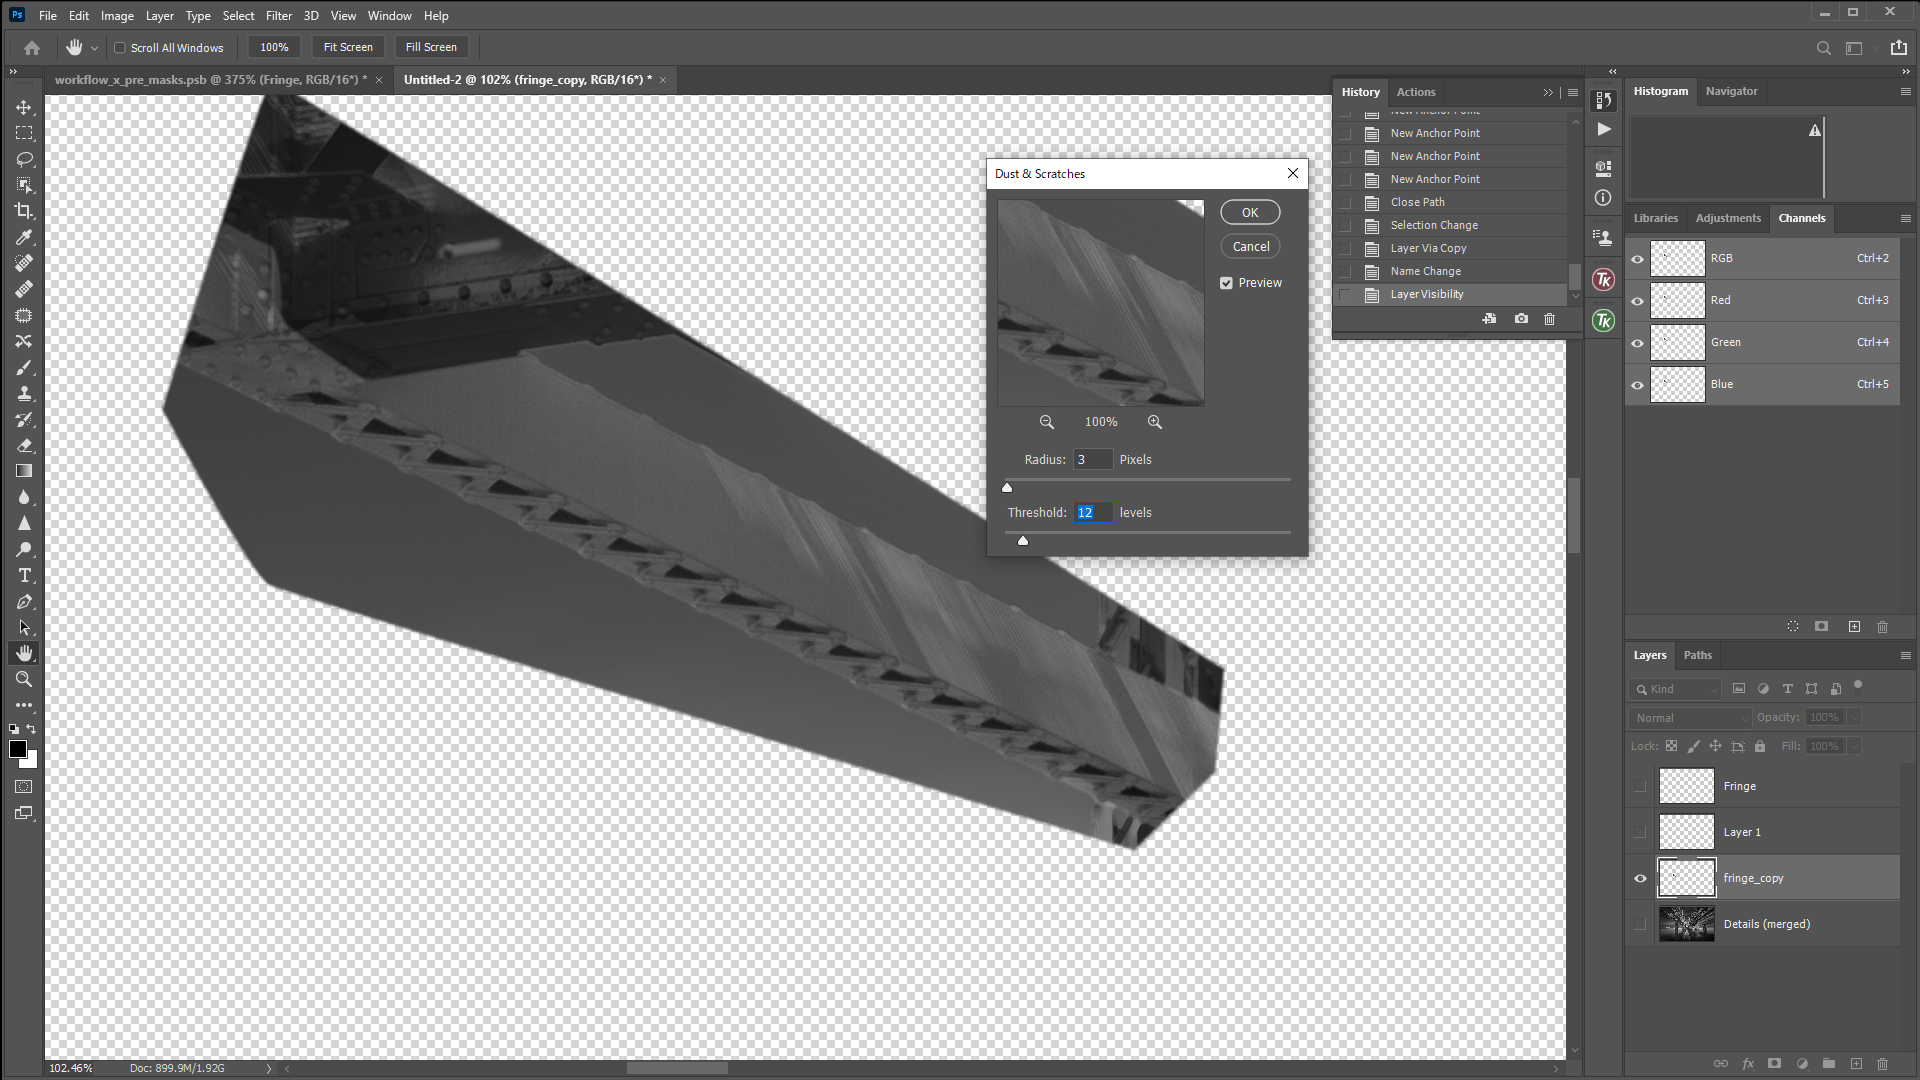
Dust & scratches
This is much faster and better way to fill the fringe.
- select the area roughly, where you need to fix.
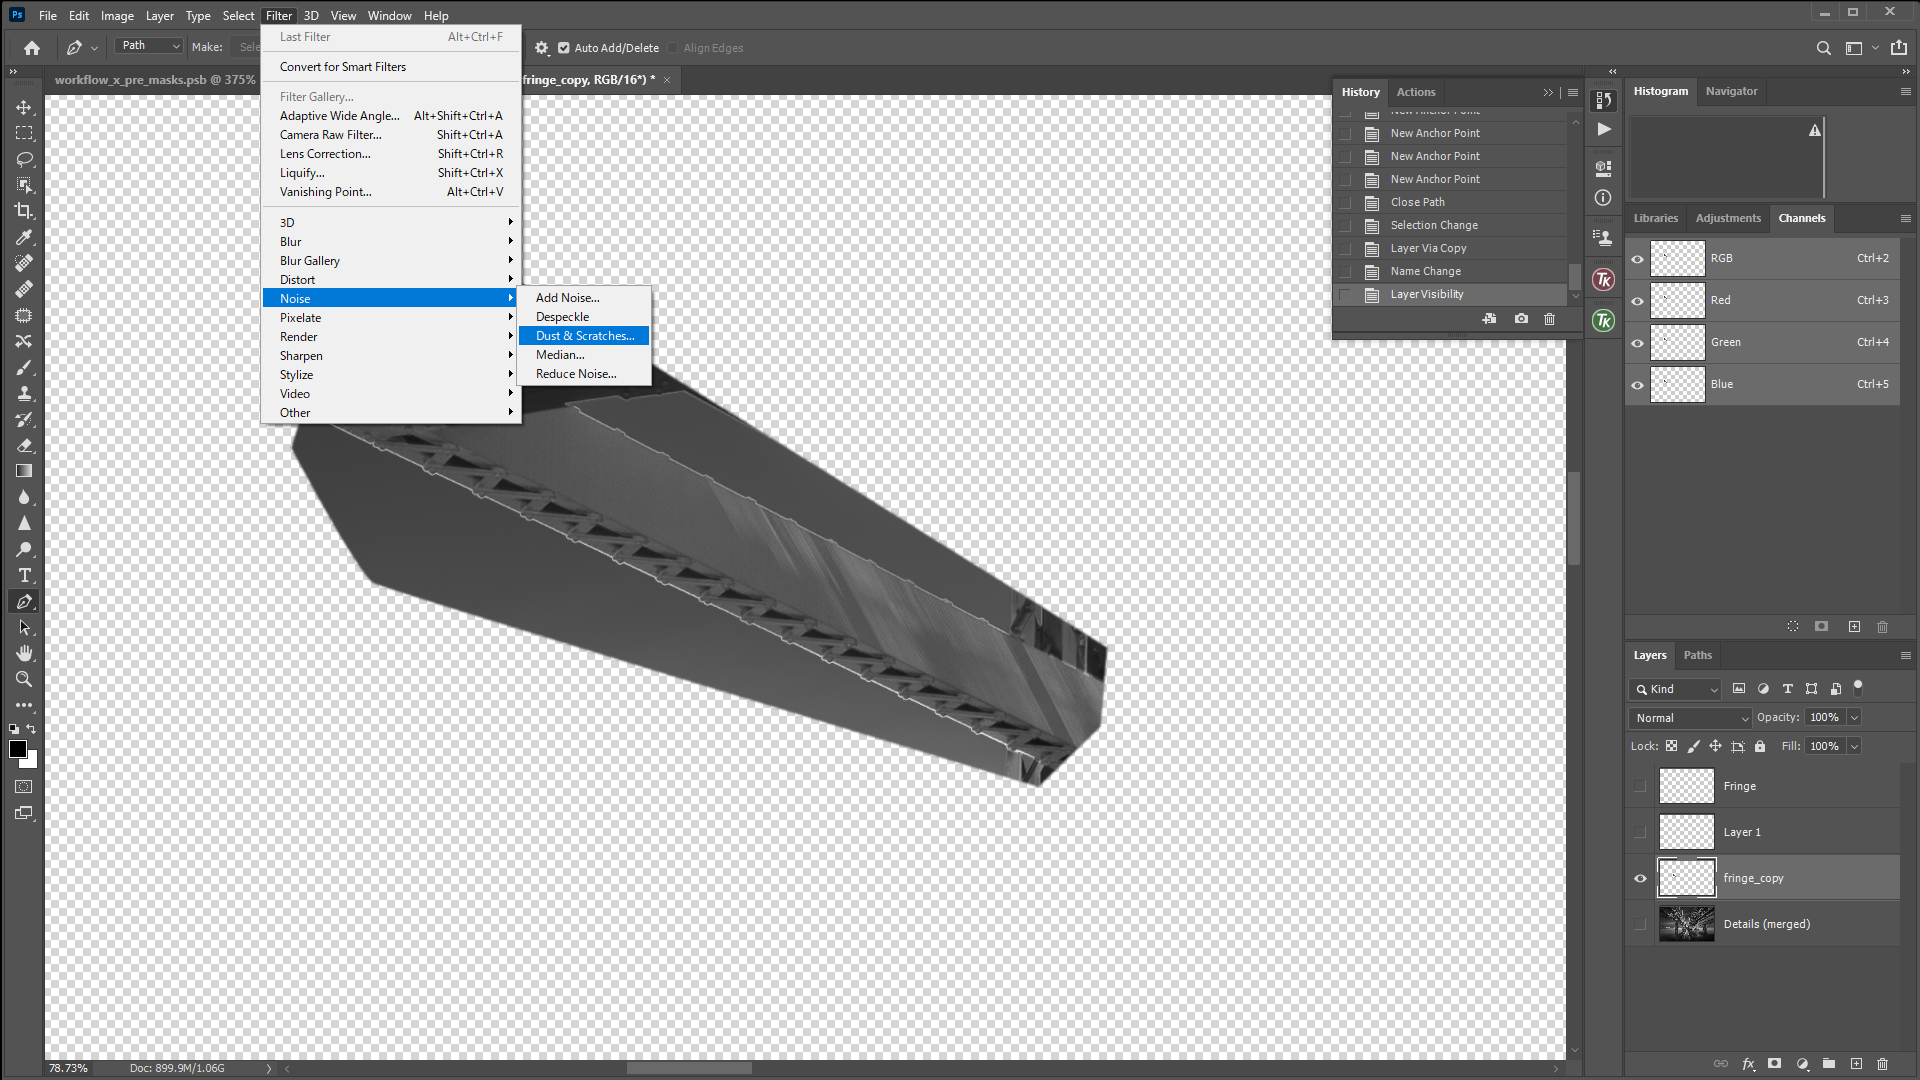
- select from the menu: Filter, noise, “dust and scratch”
- chose the proper value, until the fringe disappears.
You’d notice the details of the image also blow away, but don’t worry,
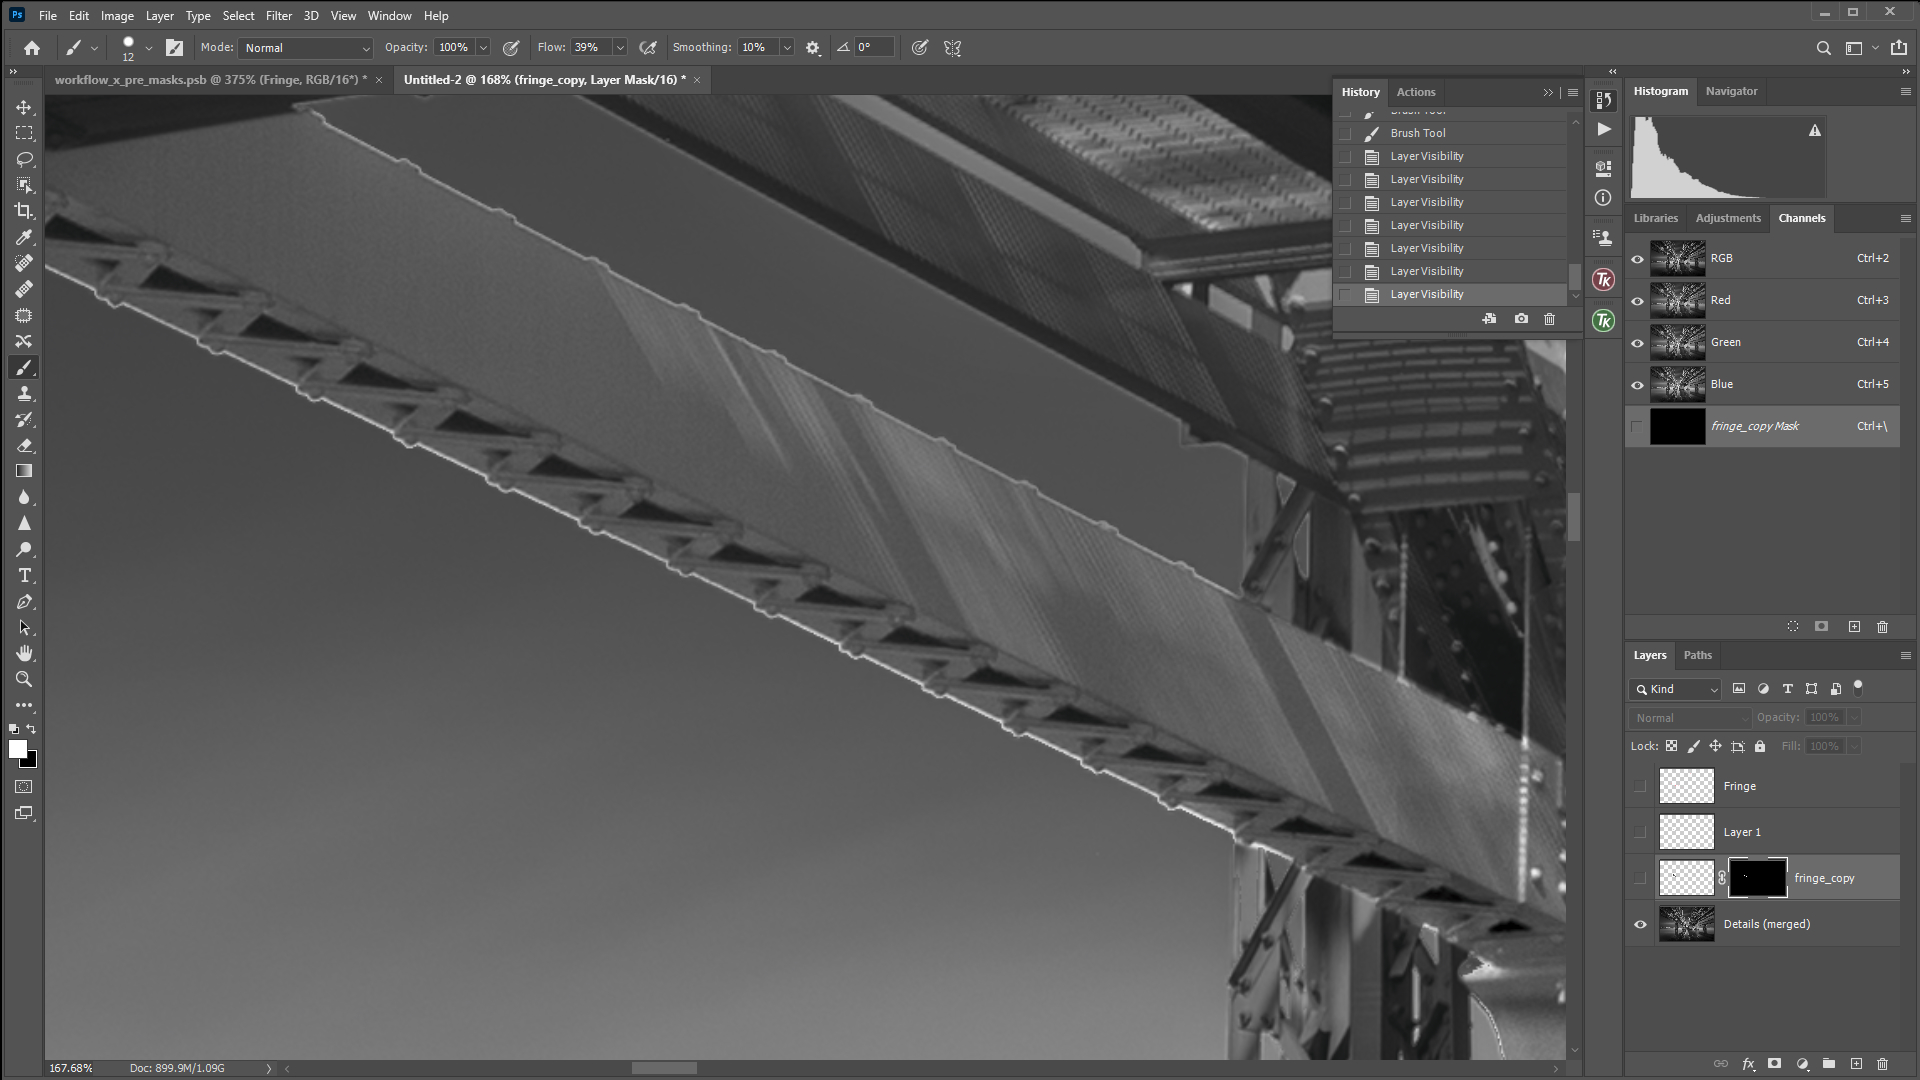
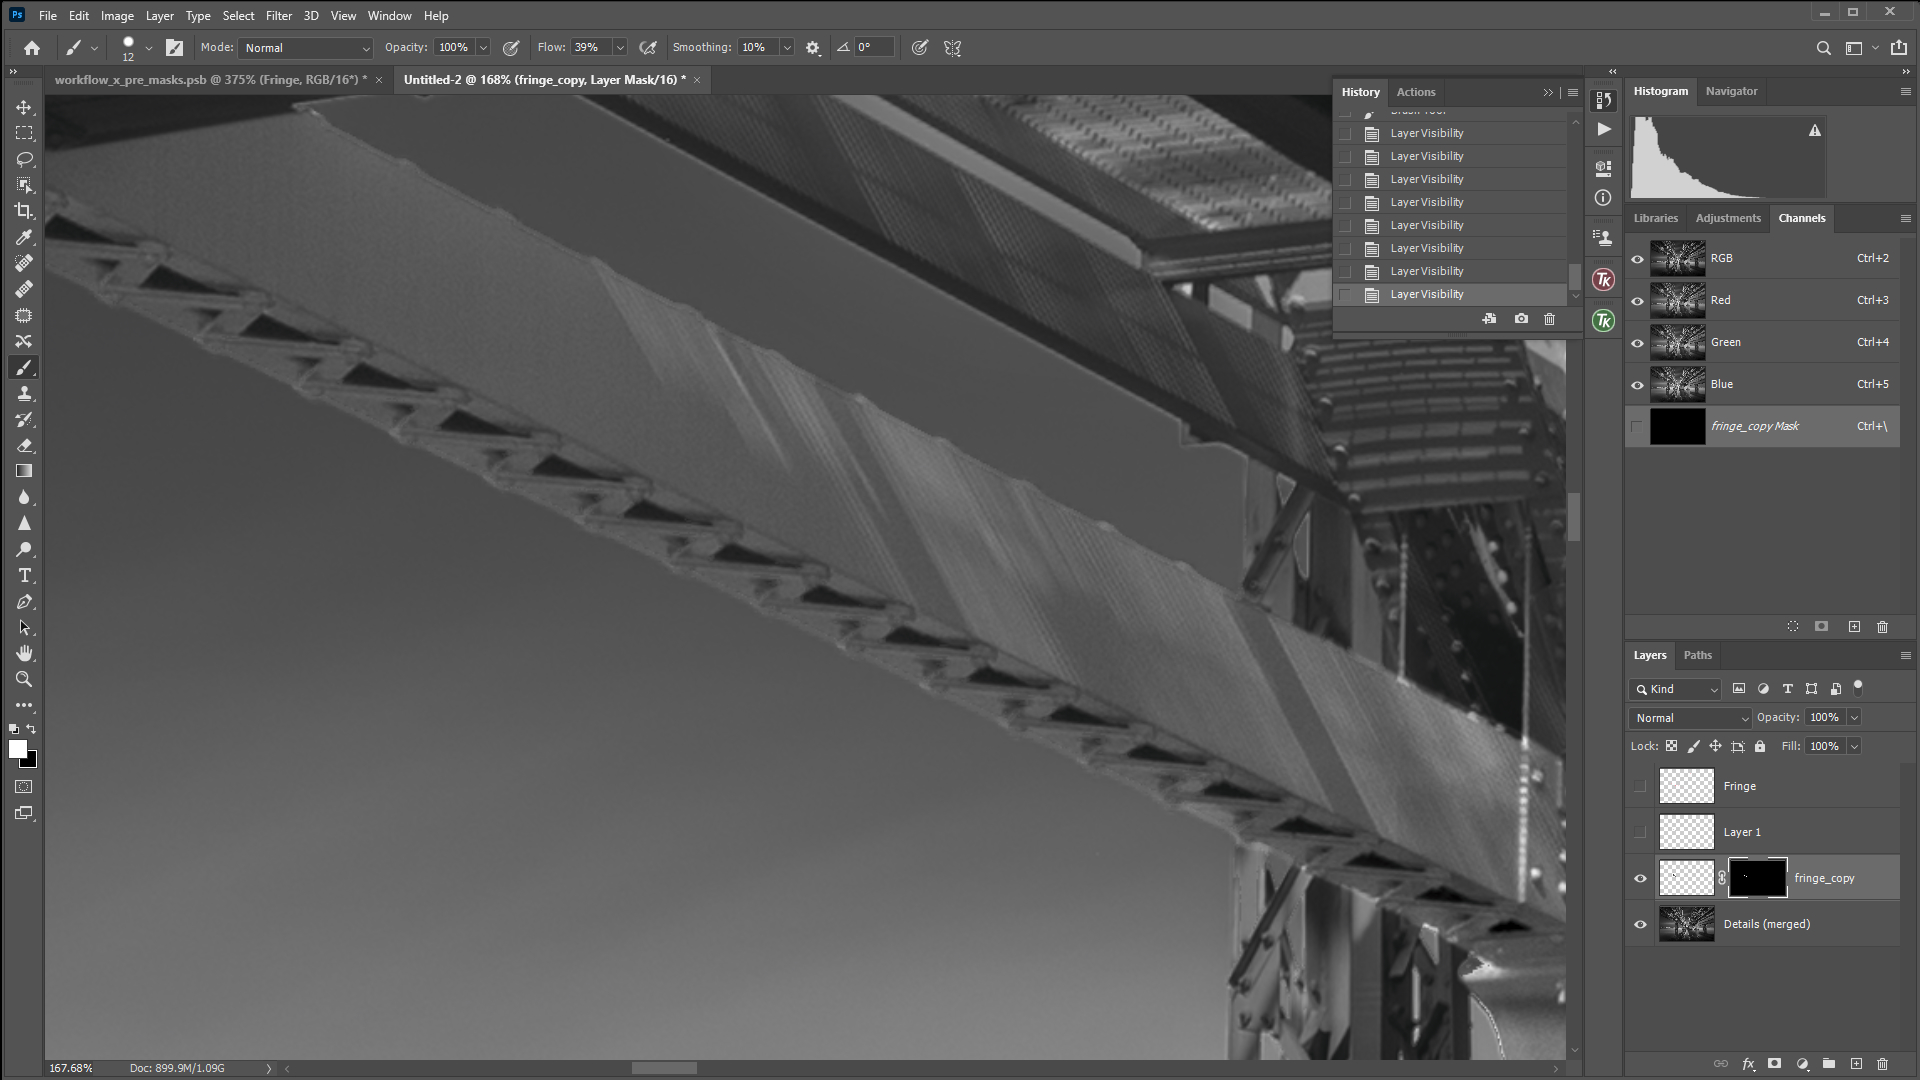
anyway press “OK”. - Add the layer mask. select the “brush tool” and make visible where the fringe areas.
Repeat this process where you can eliminate all of the fringes. Then select all copied layers, and merge them to one image.

I often see a good image with some fringes. You should pay attention when you publicize your image, especially the image size is big. Detail matters.
preview in Light Room
Once I think “the image is done”, I export it into Lightroom for the final preview and tweak.
Check the shadow and highlight
I always make in my mind for my images: not too black, not too white.
Since “Black and white photography” is the art of the shadow and light,
checking the shadows and highlights is very important to see your image objectively.

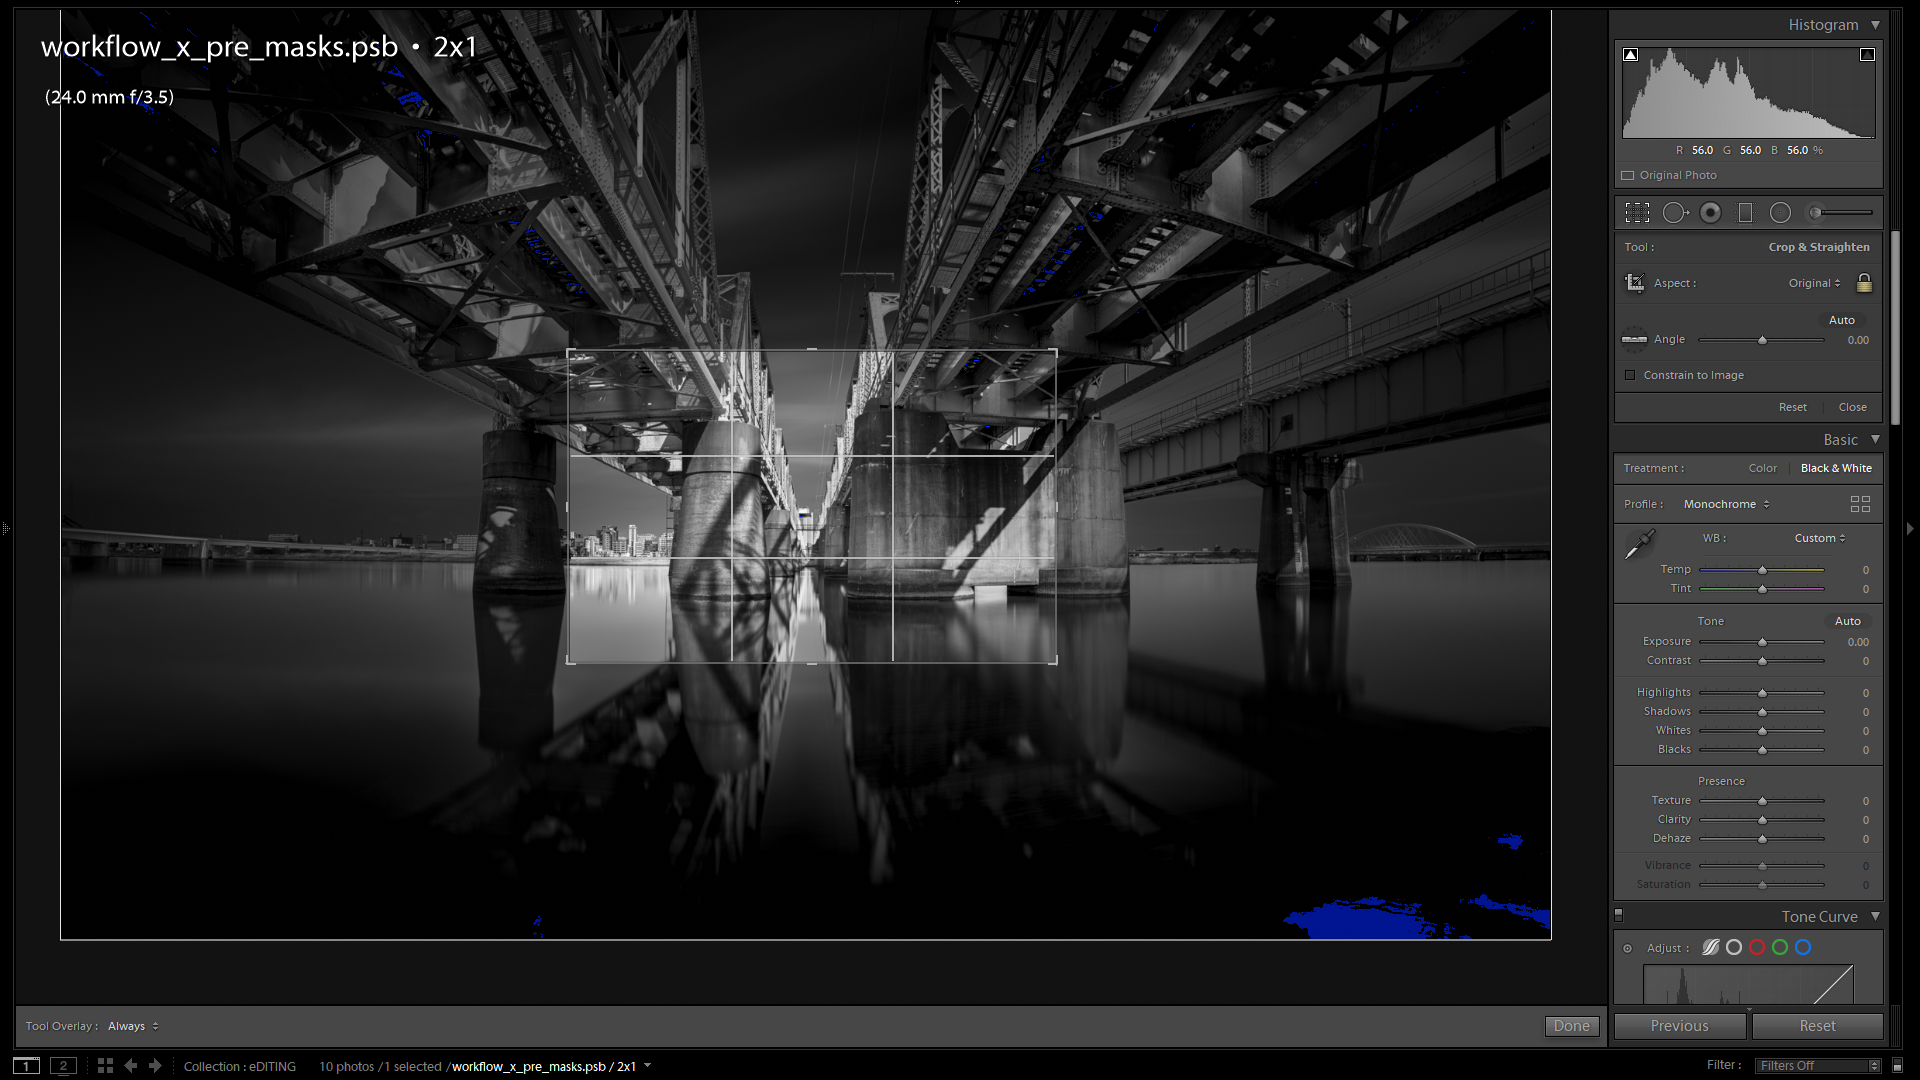
a cropping area can show the histogram where be selected. So use it for as a checking tool for the each area of the shadow and highlight.
tweak
I often subtle adjustment after finishing the post process in Photoshop.
These are the list what I do in Lightroom as the final tweak.
Vignette
Give the image a little vignette is a good for making the image fine-art look.
Since in the Photoshop, I tend to make the image a little flatly as the result of enhancing the details. So give the “little” vignette can make the balance of the image.
I prefer using “Radical mask” or “Gradient tool” for vignette.
Since “post-crop vignetting” adding the same value of vigentting for each corners, these tools can control each sides (or corner) for individually.
But I do a subtle. I don’t like too much vignetting, which is saying loudly
“I vignetted!!”
Add Highlight and details

the current version of Lightroom can select an area much precisely than previous versions with using “Range Mask”.
So I can use LR vigorously for final retouch.
However I just do a subtle adjustment. If I needed wider areas for darken , ,lighten or enhancing much details, I would back to Photoshop and use
the original layers for edit.
Tone curve
Some time I use “Tone curve” for adjustment for overall contrast.
However it ruins the subtle contrast in the details, I don’t use it very much.
Export the image
After finishing image, let’s export.
I make various user presets for each platforms:
example:
instagram: 1350 px, 72ppi
Flicker: 2560px, 72 ppi
My own web: 3560px, 72 ppi

I used to set at most 1920px (full HD) for my publishing images, but 4k display is getting popular, and I personally want to see my images bigger. Plus, I want people to look the detail of my images, I set much bigger size lately.
If you have any questions about my work flow, please comment.
※I’ve been reported that some could not comment because of unknown error. If you have that case, please mail me to : info@yoshihikowada.com

Comment