
The Previous “YW’ workflow”

Then, having capturing images, next step is merge to one single picture.
I’ll show you my basic flow here.
Go to Panorama
import images to lightroom
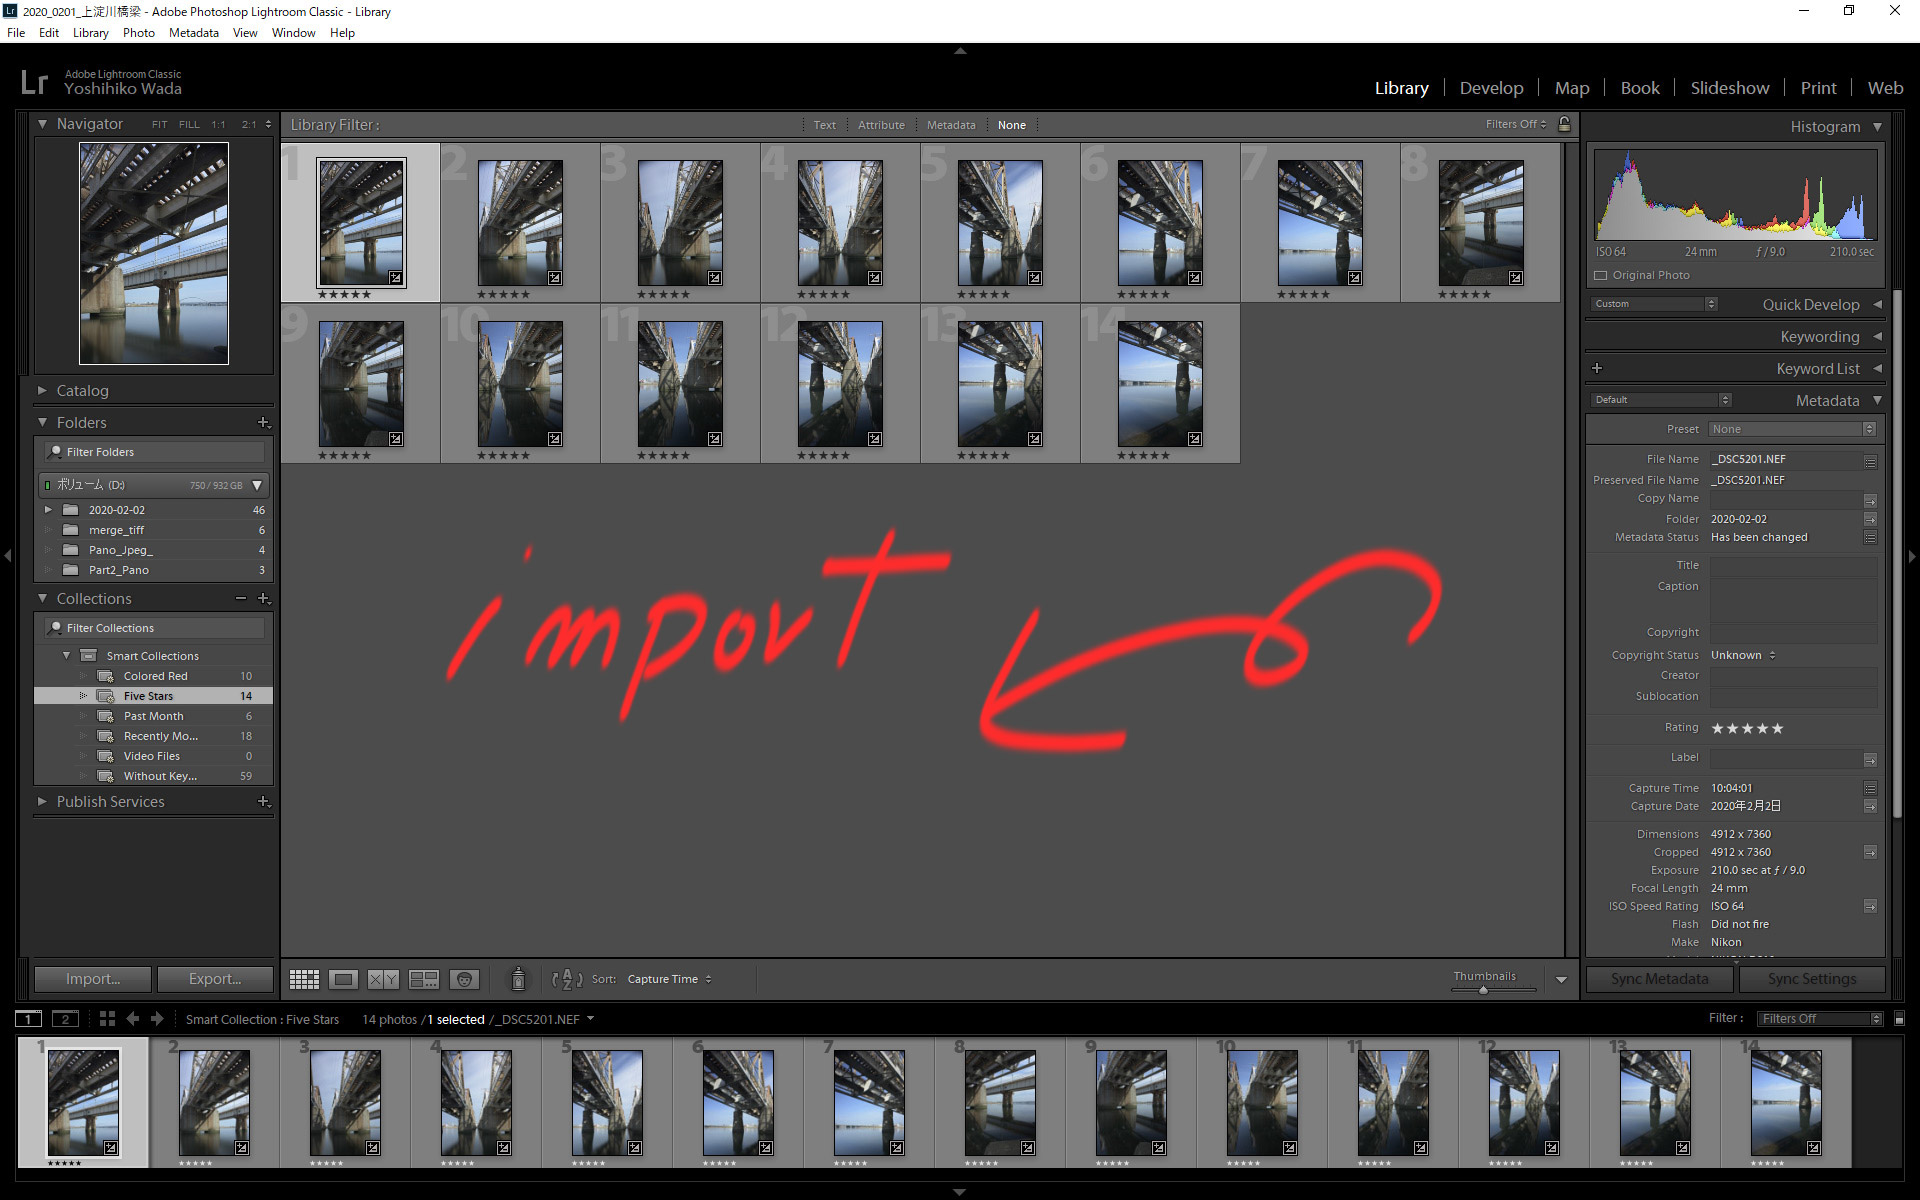
First into all the capturing images to Lightroom.
Then, check the histogram. Make sure for not to have highlight and shadow clipping.
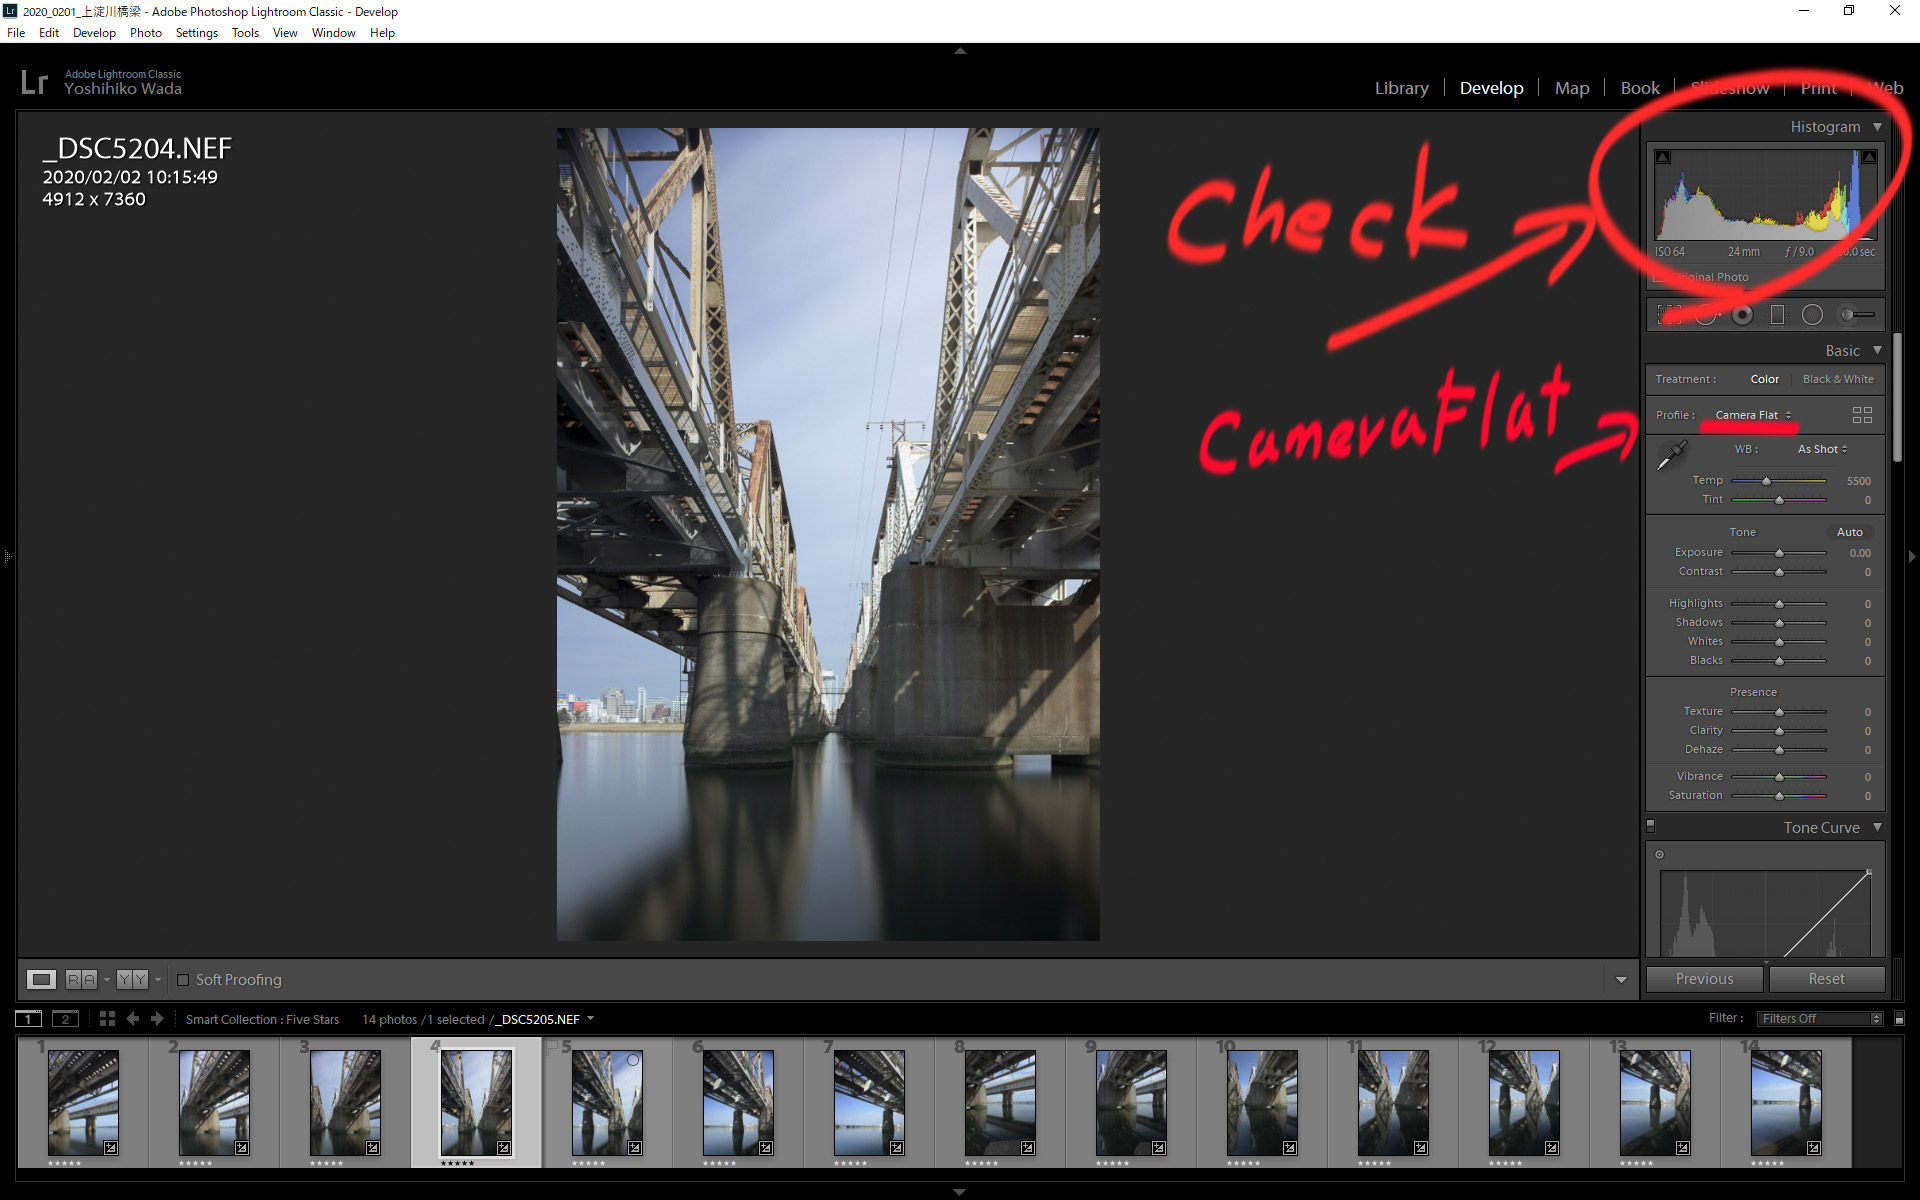
Chose the “profile” to “Camera flat” or “Neutral” for having a maxim dynamic range.Check the histogram for not to have highlight and shadow clipping.
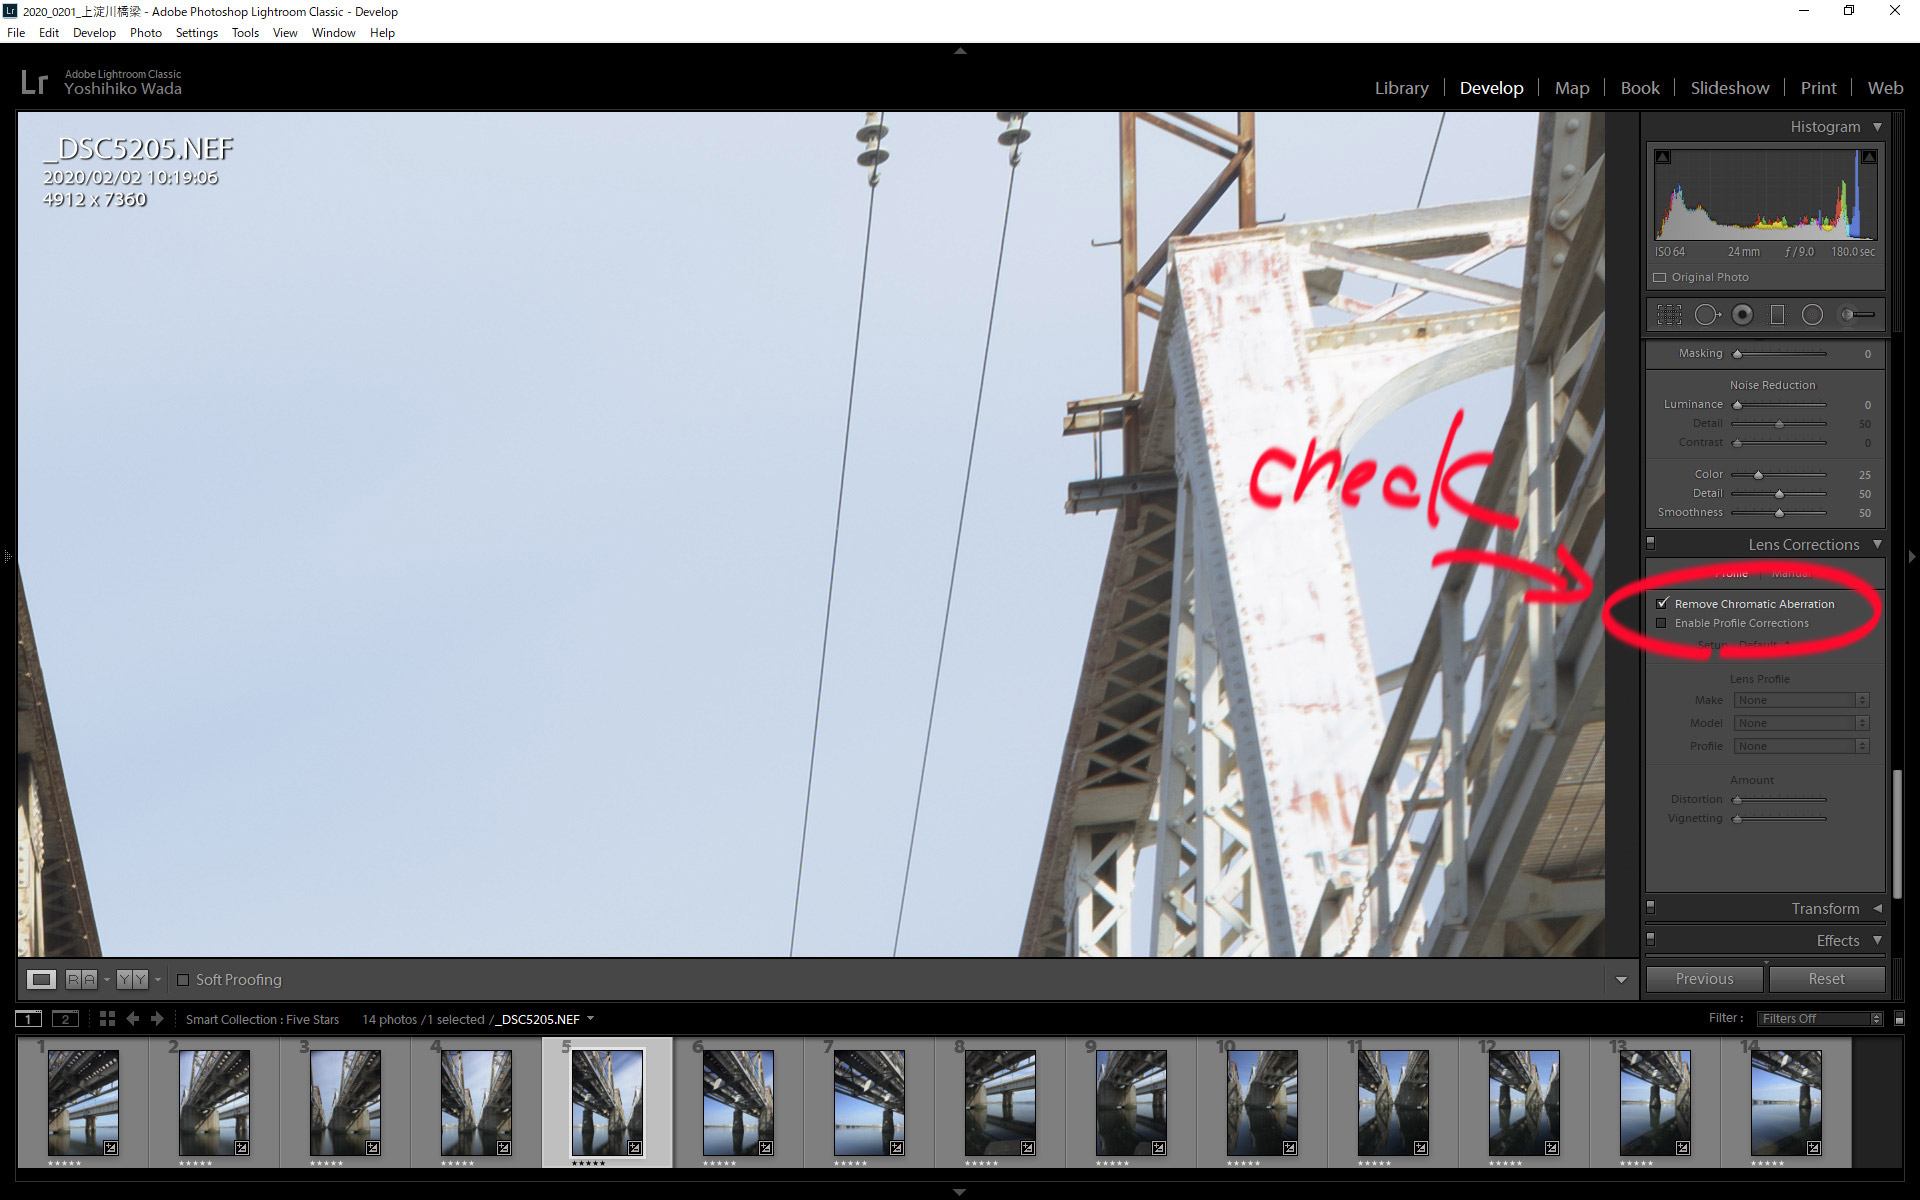
I don’t do much adjustment here, but just chekck the “Remove Chromatic Aberration”
“Chromatic Aberration” will produce a fringe after the BW conversion, though you can remove them with proper treatment later.
You should check through all the images you’re going to merge to Panorama.
Don’t use “Photo Merge”
Lightroom’s panorama (photo merge ) just work fine for very simple panorama.
But in the most cases, you’d get frustrated, as bellow in my video.
Use Panorama oriented software
Lightroom is a great photo editing tool, but not a great panorama making tool.
(It got better, and I hope some day it can compete with dedicated panorama software.
I usually shot 6 or 7 vertical images( 15°) with 24mm pc-e lens.
So the total angle image angle goes to 90°-105° in front of me.
My experiences tells me it’ll bring the best result,
But this depends on which lens you use. So find your best one
I’ve been used Autopan giga for years, but sadly the company, kolor, shut down in2018.
So there’ll be no update in the future, but now it work fine with my Window 10.
I also use Ptgui, which is also a leading panorama software.
For me I prefer the result from Autopan Giga for some reason, though the deference is pretty little.
A little work in PS
Usually capturing 6-7 pictures horizontally perfect 2×1 panorama.
but some time I do capture second column (vertically shifted lower by PC lens) for the much versatile composition merged later.
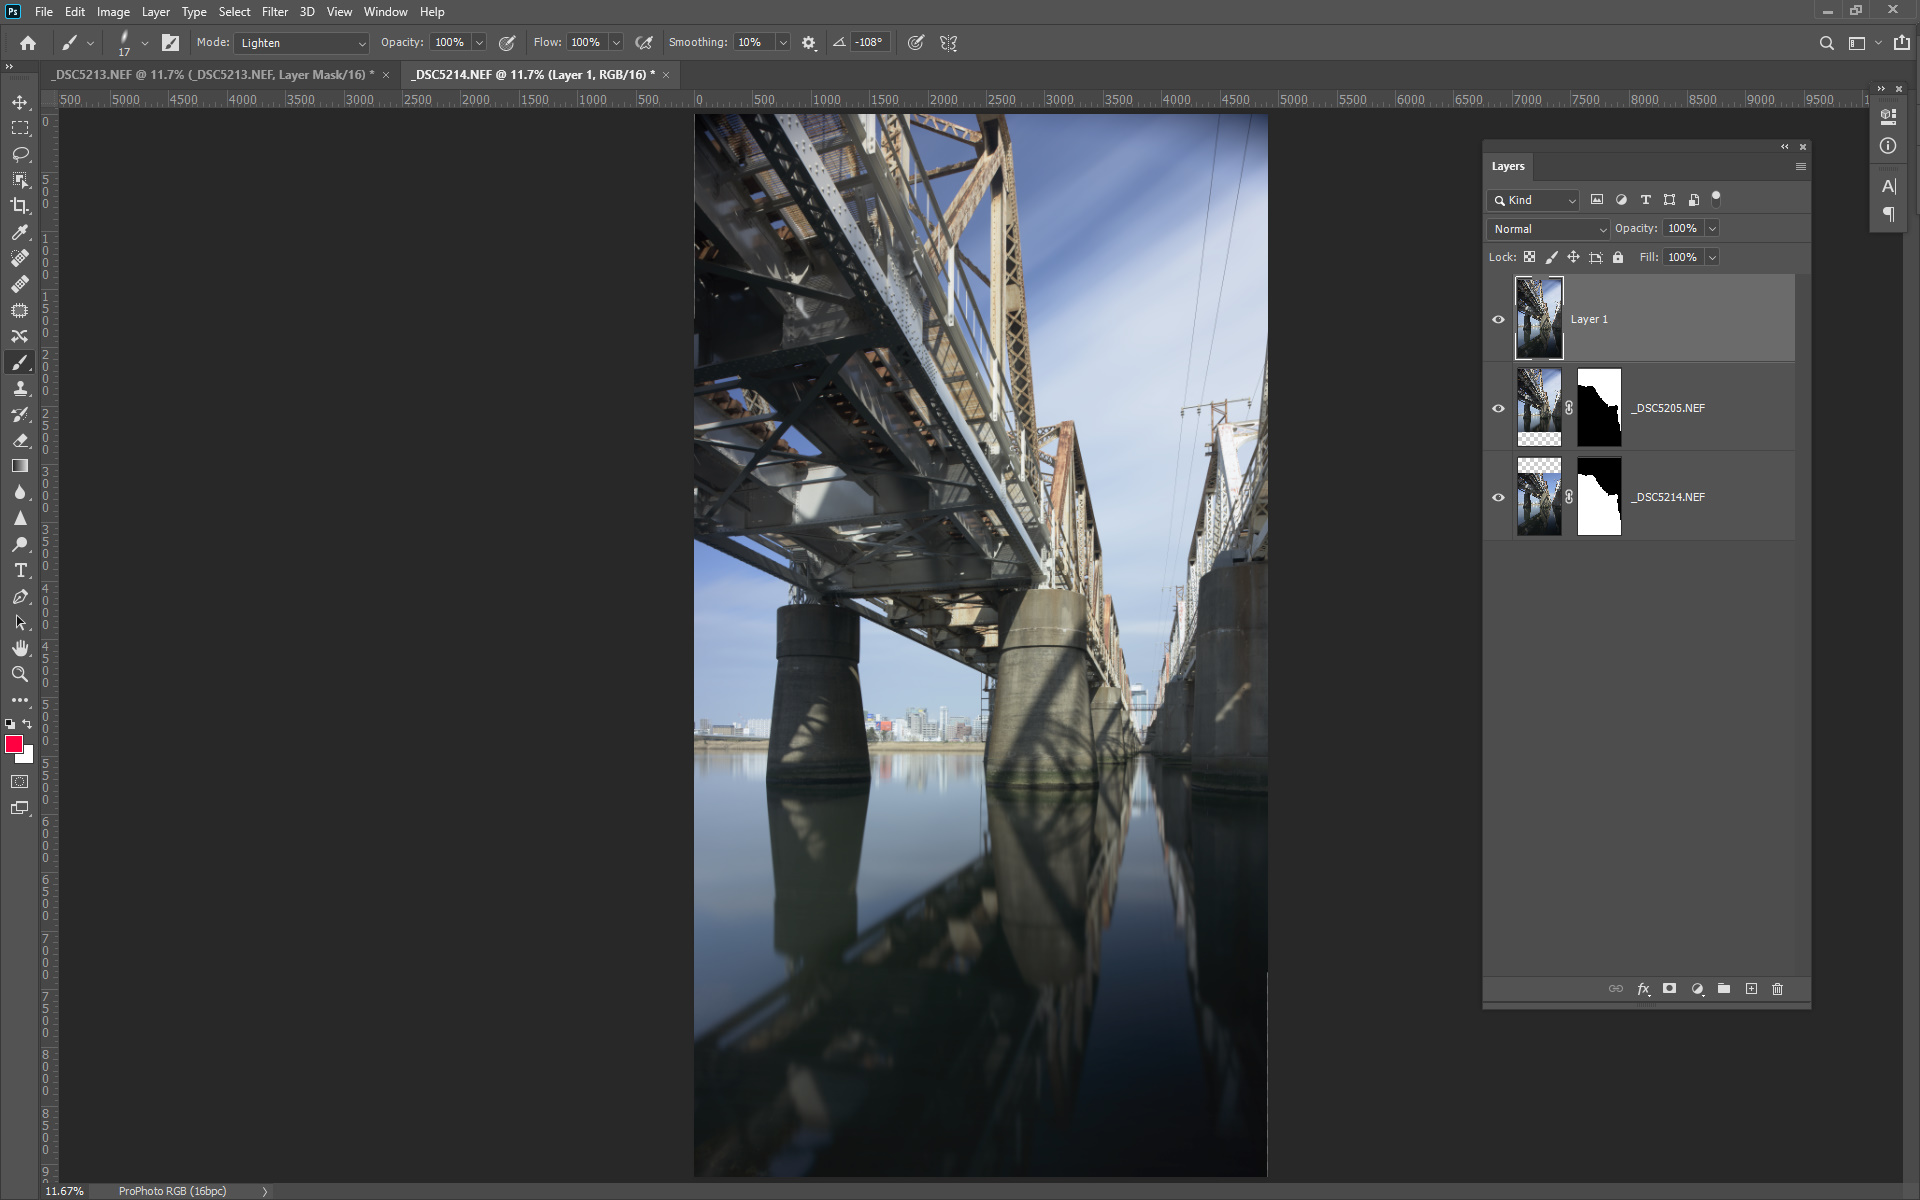
This would take x2 times, which I hate it, but I do if the time and light condition are capable. then in the post process I need to do a little work for each “upper and bottom part” before goes to panorama software.
This task is easy, and photoshop can handle it automatically.
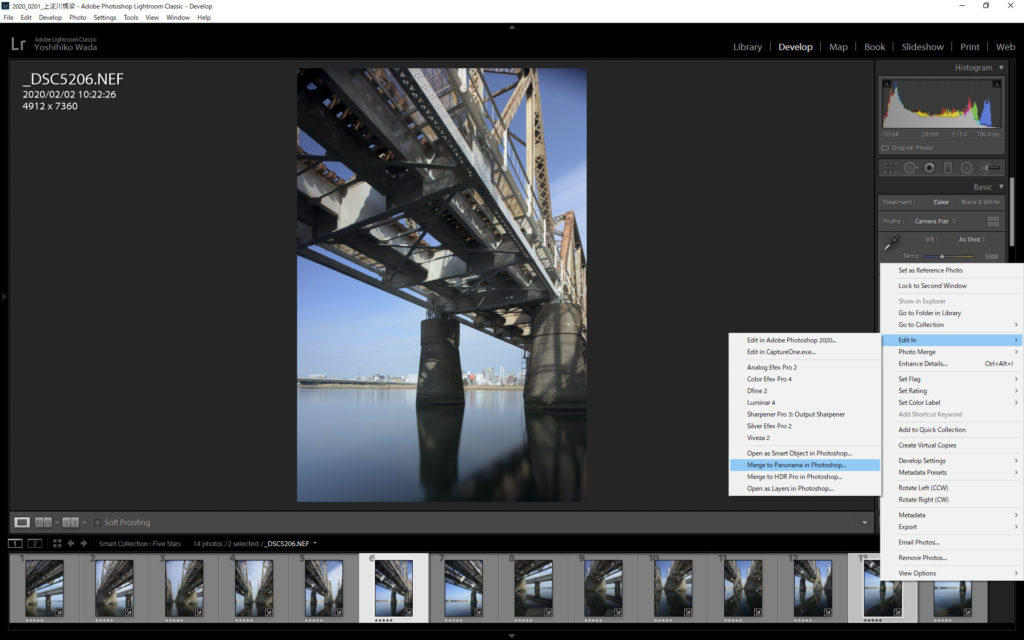
select “upper and lower”2 pics
Edit in “Merge to Panorama in Photoshop”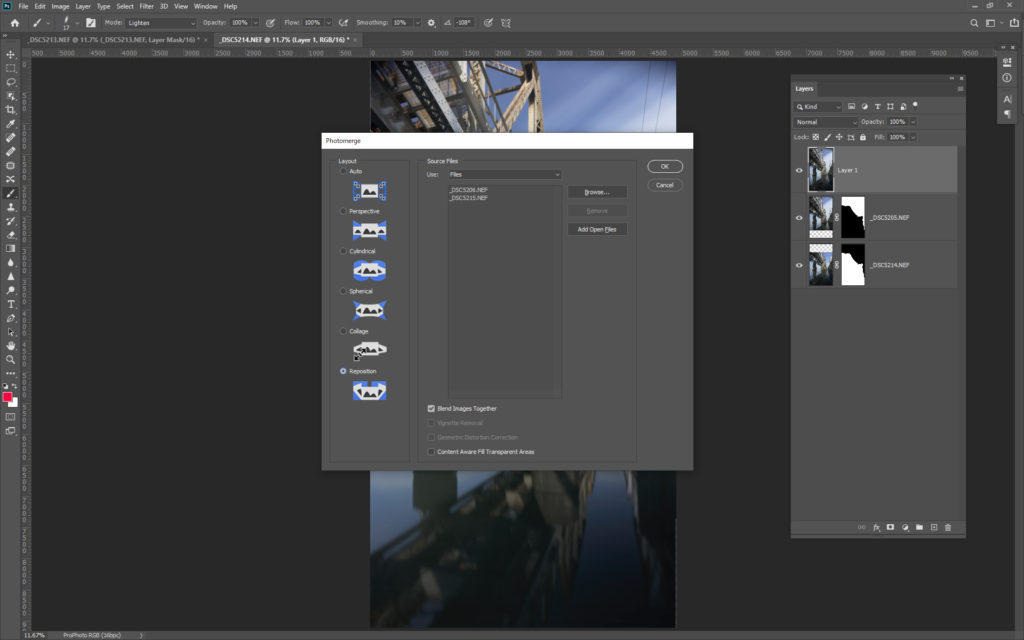
select “reposition” 
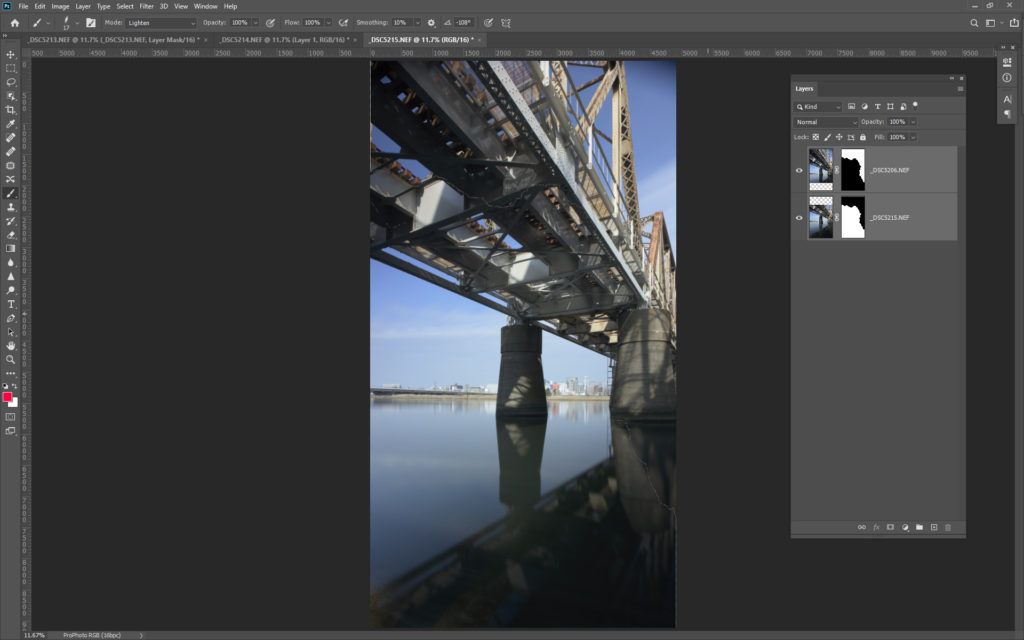
PS replace 2 pics properly. 
merge 
do the same thing for each pairs


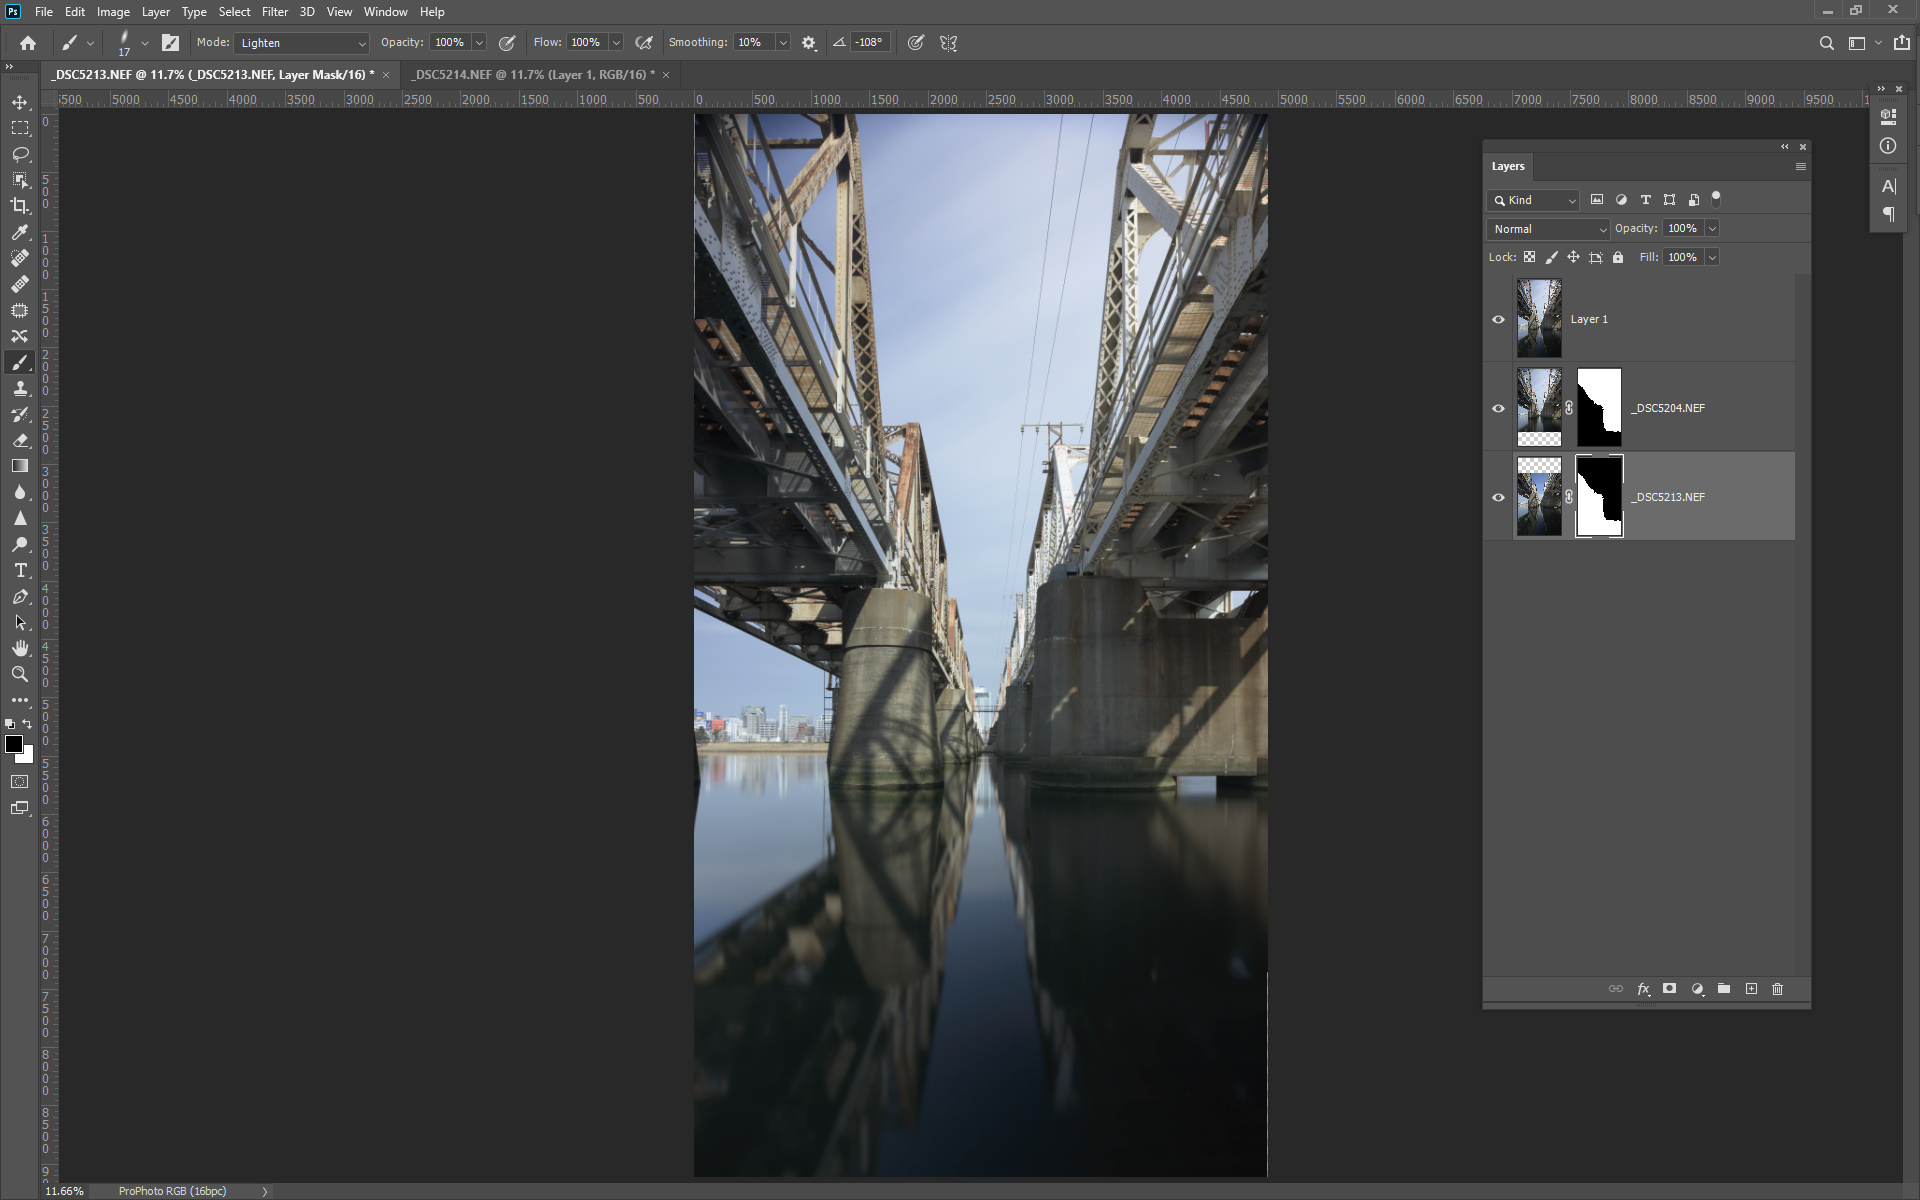
After I merged these “upper and bottom” picture, I export these for Autopan Giga.
Result
So here is the merged image from 16 pictures.
I did some minor adjustment for some areas, which were not properly blended.
I’ll talk about more about panorama, and how to deal with blending issues in another entry, so let me skip this time.

Next step, finally, black and white processing starts.
Please keep waiting, and see you at the workflow day 3!
C-Ya!
YW


Comment