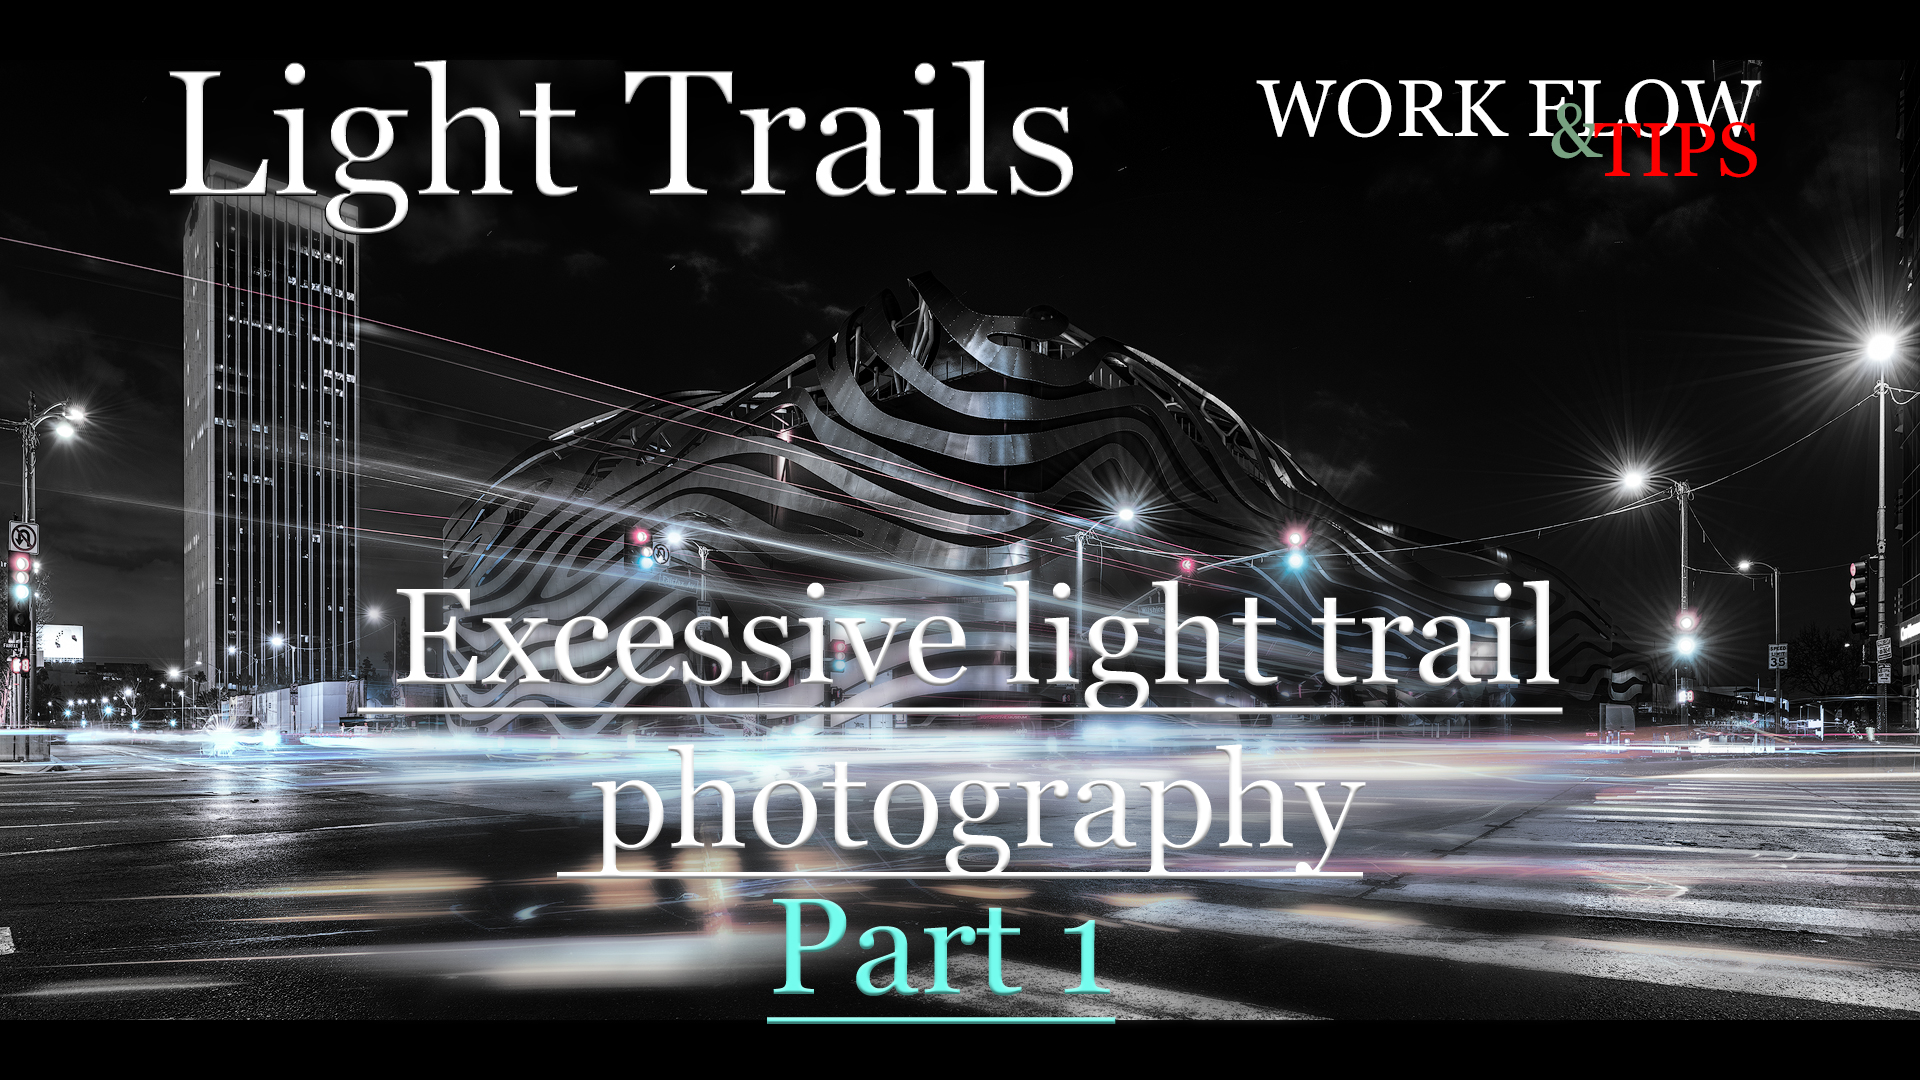
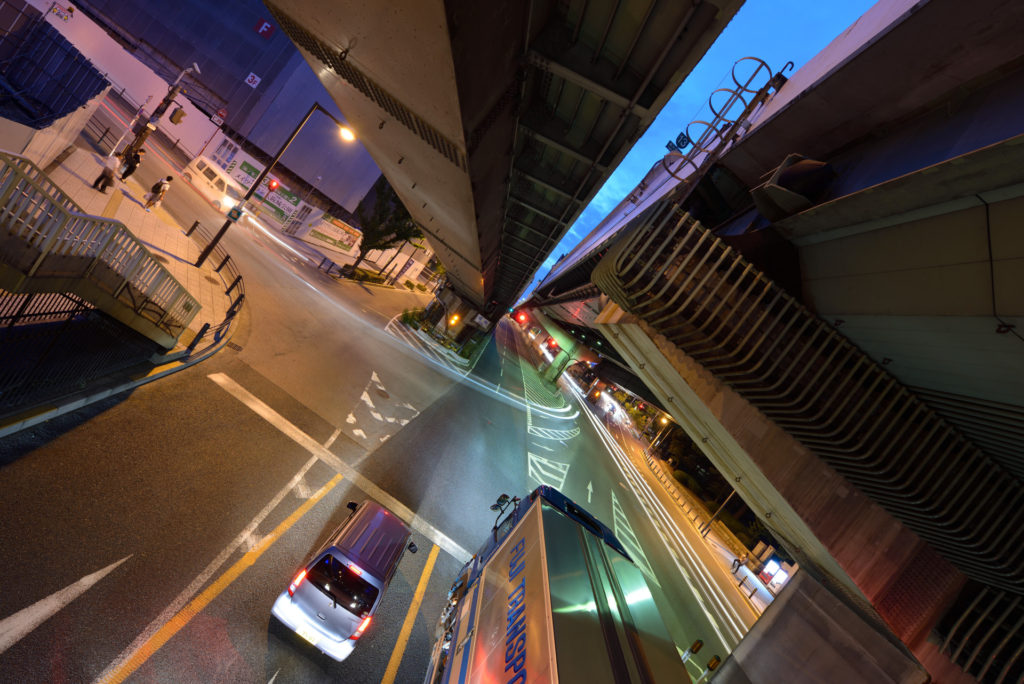
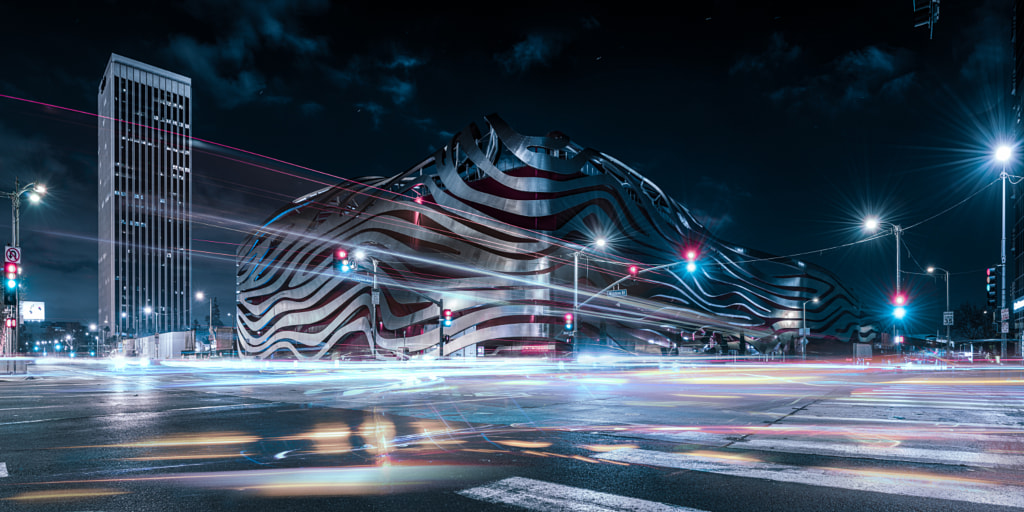
There is a car, here comes the light trail
Light trails is one of the popular genre in long exposure photography.
Basically the technique does not need any special filters, it is easy to shoot.
Just set the camera on your tripod, and shoot at proper timing.
Easier said than done? Whm, It depends. Just shooting light trails are pretty easy job,
but make a unique light trail photography needs something to learn.
OK, let’s get started.
Works

Tools
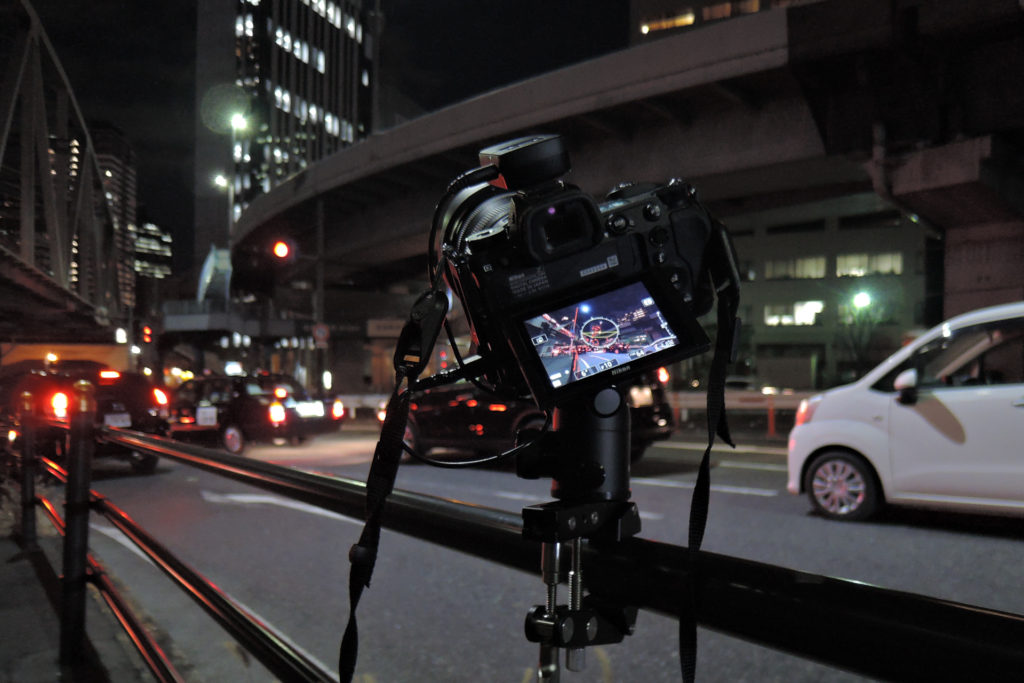
As I said at the beginning, the tool is simple.
a Camera and a tripod. That’s it.
Really? Yes it is, though I’ll tell you more about them.
Camera
I’ve shot light trails so far with Nikon’s by D600, D750, D800E and Z6.
Any DSLRs are OK, NO problem! You don’t have to get the latest expensive mirror less cameras.
However since I take bunch of light-trails at the same place, considering the later post process, around 24mp camera is the wise choice.
Here is a bit old my work captured by D7000.
Lens
I prefer using an ultra wide lens. Actually most of my light-trail works were shot by 14-24mm f/2.8G.
(I rarely use longer than 14mm)
I recently got 14-30mm F4s for Z6, and shot for some samples. I’ll compare the two lens in the next blog “Part 2: workflow”.
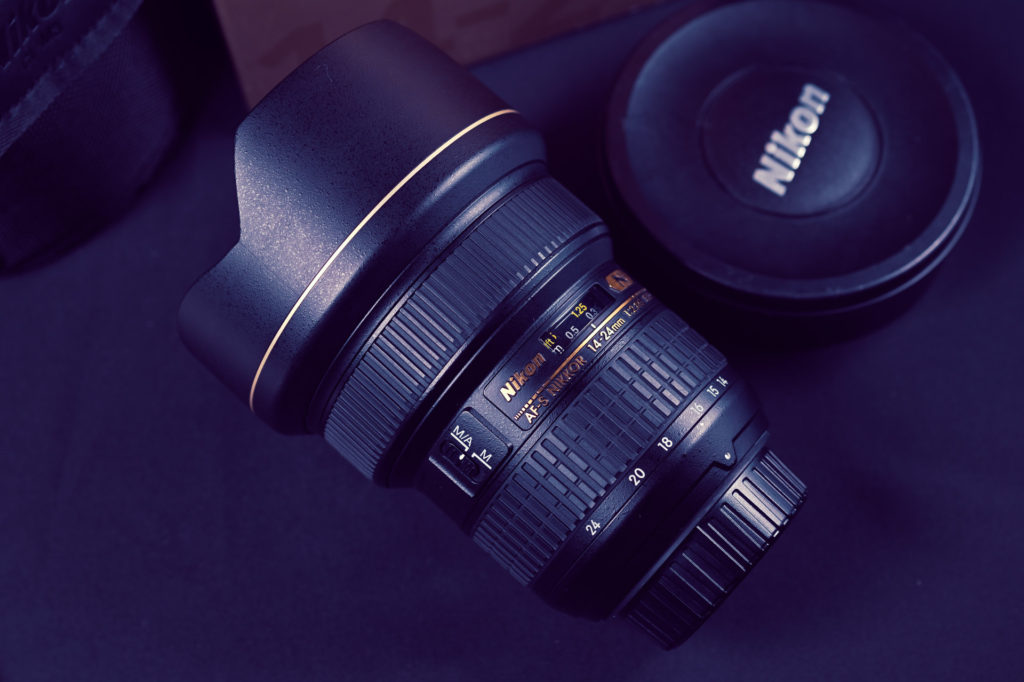
If you are curious about the lens, get a used one! You never regret.
Tripod or Clamp
I’ve been carrying a regular tripod for this kind of photography, but recently I found that a mini tripod is pretty handy for this. When you shoot on a bridge (or any where) which have guard rails, this could be a great option. But just be careful not to drop your gears on the road. this cause a huge trouble.
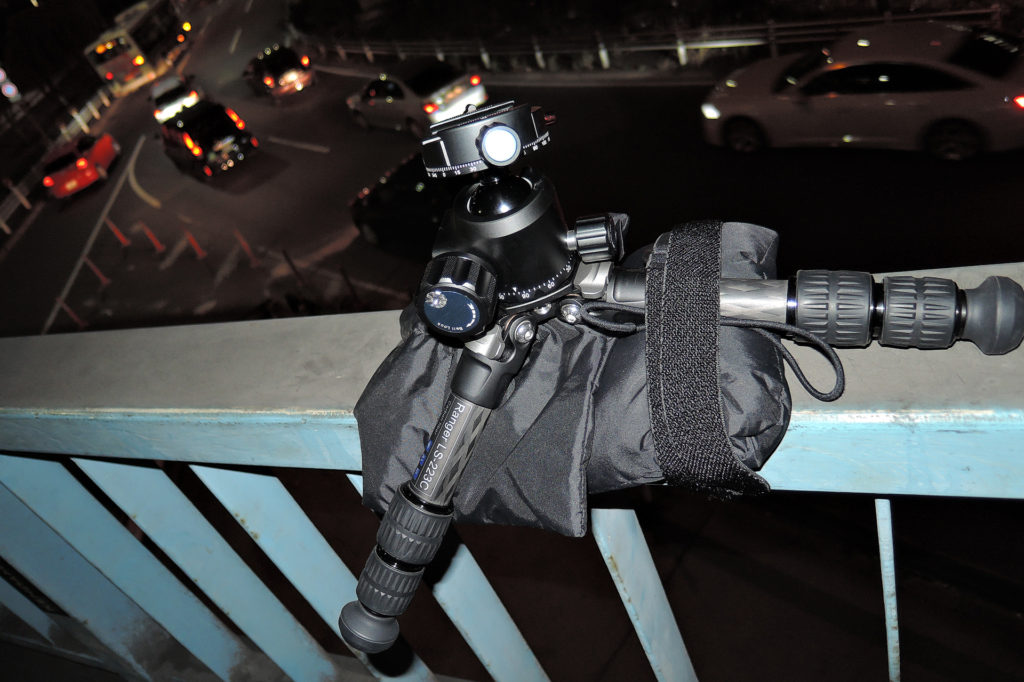
Clamp *updated 1/30/222
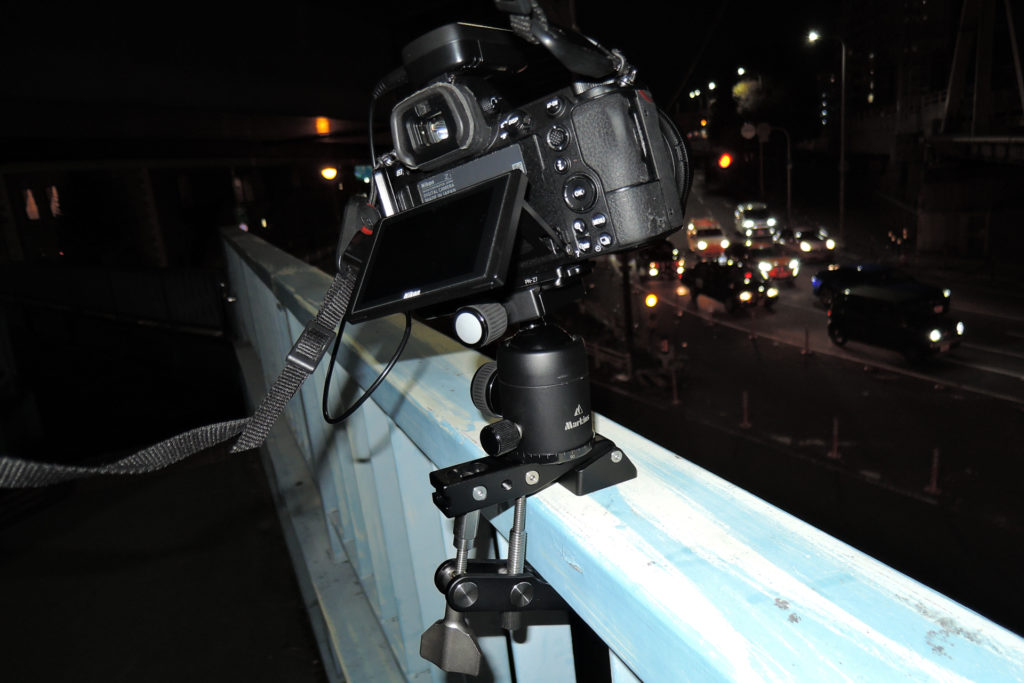
I recently add a mini clamp to my gears; LEOFOTO MC-100.
This is very handy and useful.( I know this is exactly a copy of RRS‘)
When you use a lighter camera, like Nikon’s Z7, you can use these clamps instead of balky tripods.
Remote Shutter:
Touching the shutter button directedly makes the risk of shaking the camera.
Plus, I take multiple shots, a remote is pretty handy tool. Both wired and wireless OK.

Filters:
ND Filters
You can use ND filters for light trails shooting too.
Even in the dark night, it is difficult to achieve a few minutes long exposure without ND filters.
But one thing I want you to remember that : any filters might make the flare or ghost especially against strong light sources. This hugely depend on filters and situations.
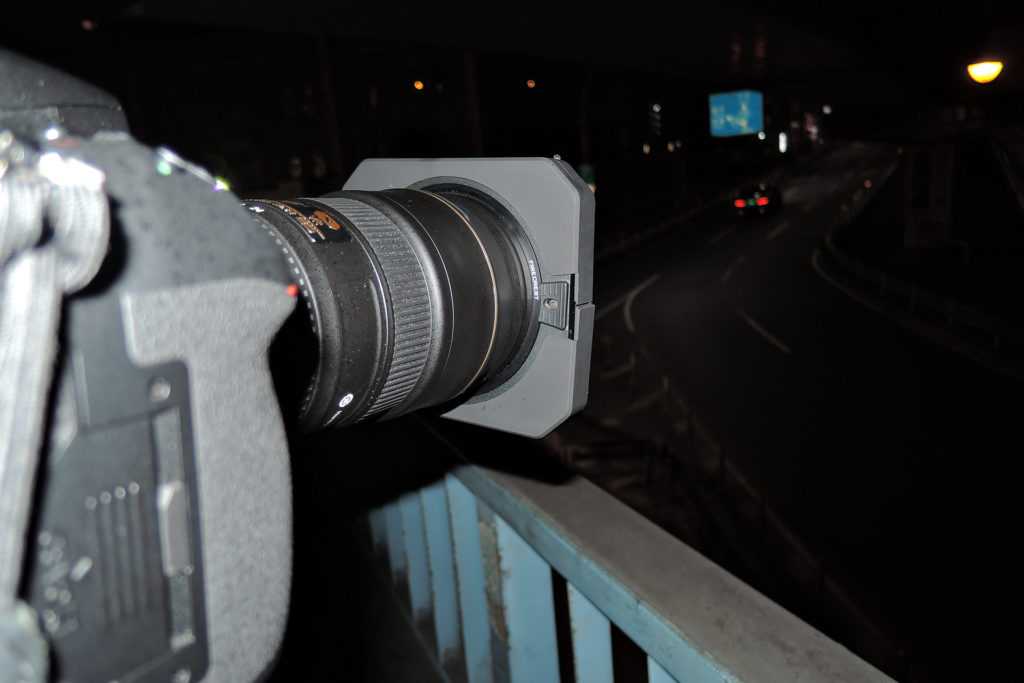
I attached ND filter With Formatt-Hitech 100mm filter holder on D810(24-70mm) 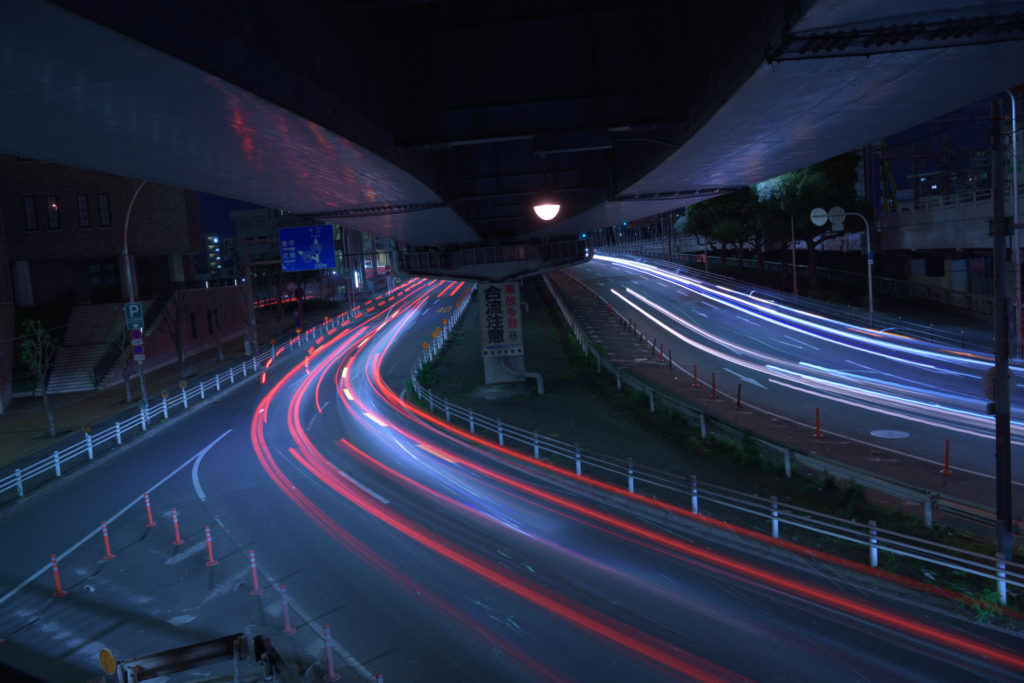
6 sec. (no filter) 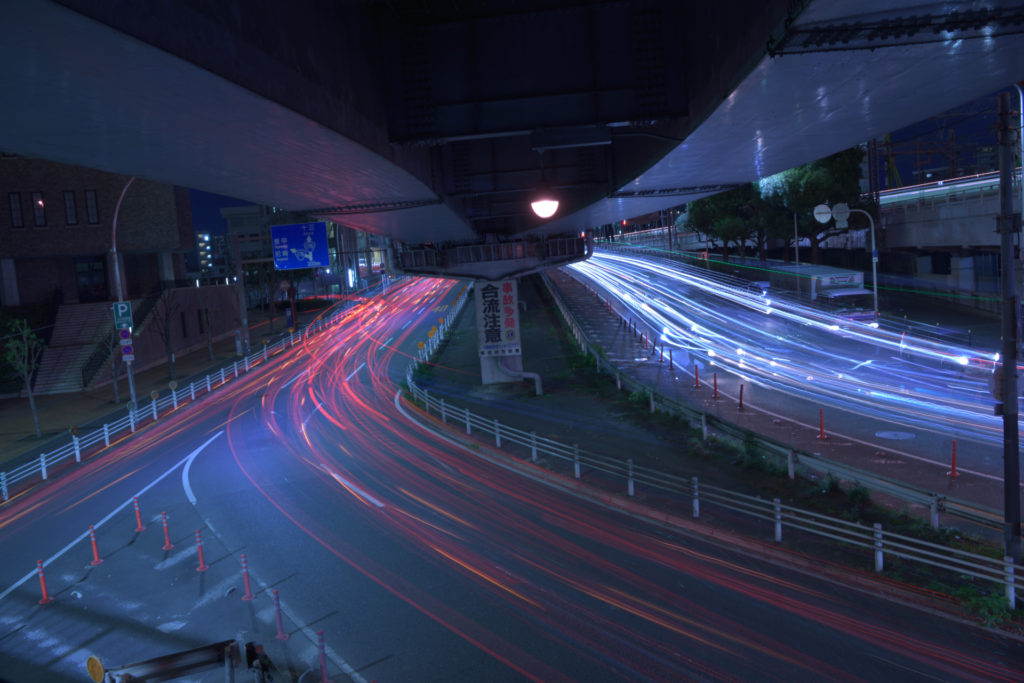
with ND 9 (3 stops)98sec. F9 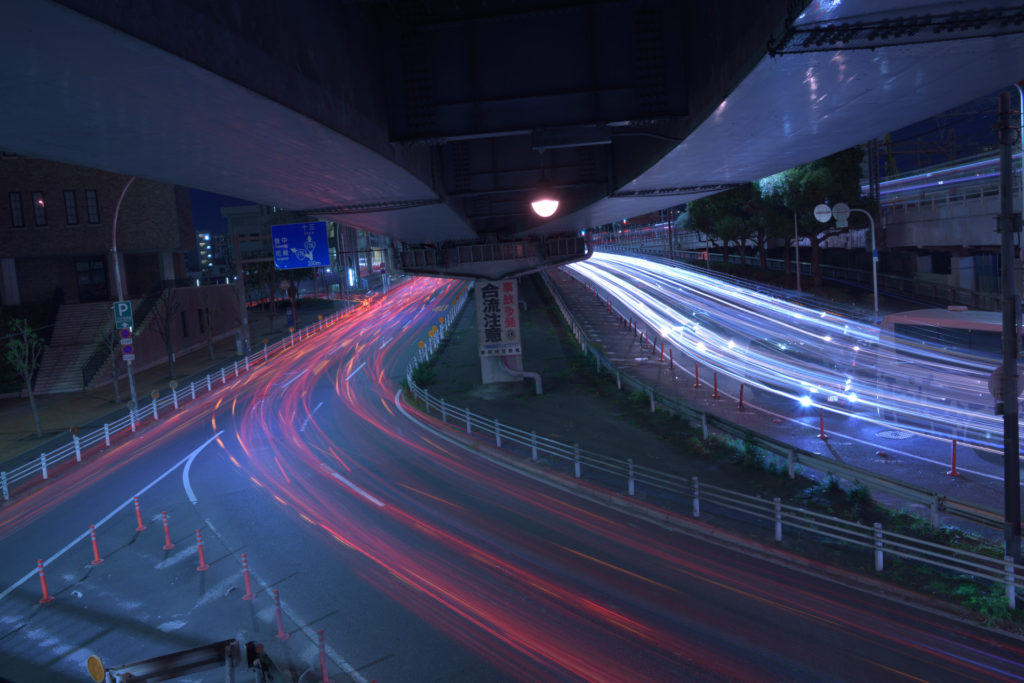
with ND 9 (3 stops )180sec .F13
Star & Streak Effects Filters
These type of filters are so called “star” filters, which can add the gorgeous stars around the light source. With them often the image goes too much stars, too much fancy and messy.
So, to control them a proper post process is need to be done.
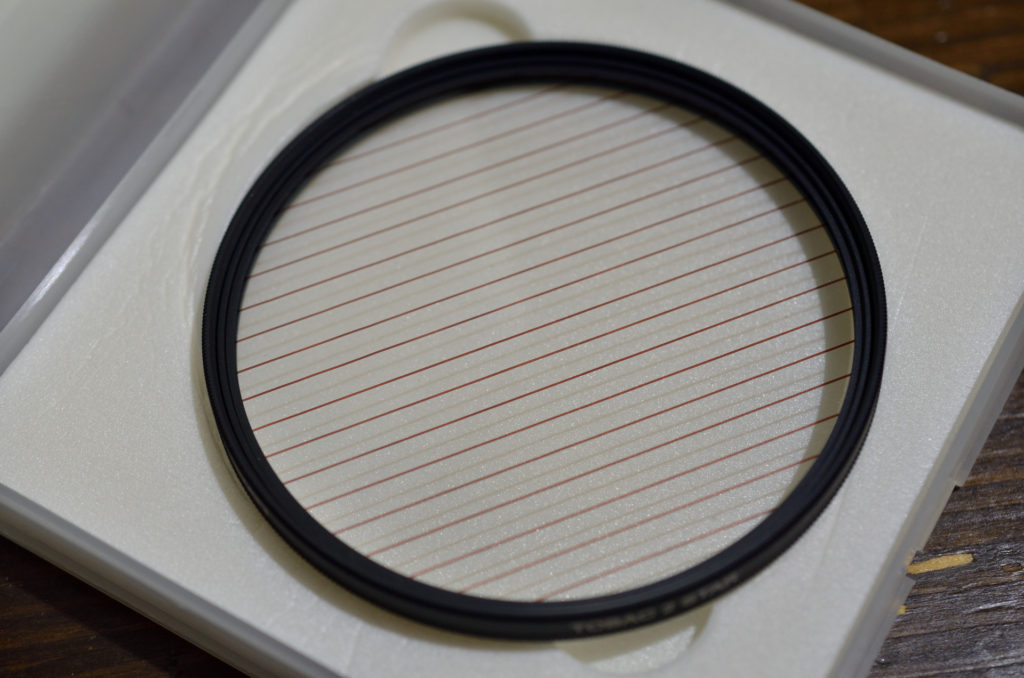
2 point 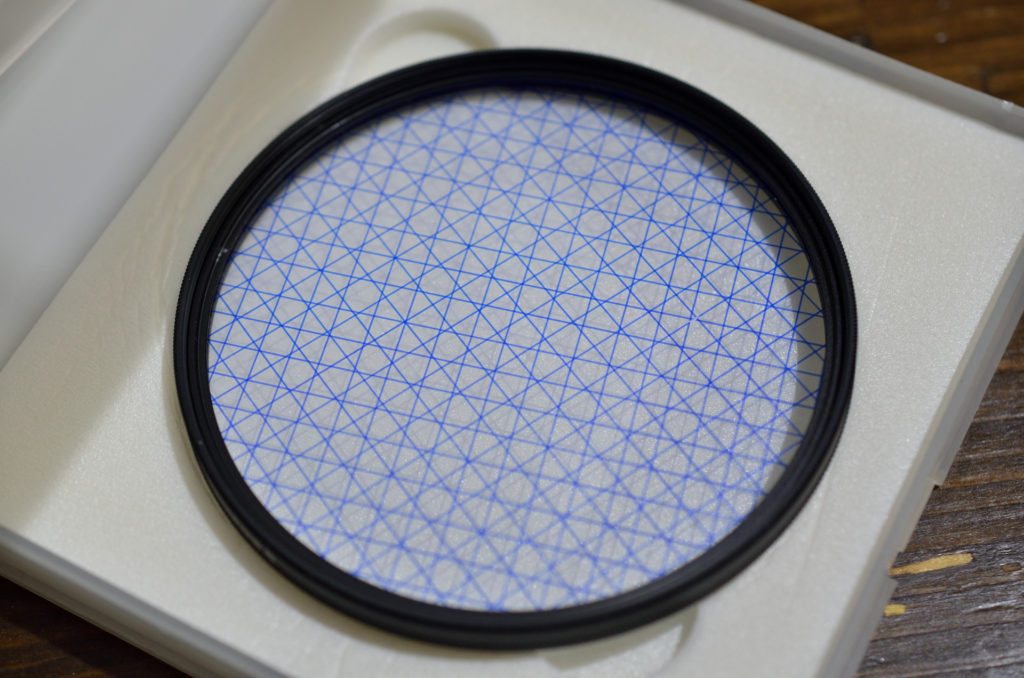
Various types of stars are available 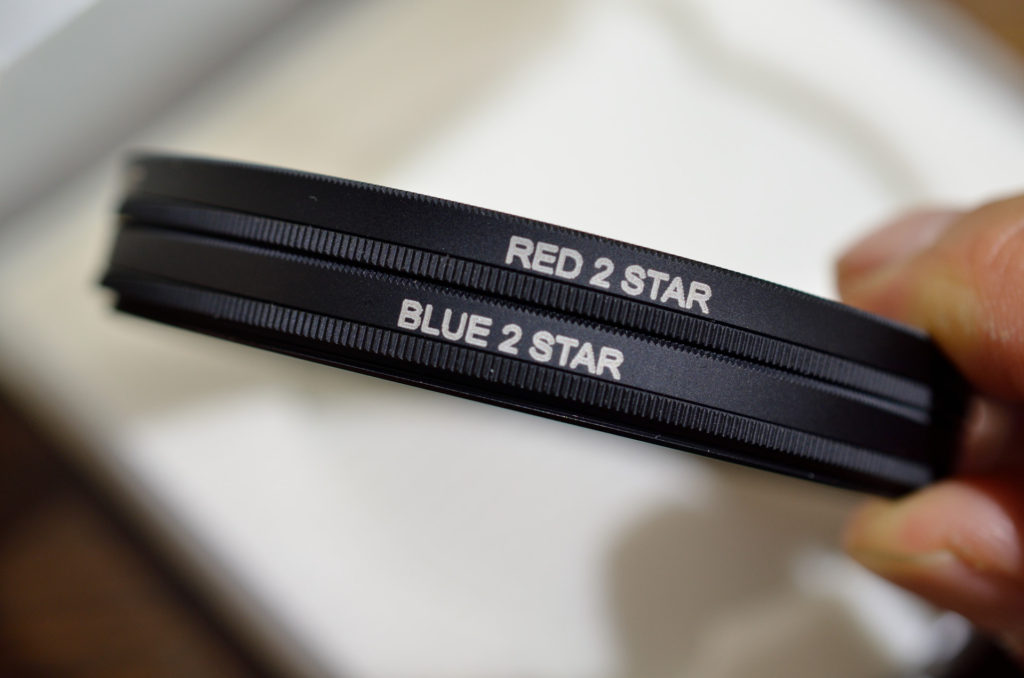
You can stack them
Night scape filter (special filter for night scape)
This is a special filter from Formatt-Hitech.
Nightscape is a night filter explicitly designed to remove the light spectrums associated with light pollution and sodium lamps.
During Astro shots, the light pollution from the modern world can be hard to deal with and lower the contrast as well as giving muddy orange and brown tones. Nightscape is a Neodymium filter designed to give your images the true colors of the night sky. It also benefits from the latest in Double-sided coatings with both anti-reflection and waterproofing.
Similar filters are released from other manufactures too.
NiSi: Natural Night Filter
Kenko: Starry Night
At this point, I can’t judge the necessity of this type of filter for Light trail photography.
※I’ll report soon!
Locations &TIPS
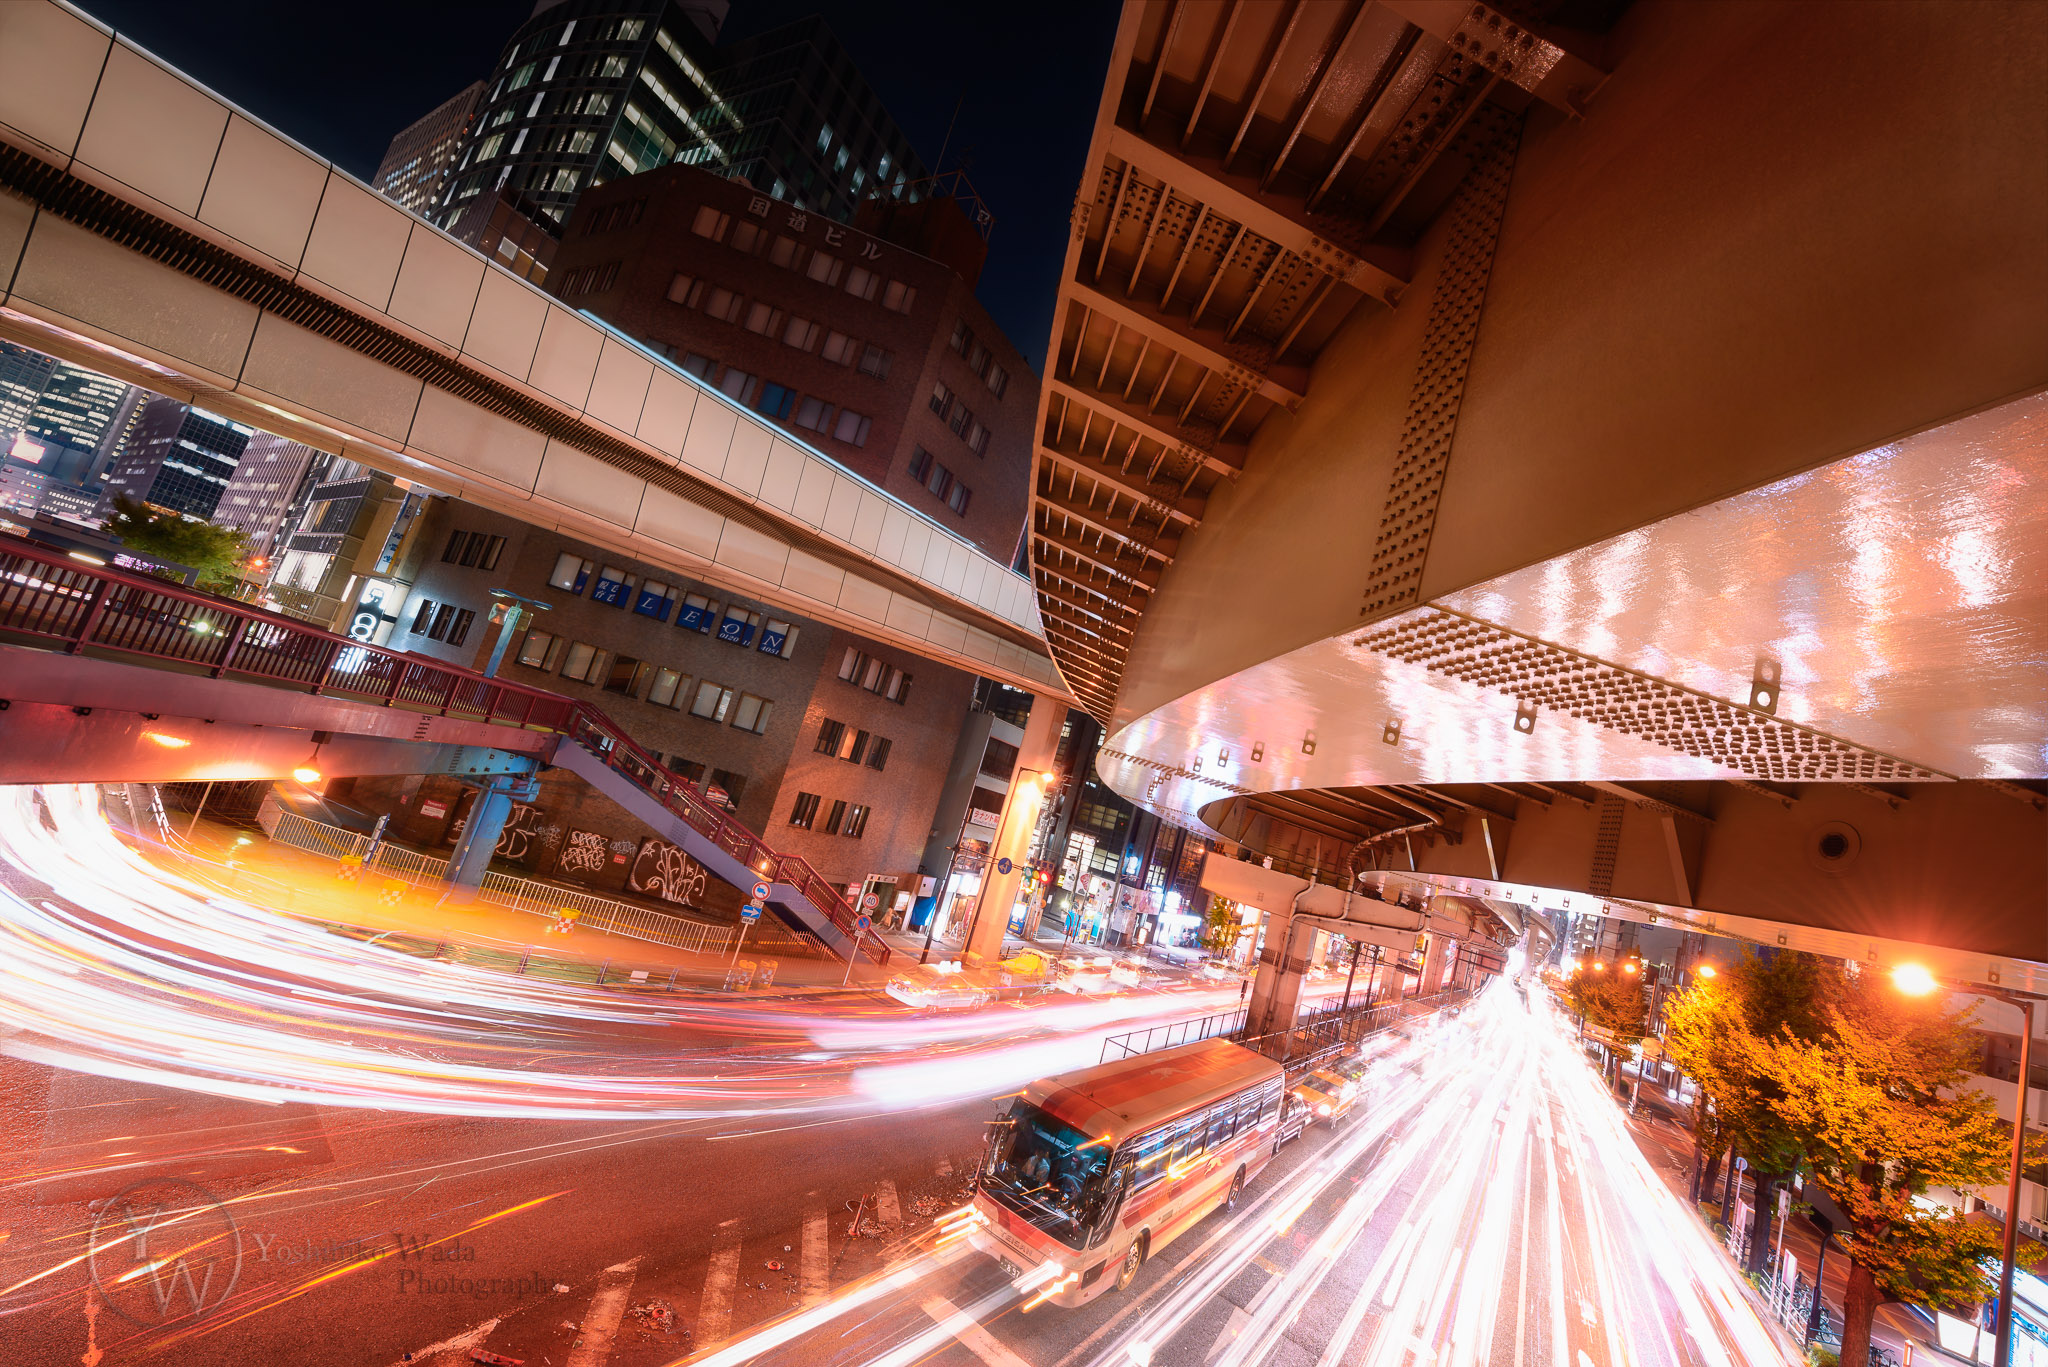
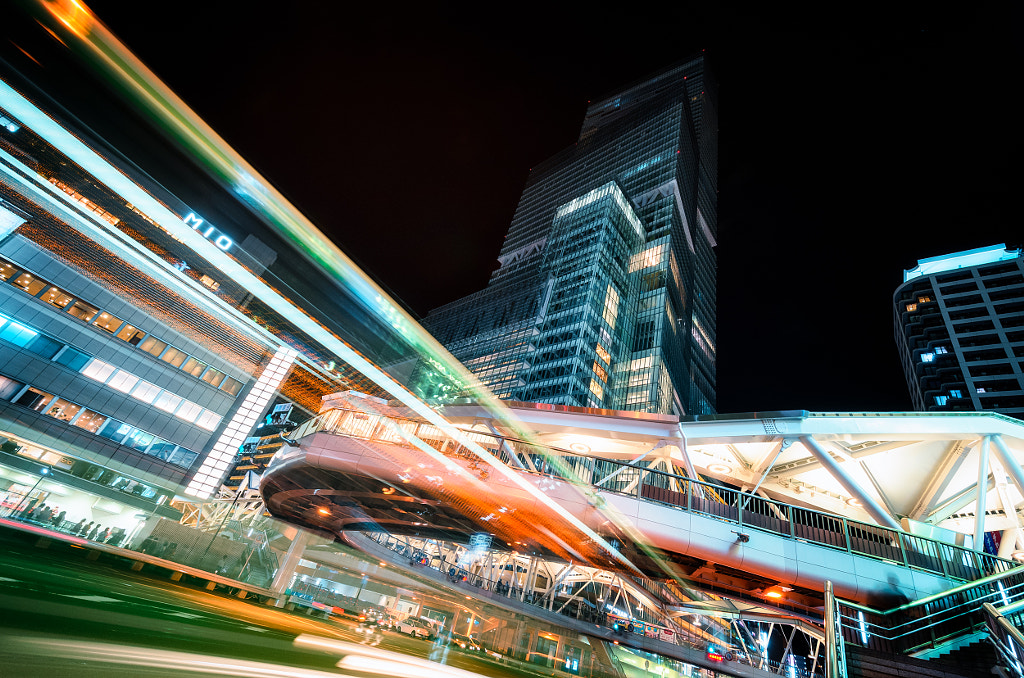
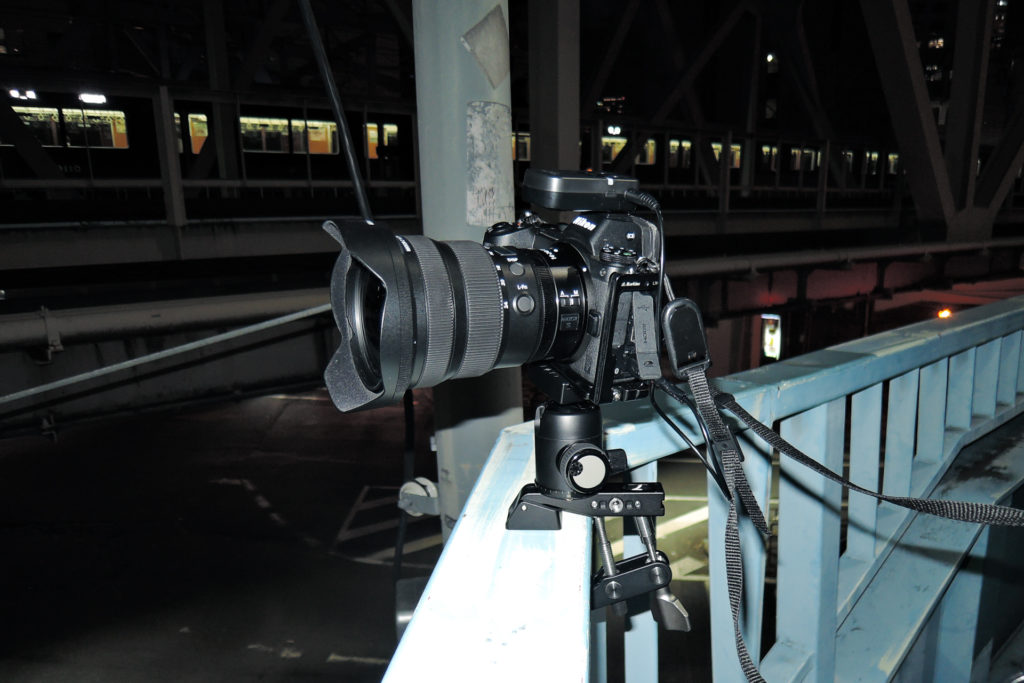
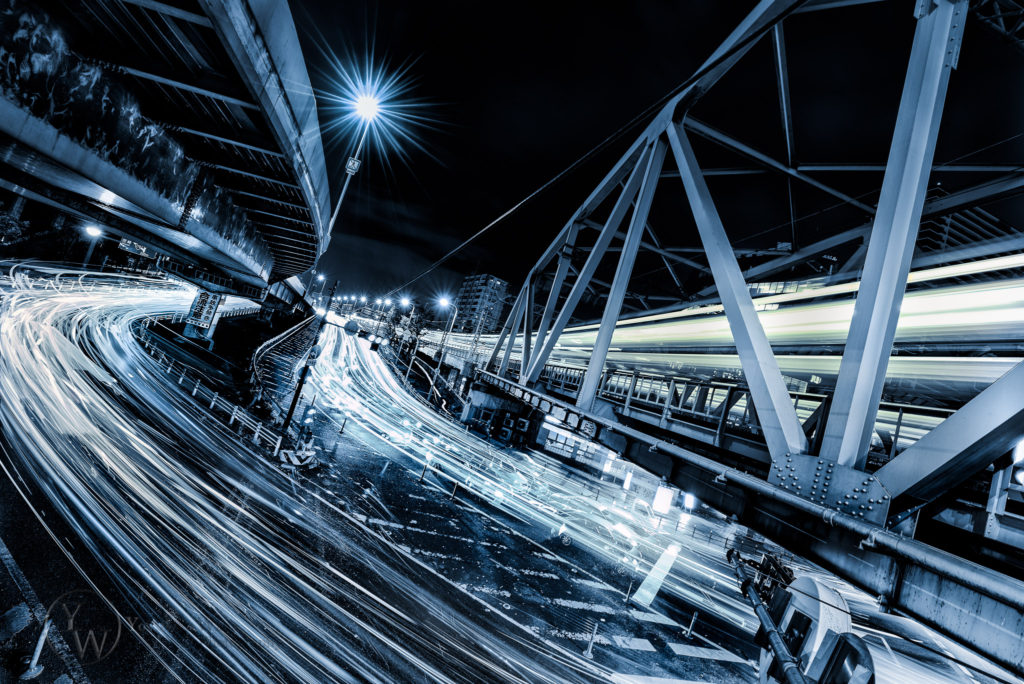
pedestrian bridge
In Japan, there are lot of pedestrian bridges in urban area. (In my opinion, some are actually un necessary) However, on the bridge you can shoot unique light trails.
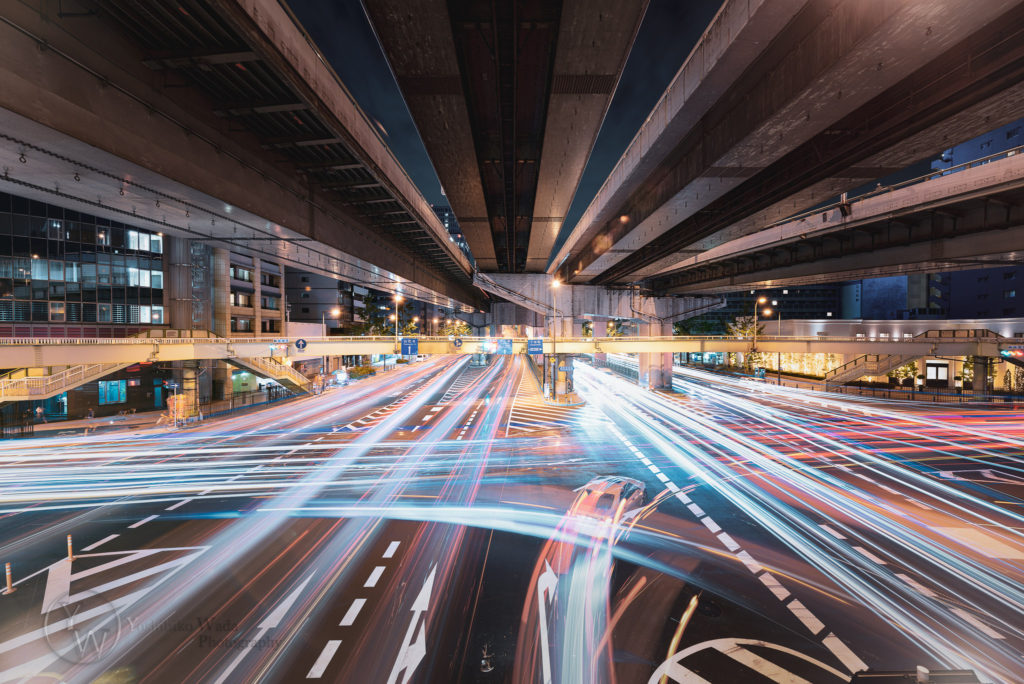
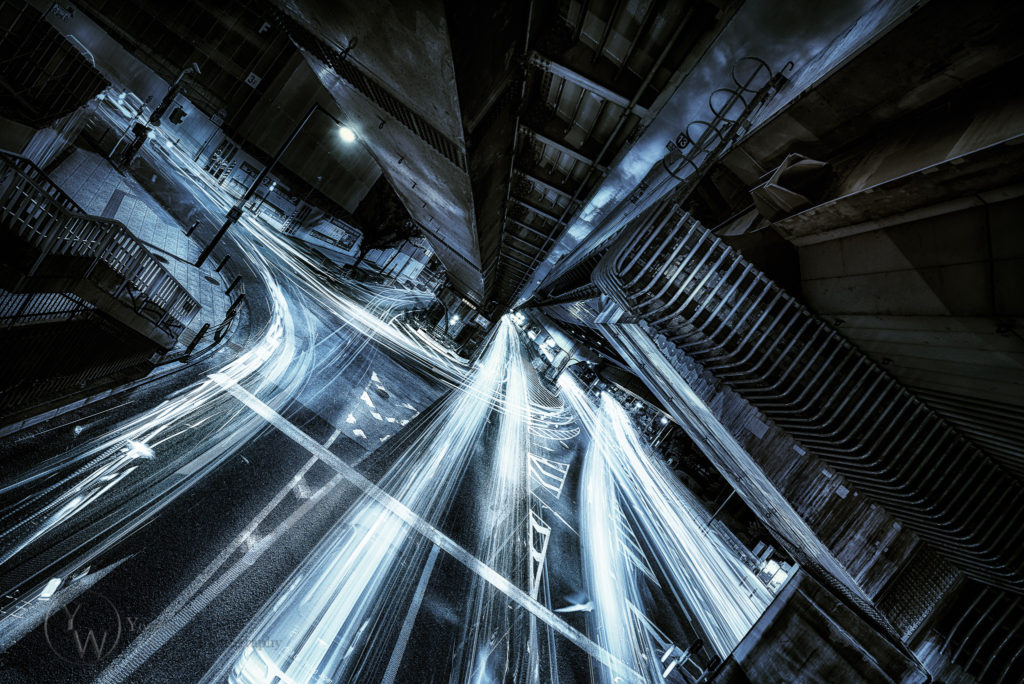
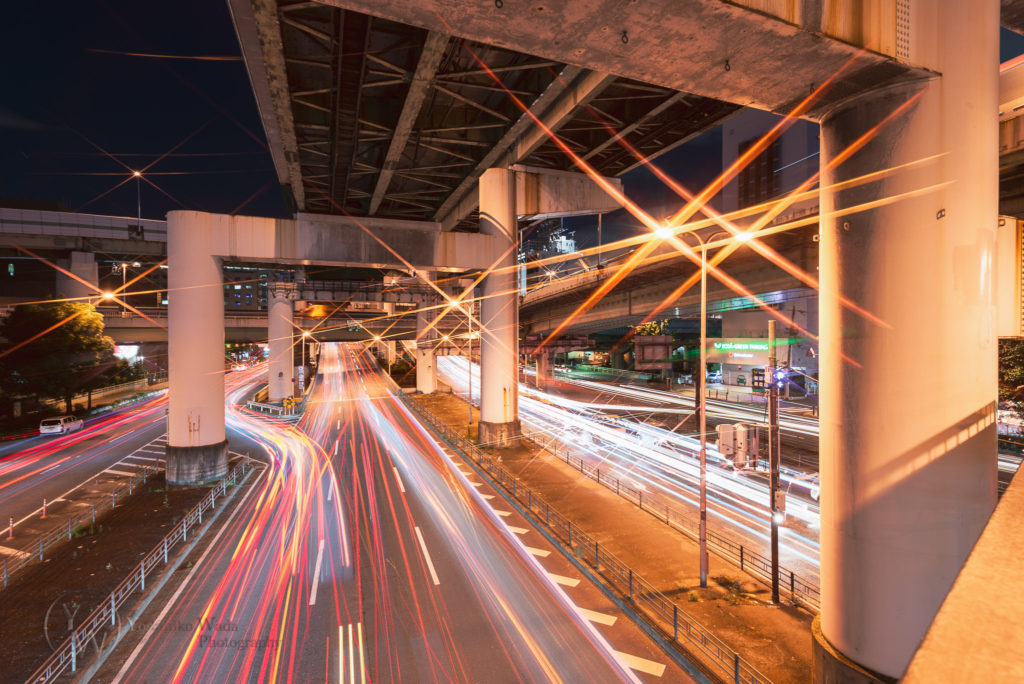
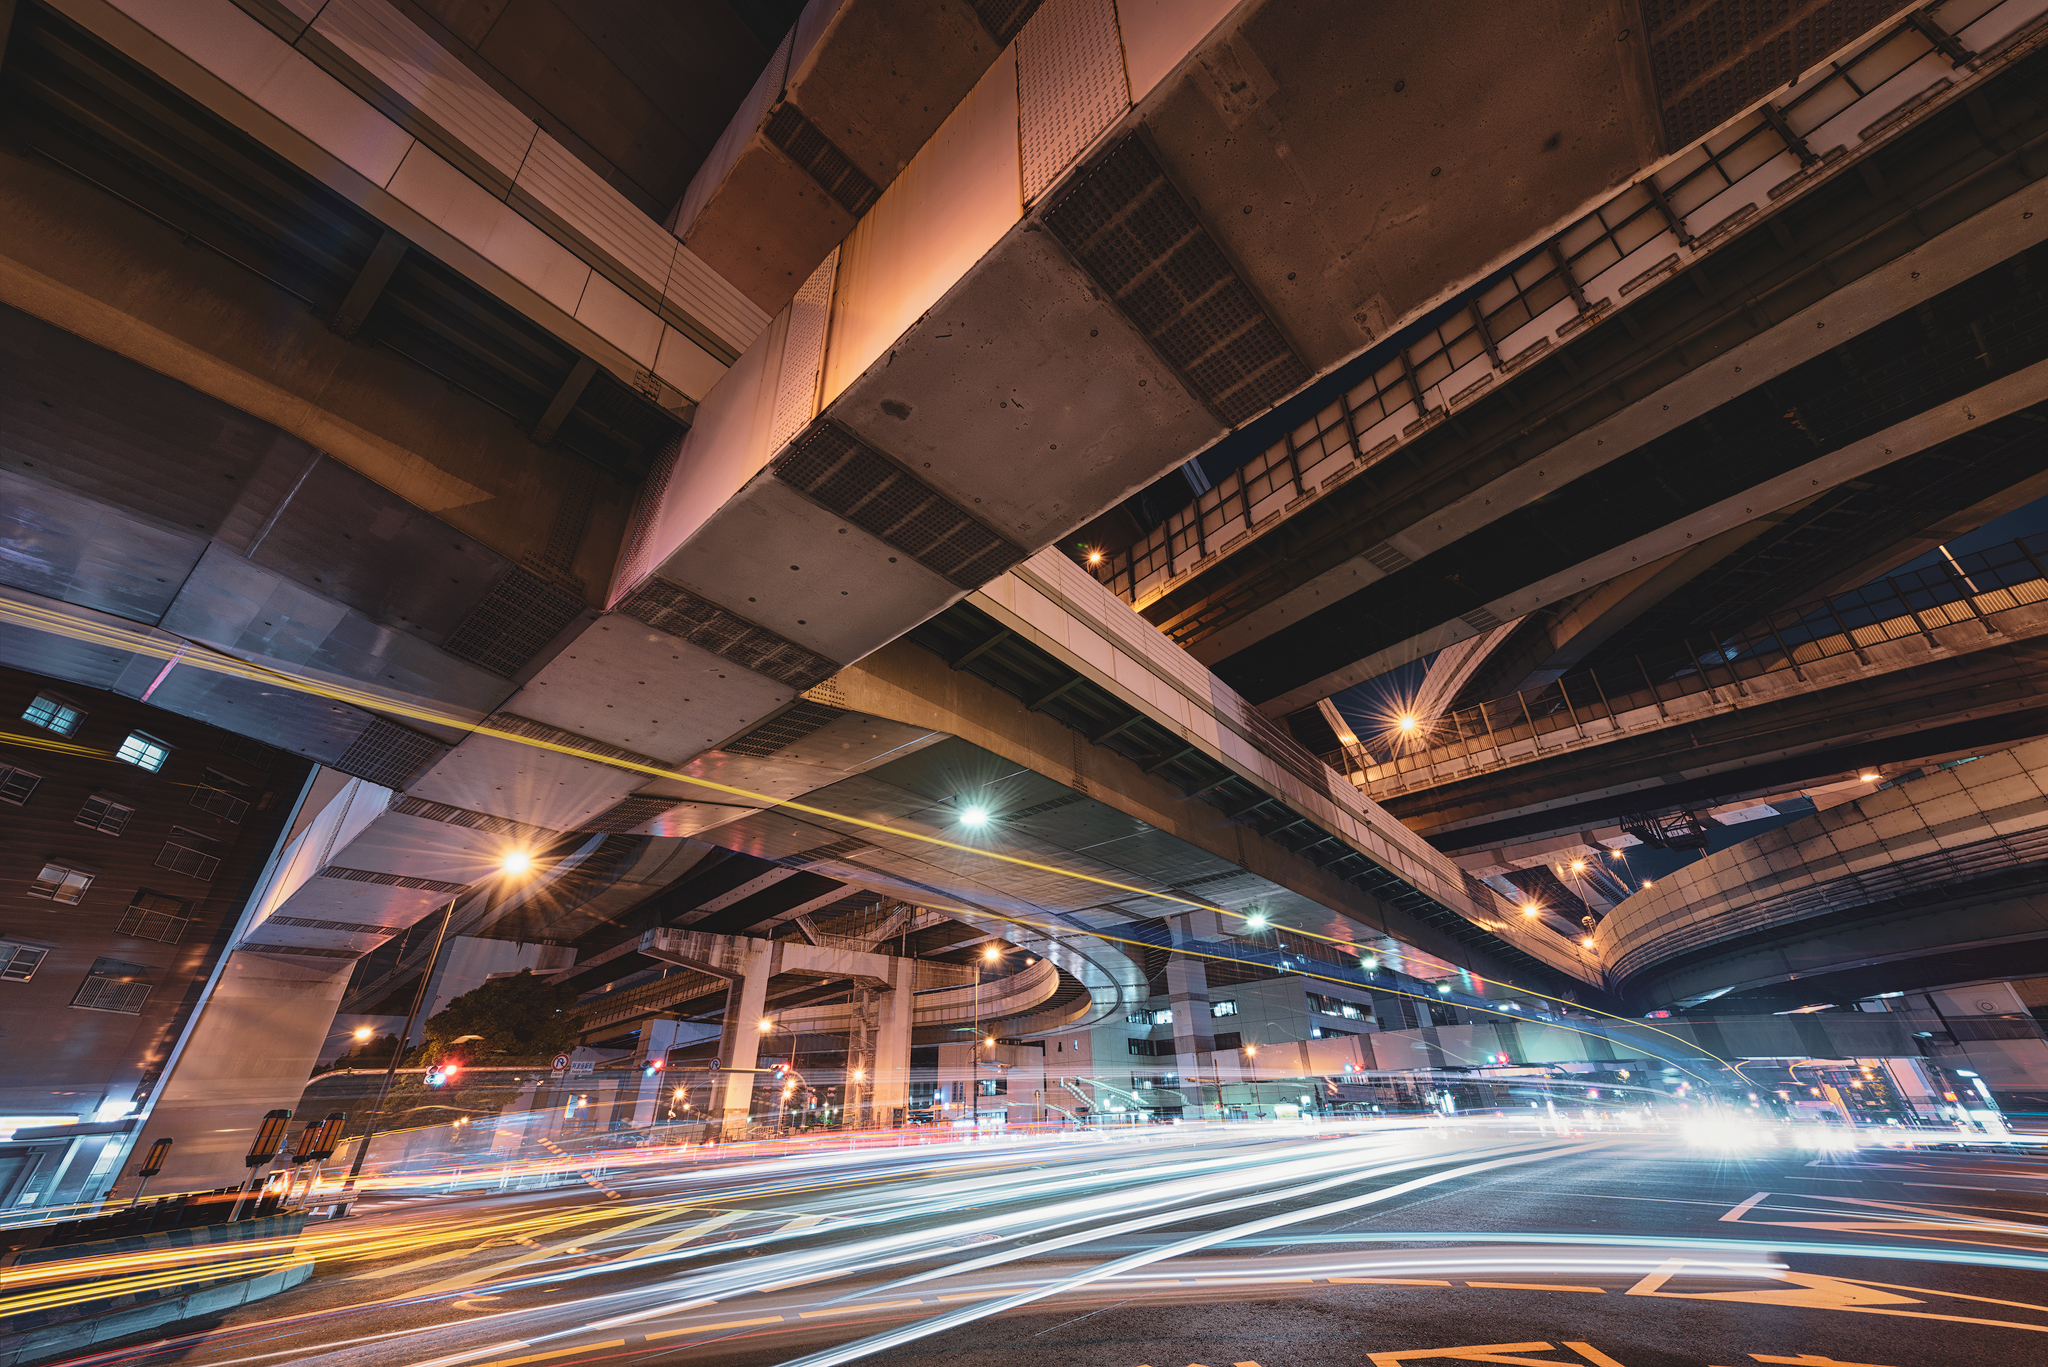
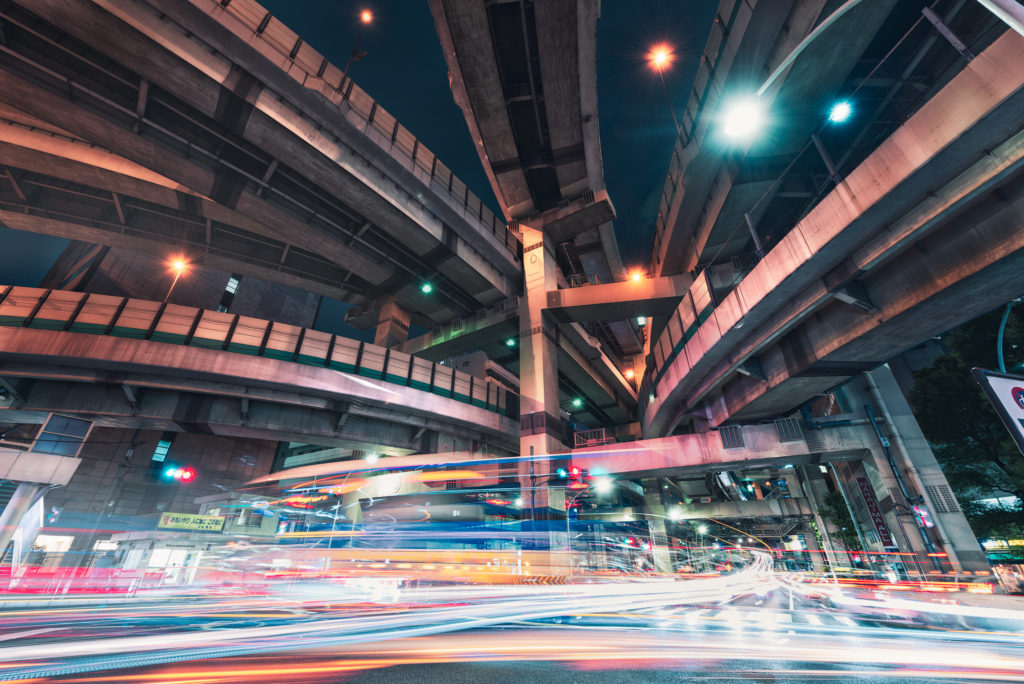
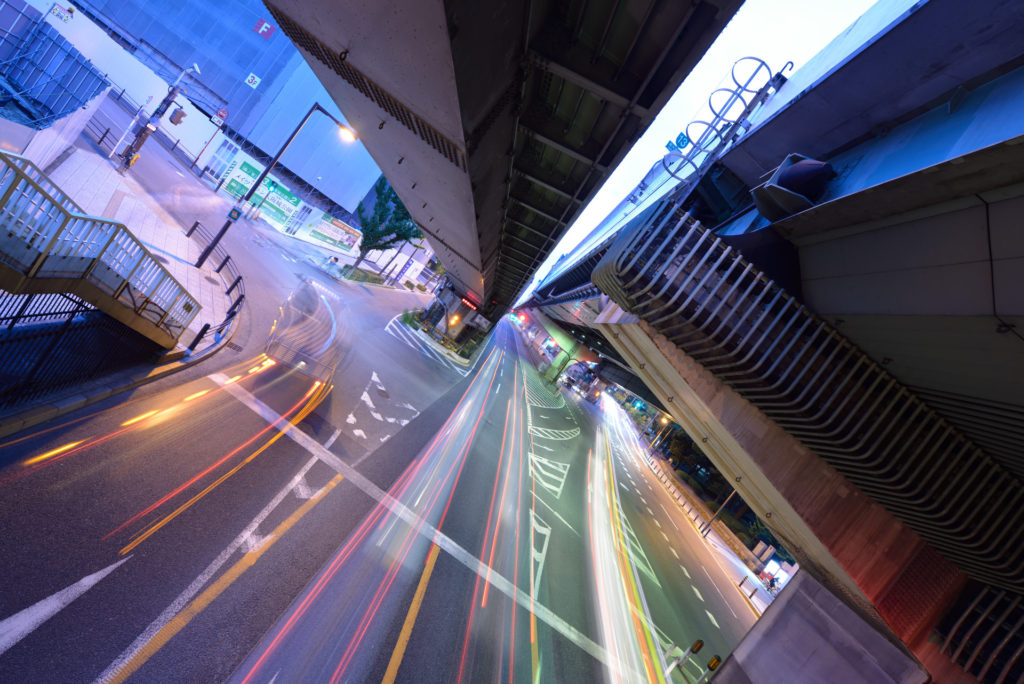
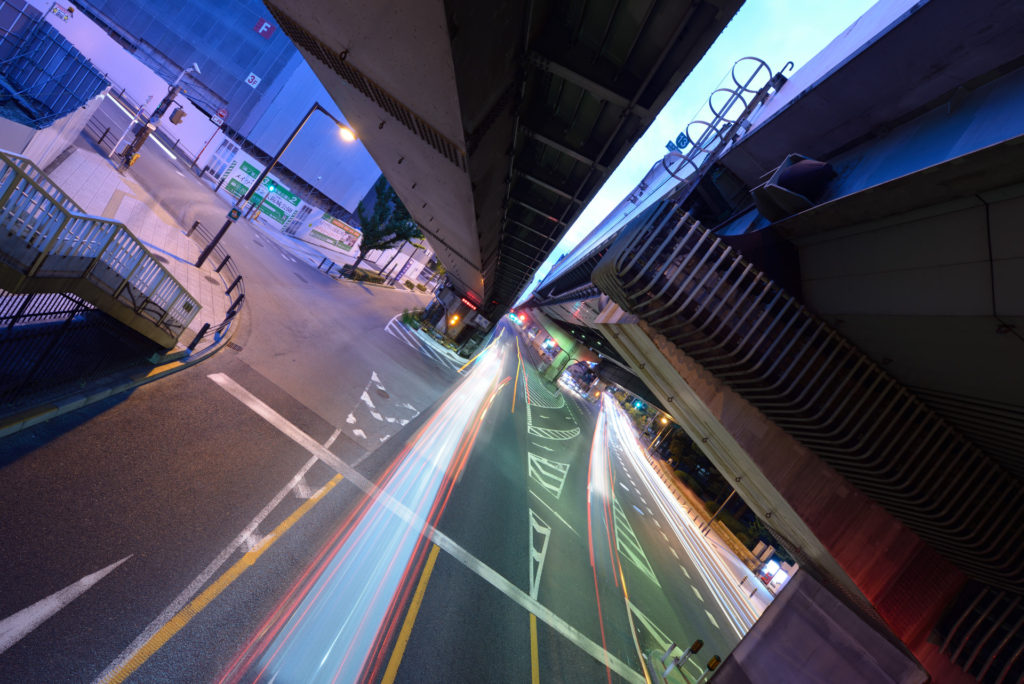
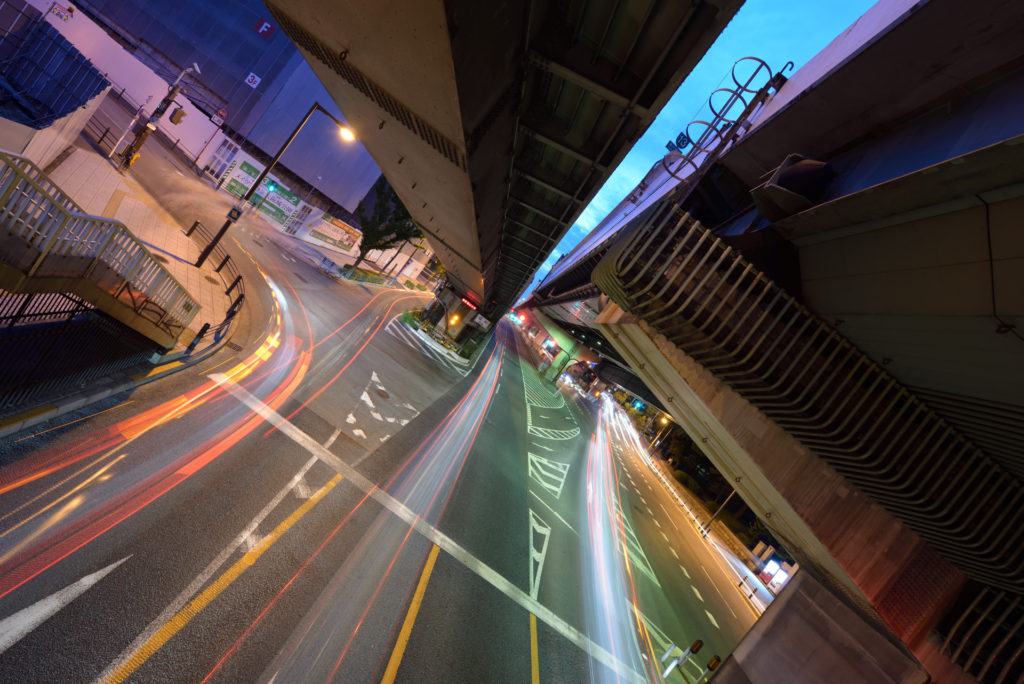
Junctions
Light trails and Junctions are the most beautiful couple in an urban area.
Also junctions and pedestrian bridges are adjacent in many city area, so combine them could be a great idea.
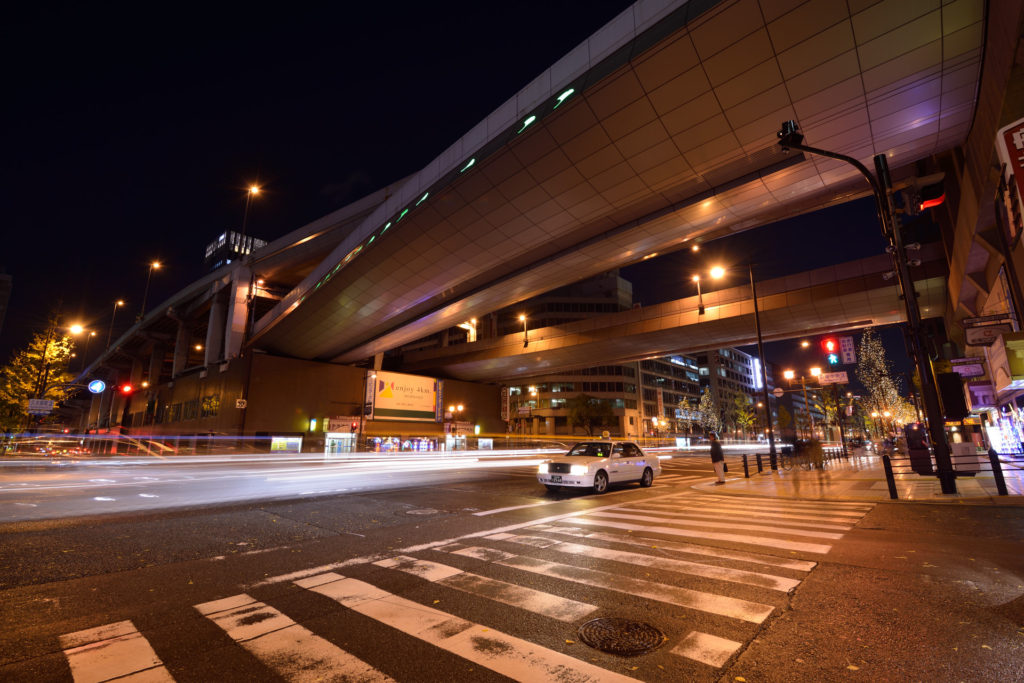
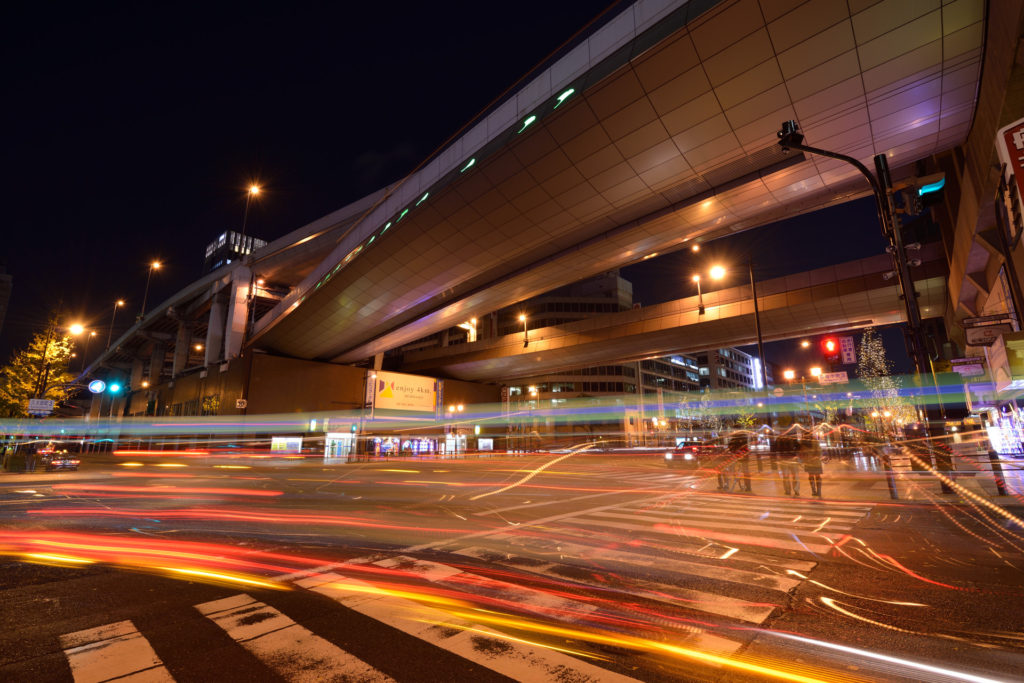
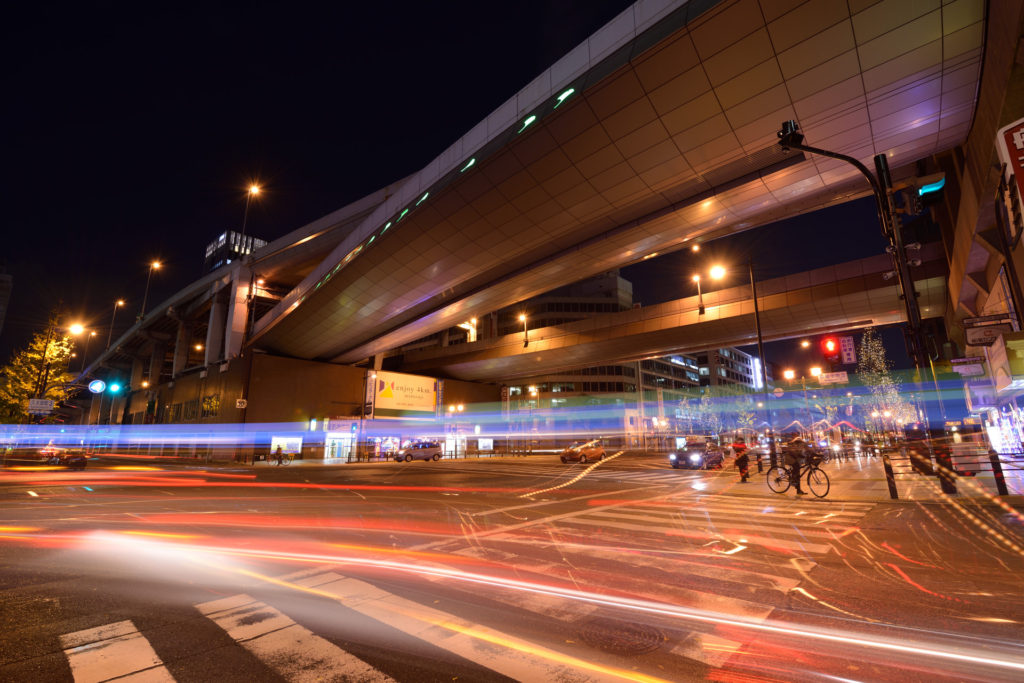
Road Side
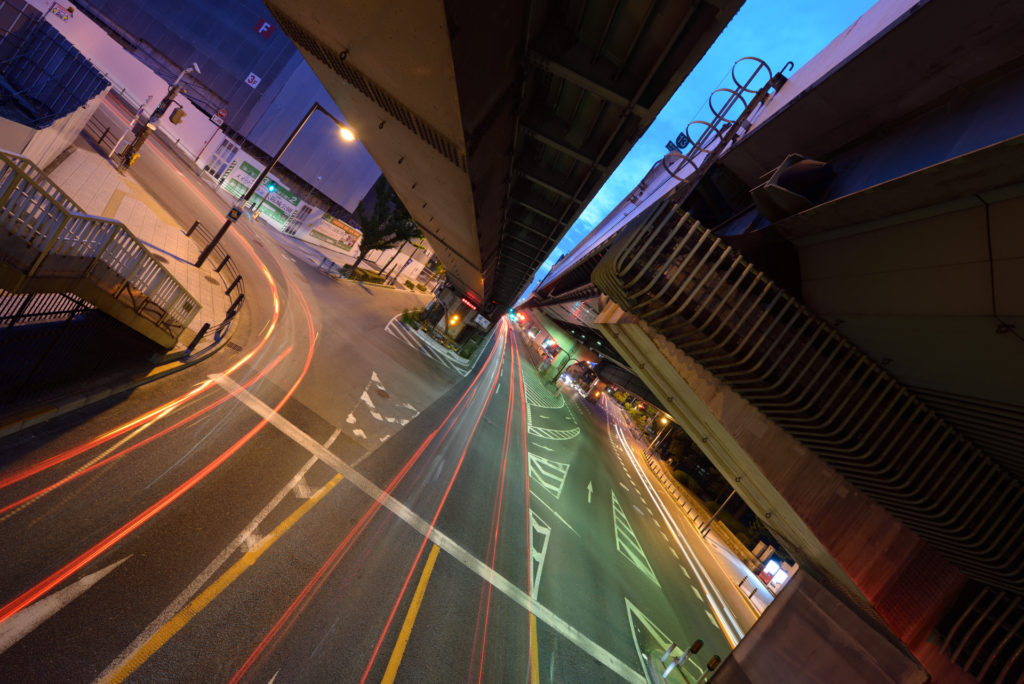
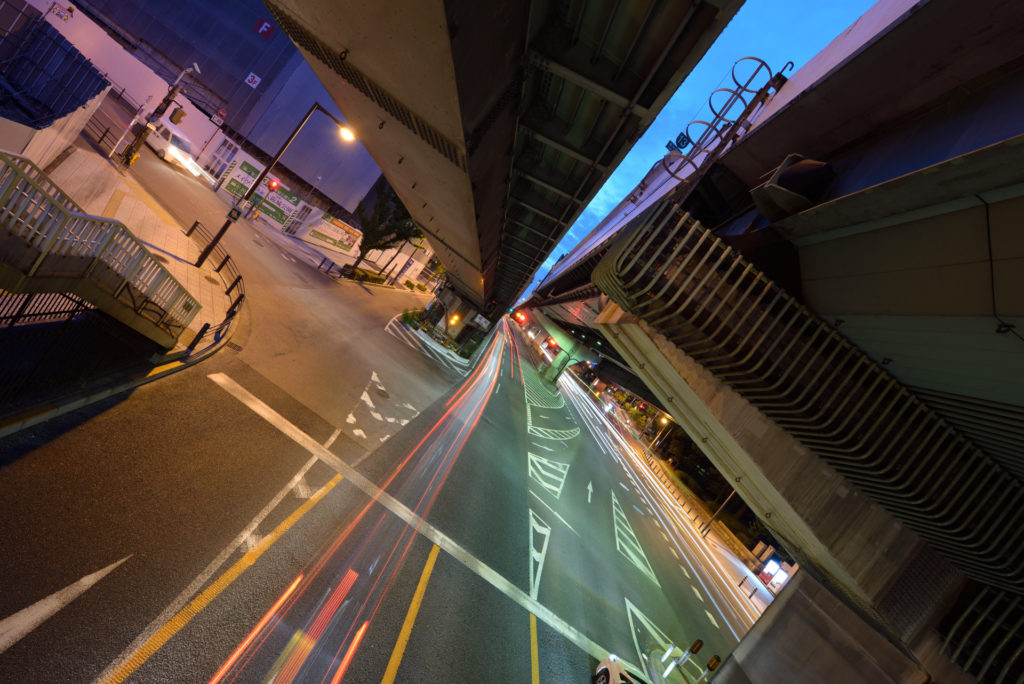
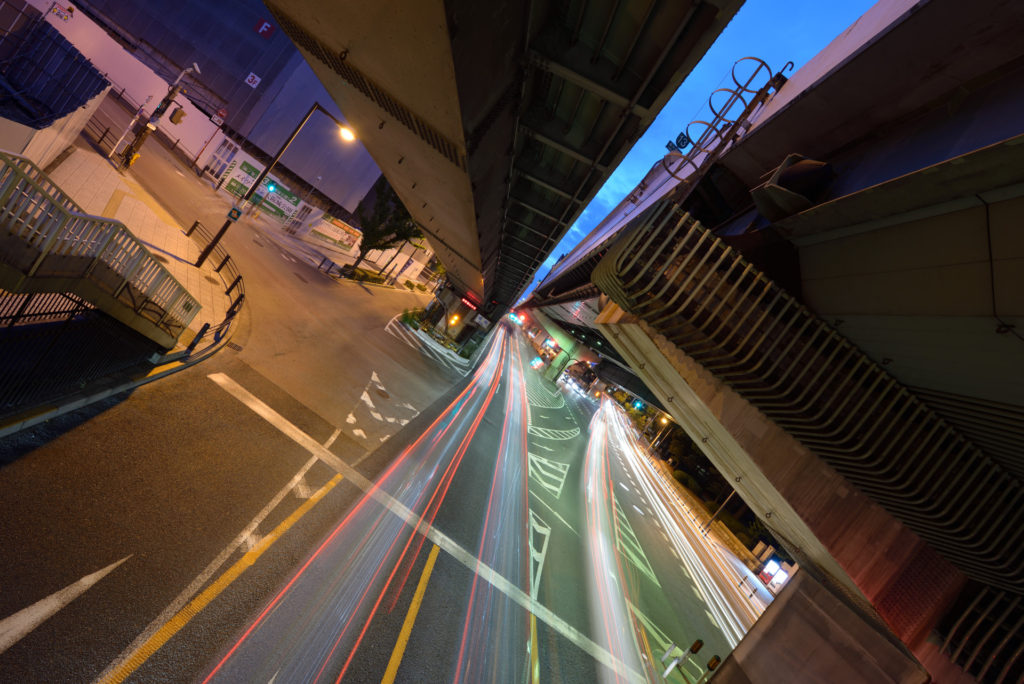
When you are on the ground, close to the road as much as possible. Then you can frame a punchy light trails. This is pretty effective especially when you use an ultra wide lens.
Also a corner is a good spot as the car is slowing down, then the thick light trail appears.
Here are the multiple samples shot at the same corner.

Just be careful for being hit by a car; watch out bikes and pedestrians.
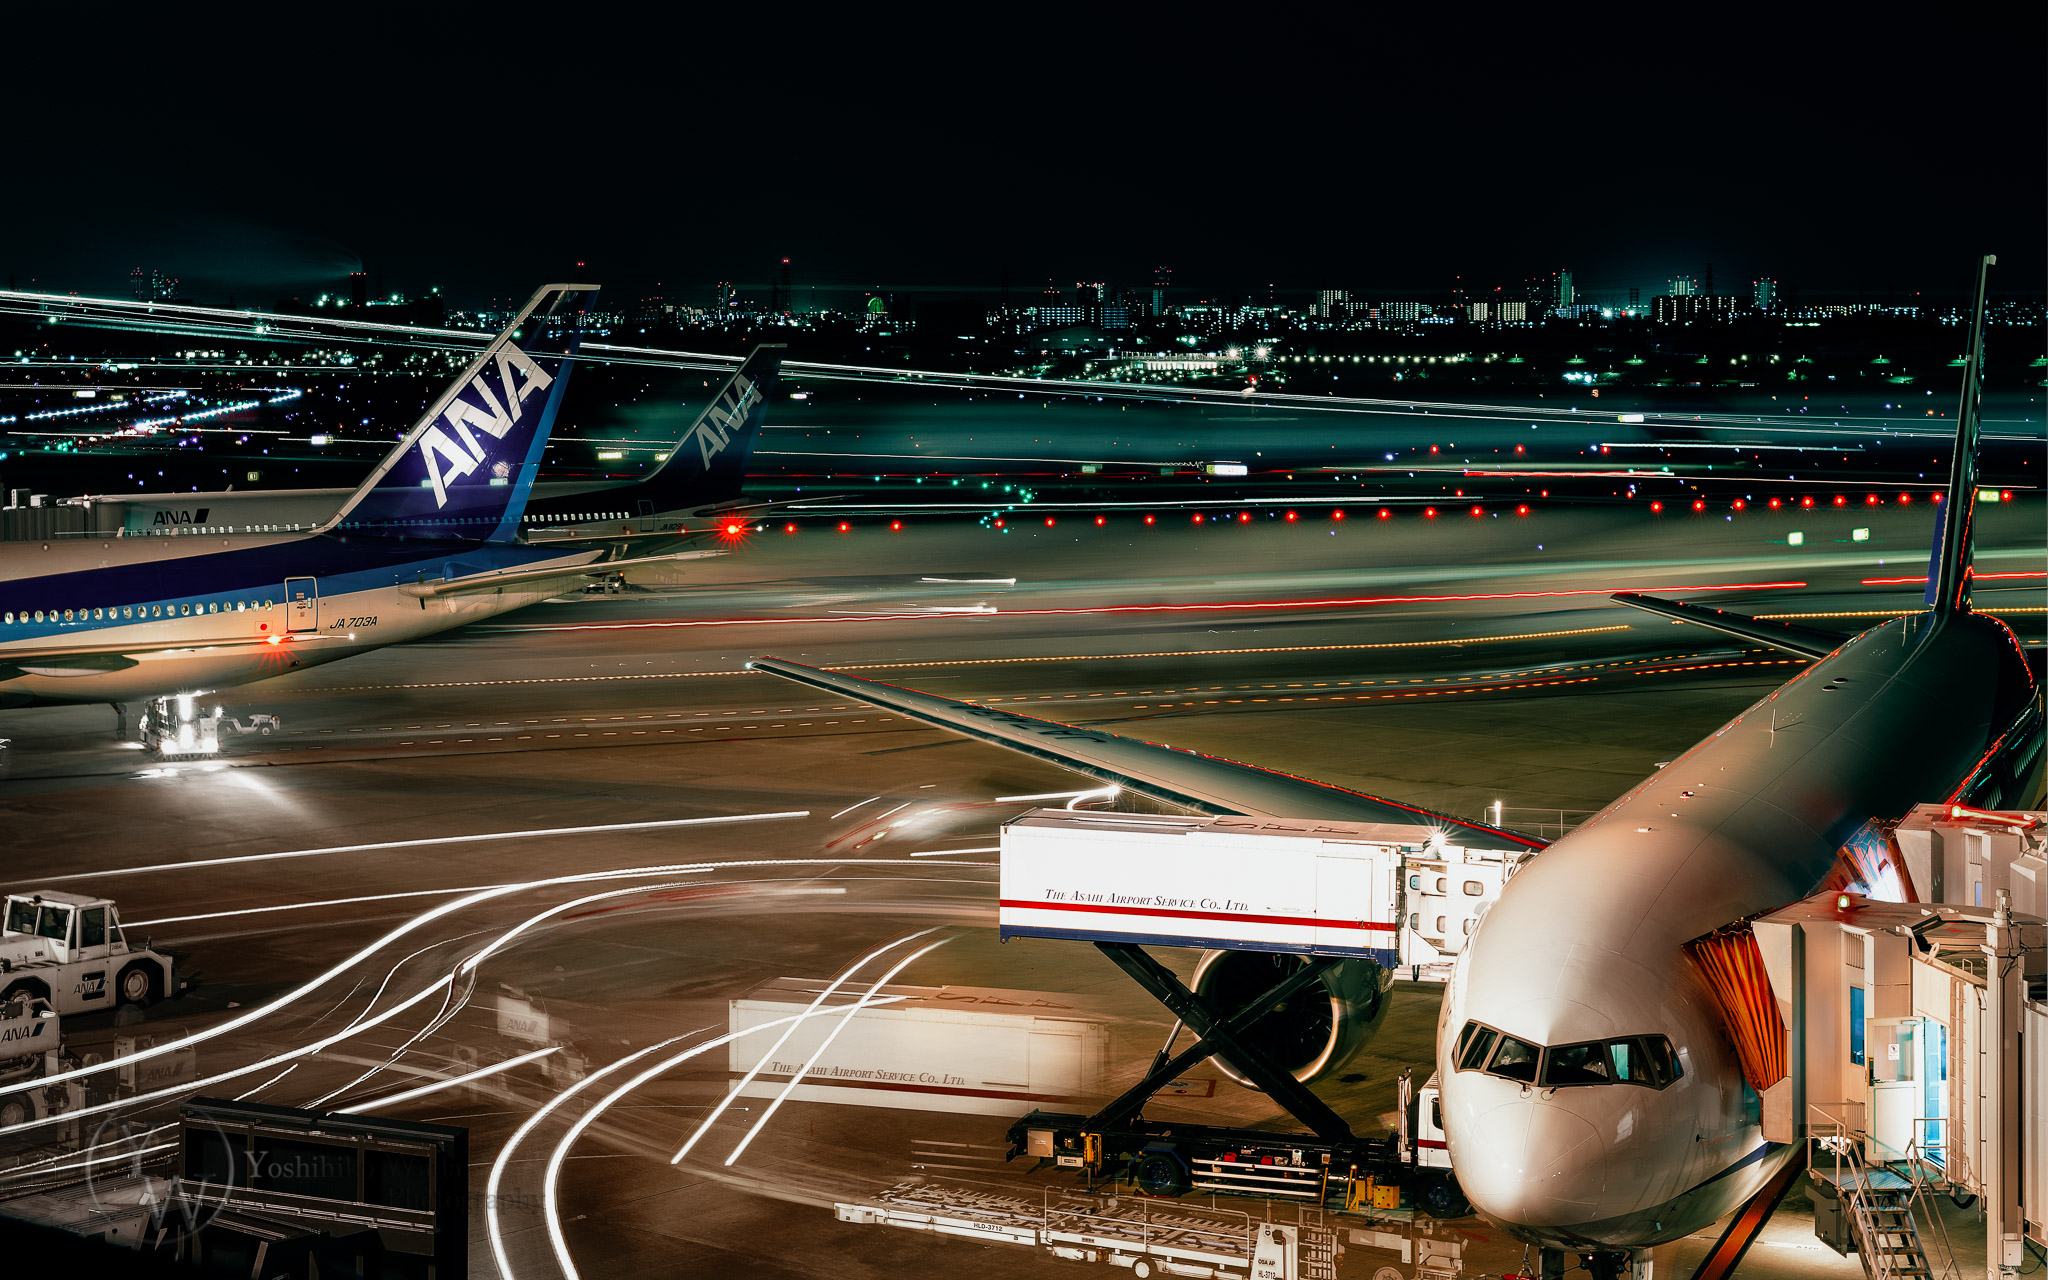
Airport
If you have a chance to visit an observation deck in the airport, let’s go shoot for the light trails of airplanes. Bellow samples were taken at Osaka airport in 2013.
You may find out how the airport is a busy place. Although the current limited travel situations, you will see less airplanes and lights than the past years. I wish the world get normal again.
Recommendation for multiple shooting
You might found that my light trail works were not shot by one exposure.
Yes, I shoot multiple light trails shots, then merge all of them later in the post process.
Why multiple?
There are mostly 3 reasons I prefer multiple shooting:
- maintain image quality
- avoid camera shakes
- able to add and pick the light trails as much as you want
1.maintain image quality
When you try to shoot a few minutes of light trail shots, the aperture would be to pretty low numbers, like F18 or F22.(without ND filters)
Thus, this will decrease the overall image quality.
For that regards, I want to keep around F9 or 10.
So I shot multiples.
2.avoid camera shakes
Your camera shakes even on the tripod. Because of the location camera is not completely stable. So more having longer time exposure, more having the risk for blurry image.
3.able to add and pick the light trails as much as you want
Every light trails are slightly deferent, so I decided to use all of them.
The lines, dot and curve, they paint the road each other.
Bellow samples were shot by F10, 6sec.-8sec.


To be continued…
Did you get interested in light trail photography?
I’ll let you know my work flow in the next blog: “Part 2:post process”.
See you, and Happy New year!
Comment