The previous “YW’s workflow”

Now, you are ready to start black and white postprocess, right?
Have a blueprint
Making Black and white fine art is look like a building house.
So you should have a blueprint. Then you can start building the house.
At the first point the blueprint might not be perfect. Rather “rough” is totally OK.
Your blue print is getting clearer, and forms more concrete image along with the later postprocess. Plus it’d be also OK to change the initial plan during the later postprocess, if it looks better than first one.
Anyway let’s start.
Make a Rough vision
Going rough with Lightroom
I made a short video how to make “the rough vision”. let’s watch.
Rough flow
- make a virtual copy
- change the image to black and white
- use “gradient tool” and set it to the center for giving the vignette
- Select the areas you want to enhance: give it exposure, highlight, texture, clarity
Pretty easy, huh?
The vision will change
If you can not determine the vision, it ‘s fine.
The vision often changes during the postprocess, and most of the cases, for the better direction. So you don’t worry about not having a concrete blue print at first. The important thing is that you have, at least, a map of the jungle you are going into.
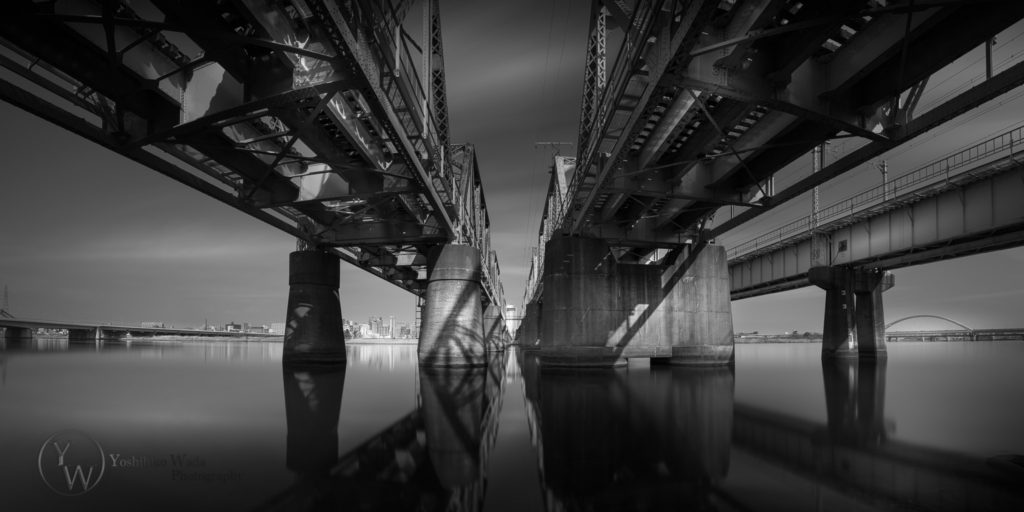
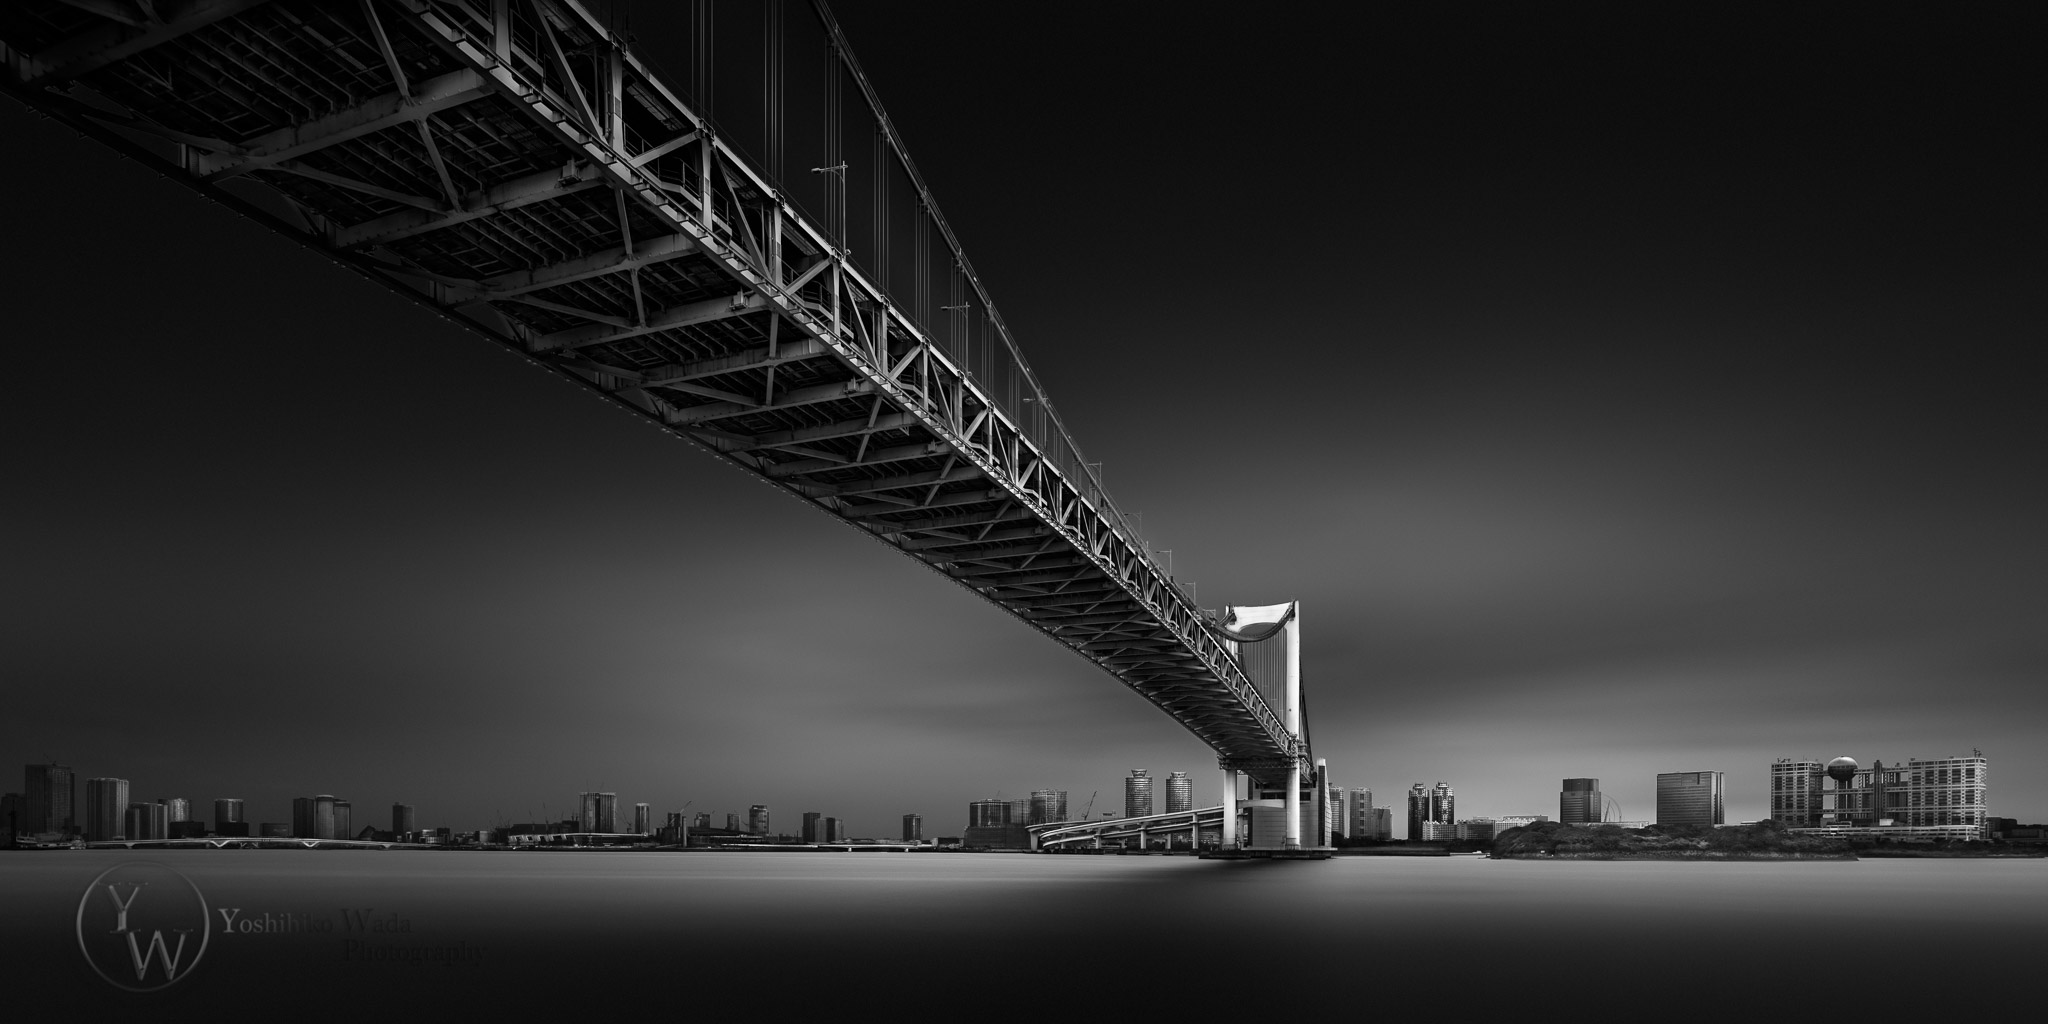
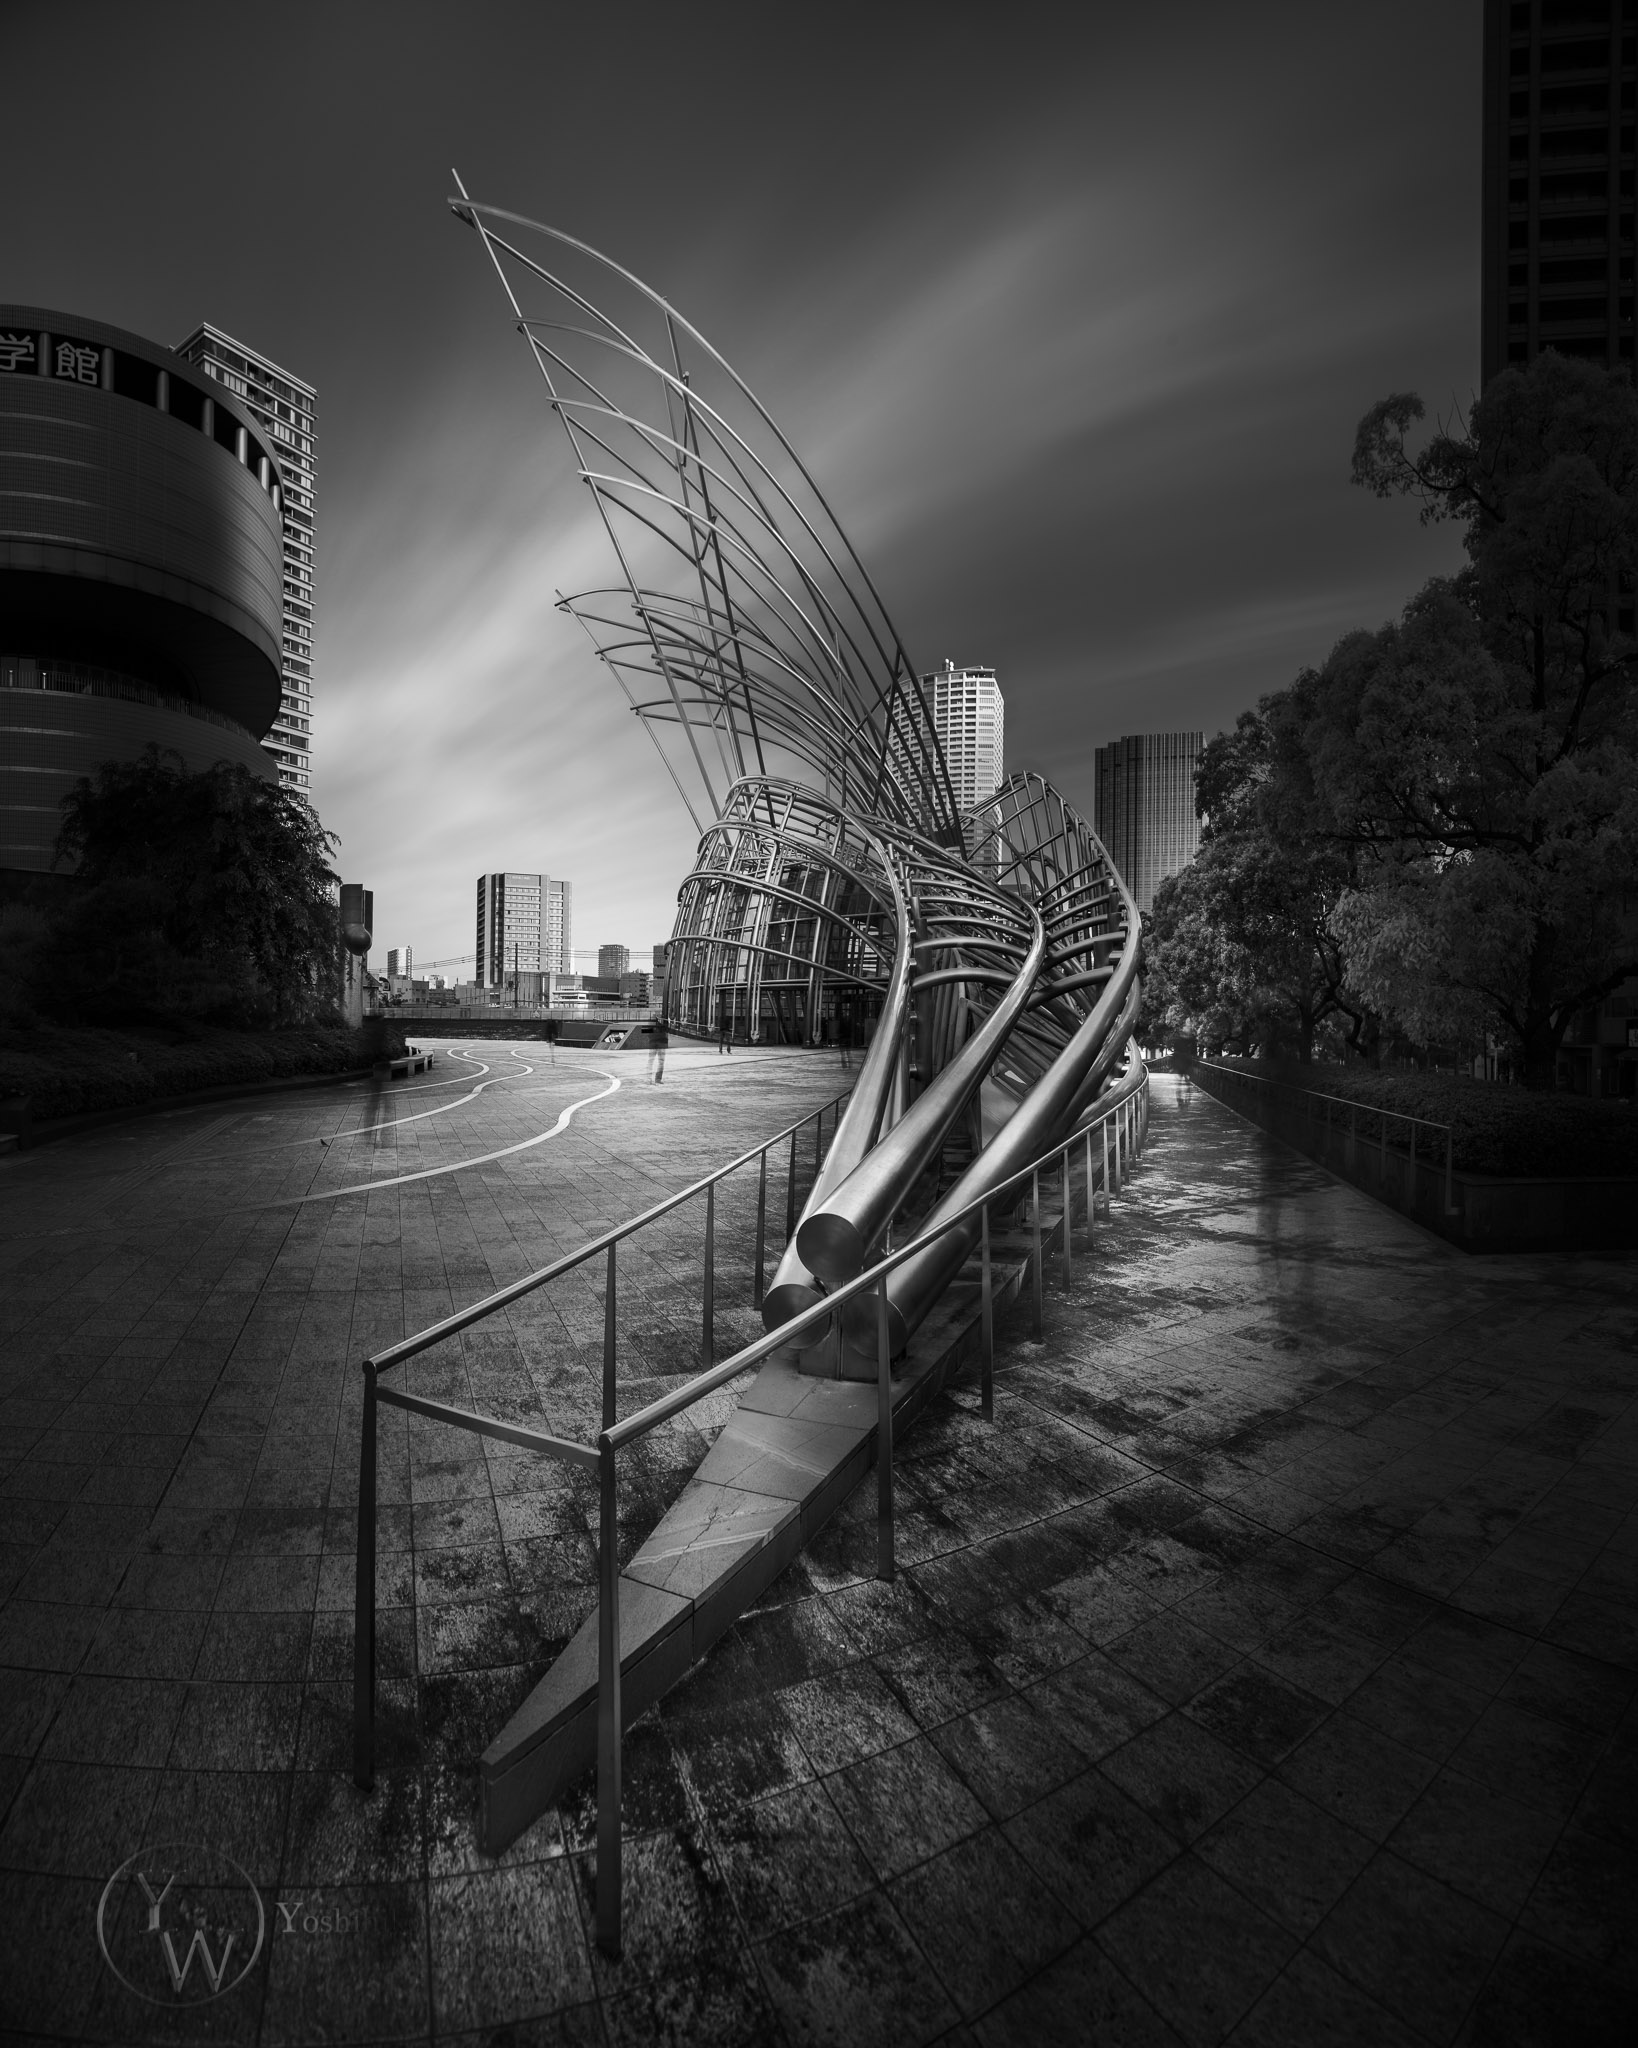
“Vision-will-change” example
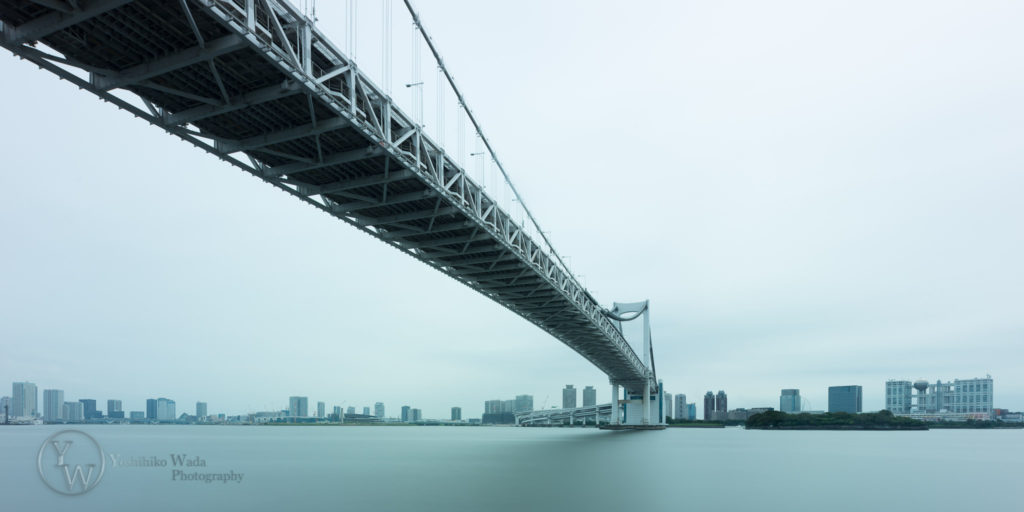
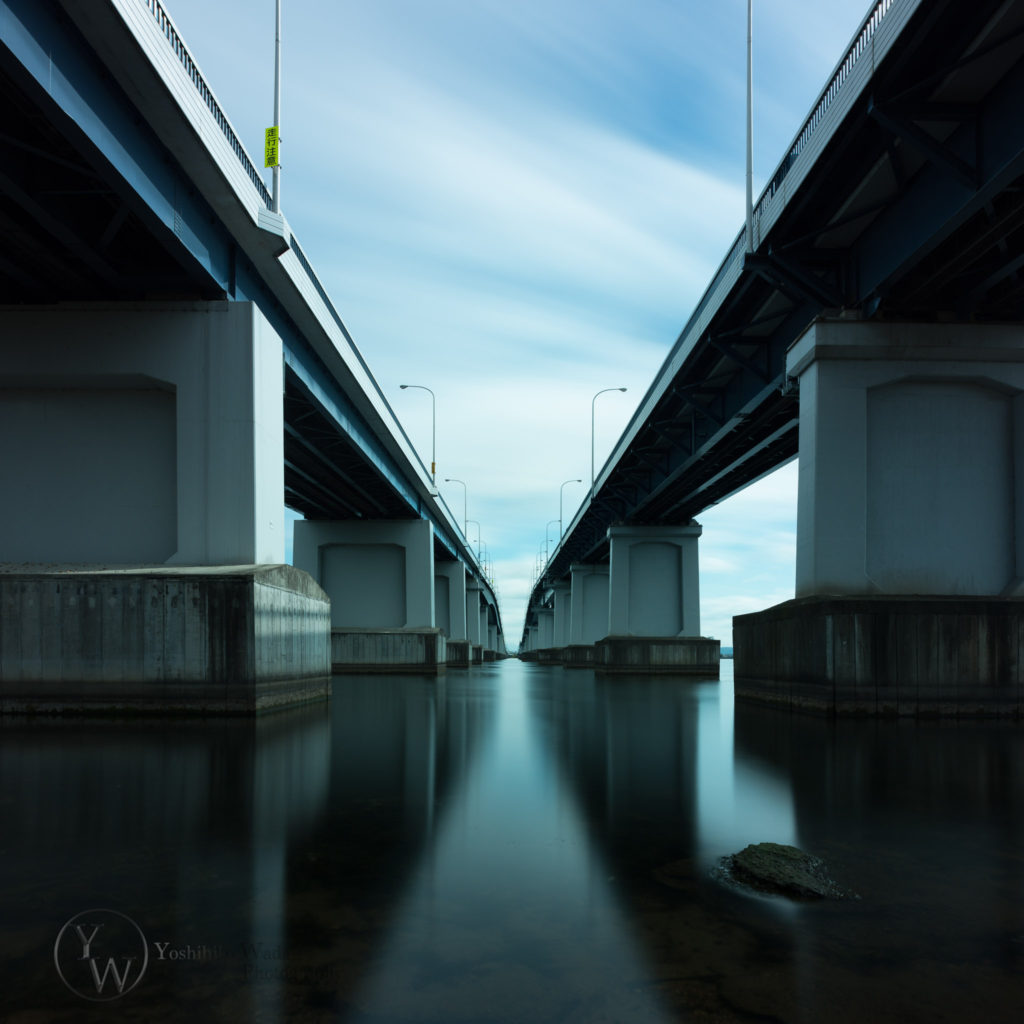
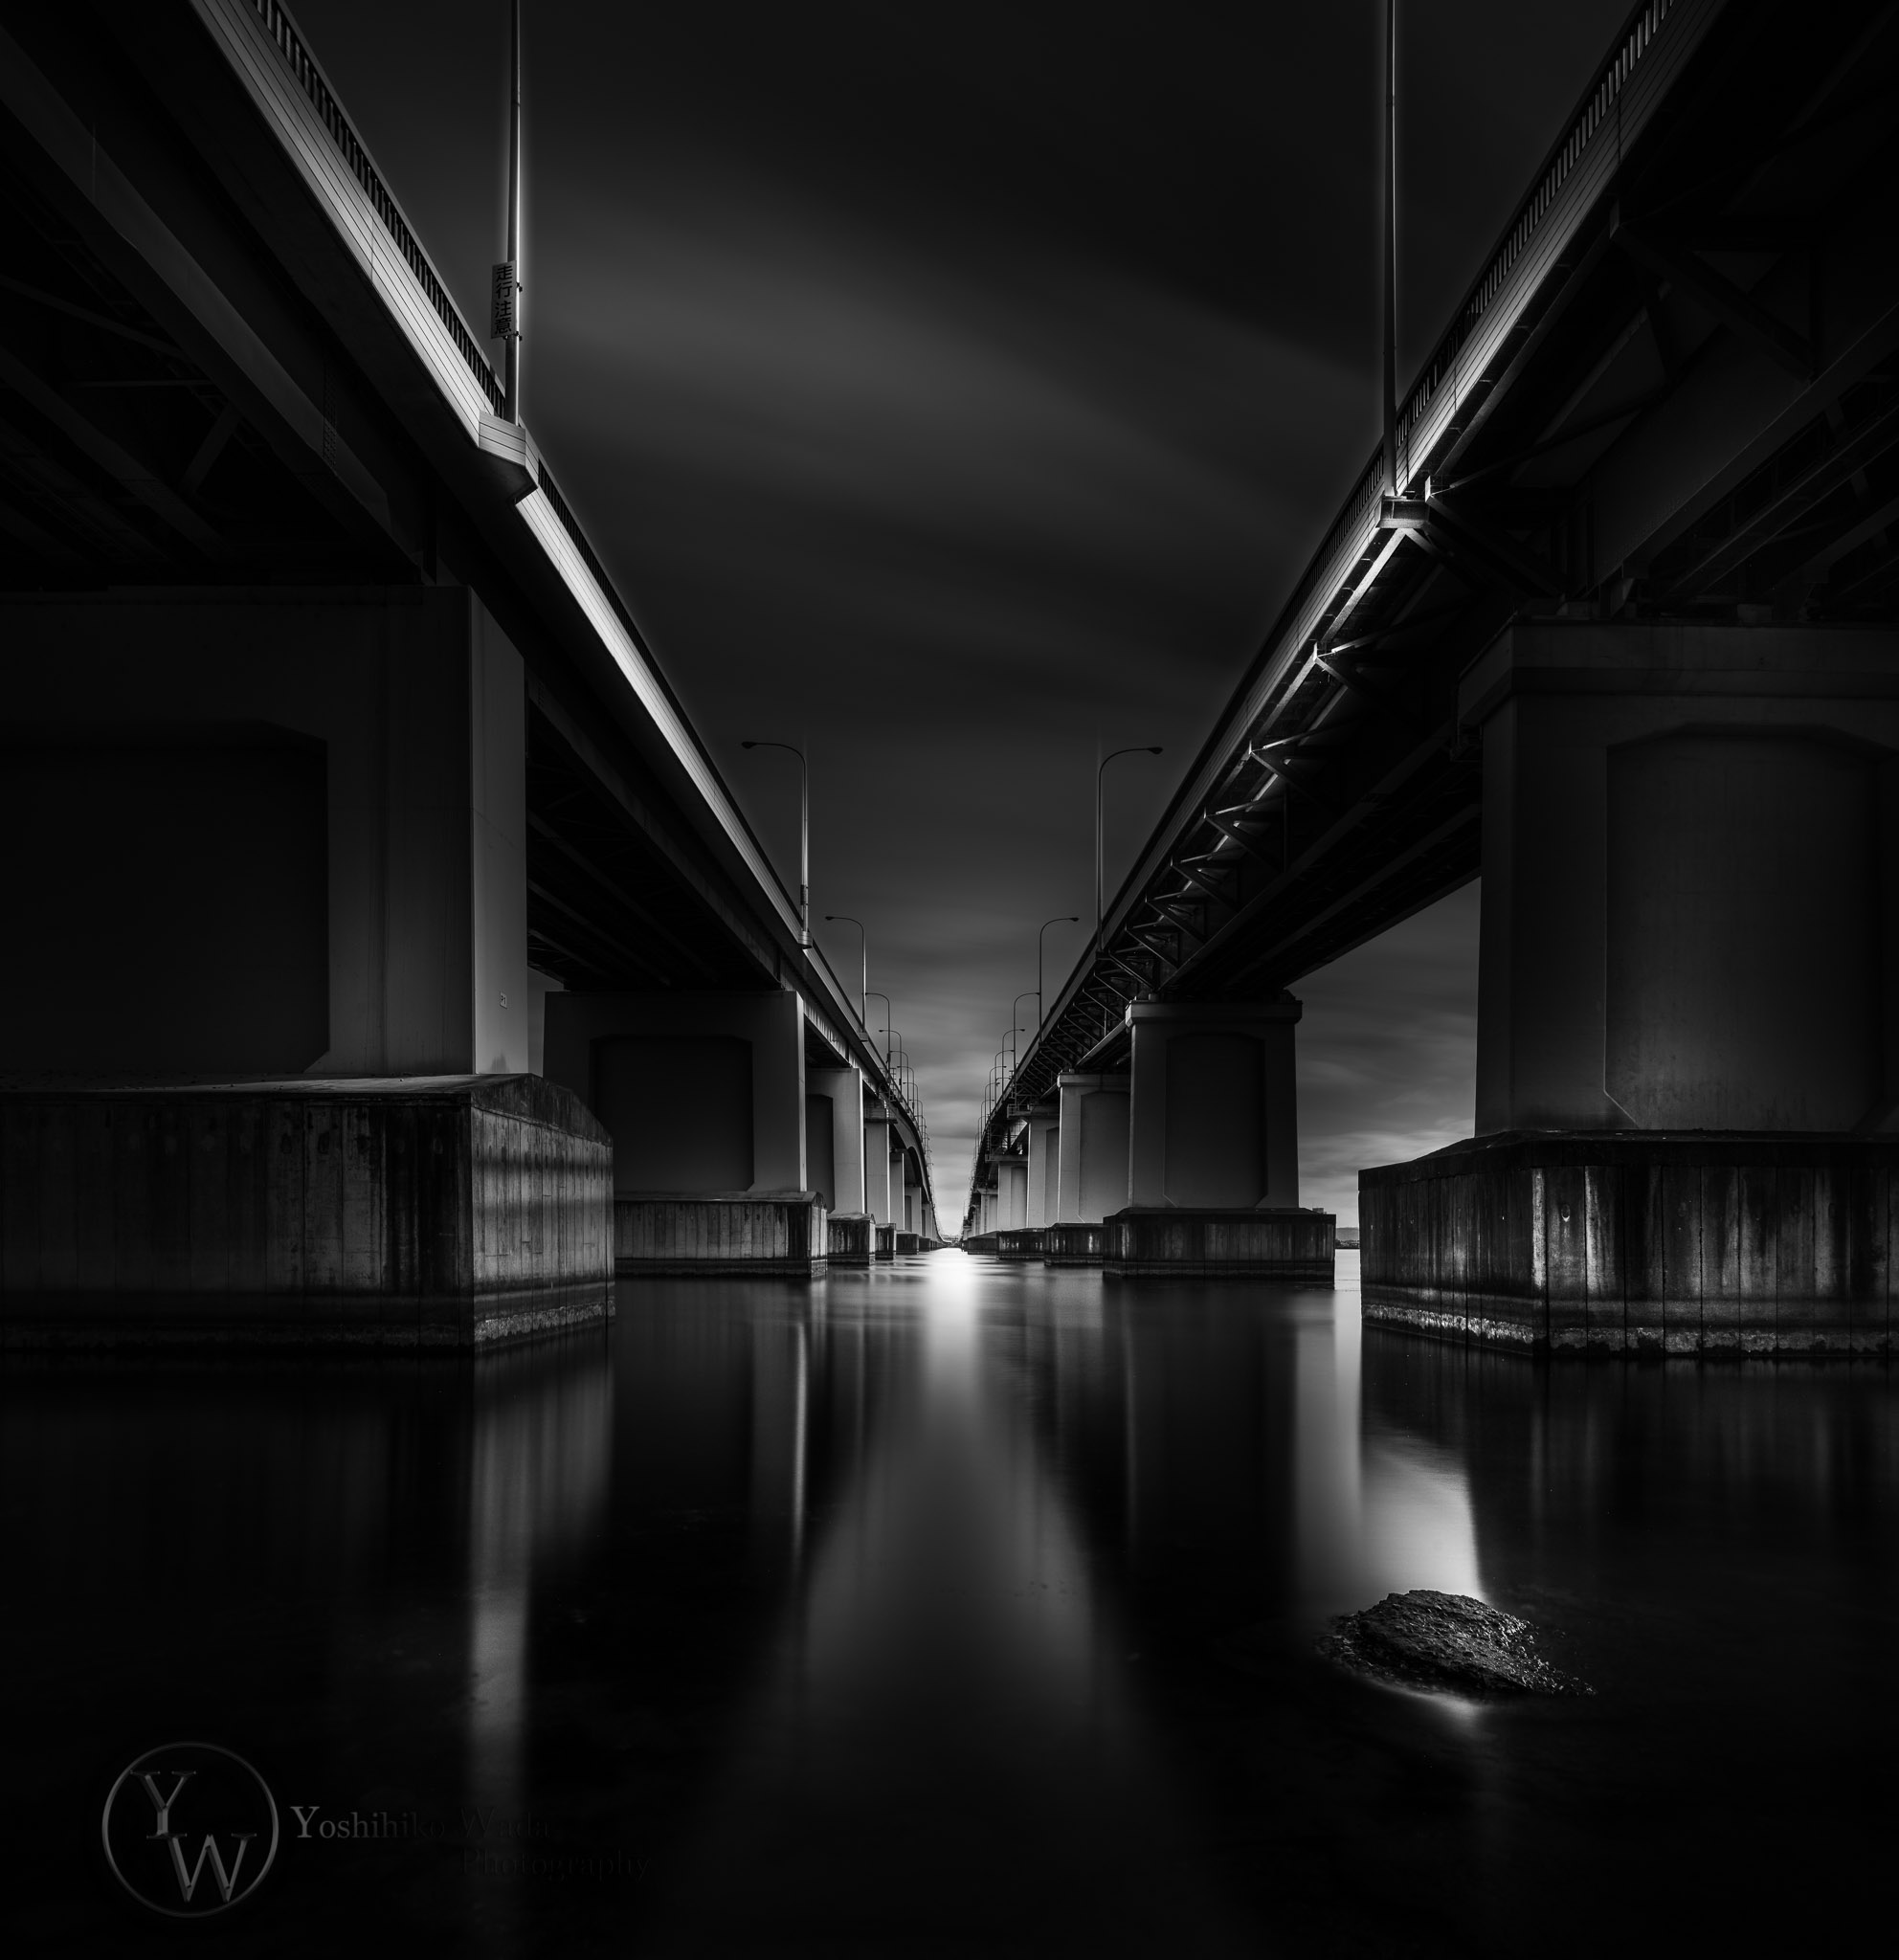
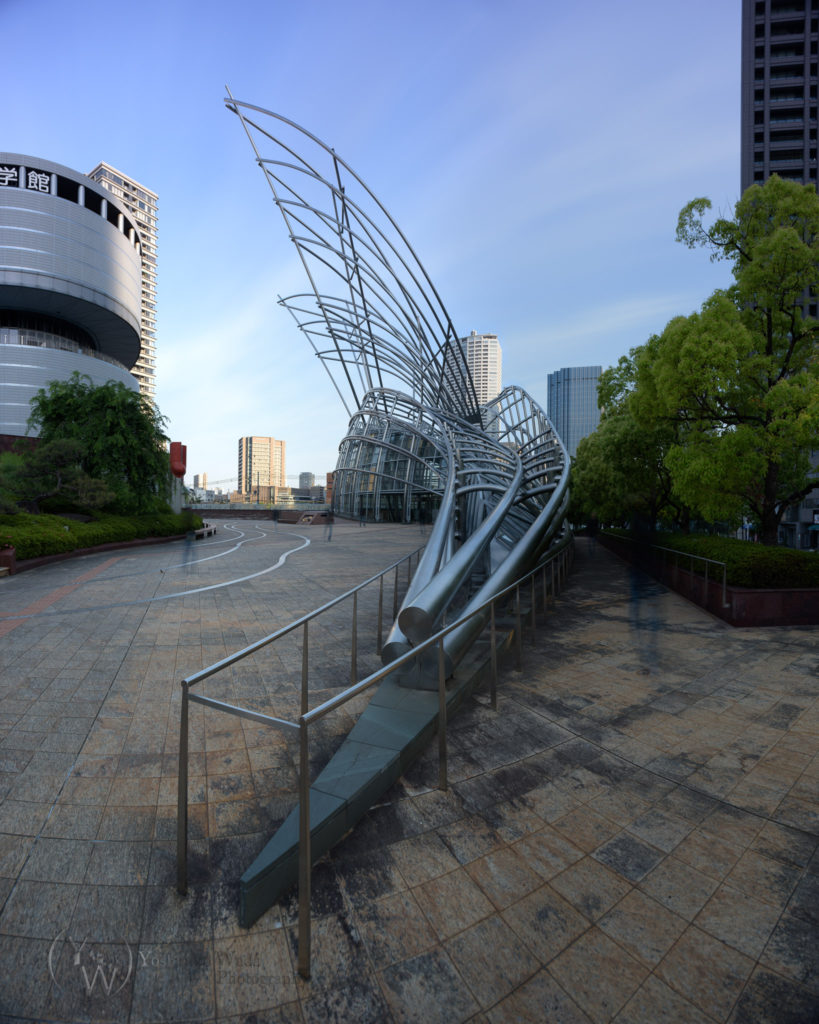
Start :non edit color 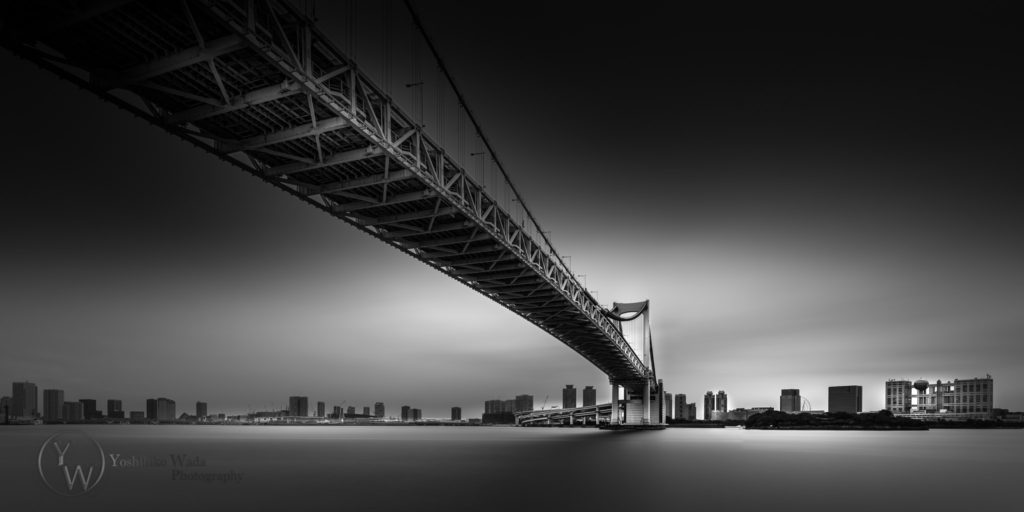
Rough vision: B&W 
End Result: B&W


Example-2
In the “Rough Vision”, you decide where you want to enhance in the pictures.
Usually, they are lines of the subject, reflection, unique buildings, the shape of clouds, anything which you felt interesting in your pictures.
Having these postprocess experiences, you can see the final BW image during the field.
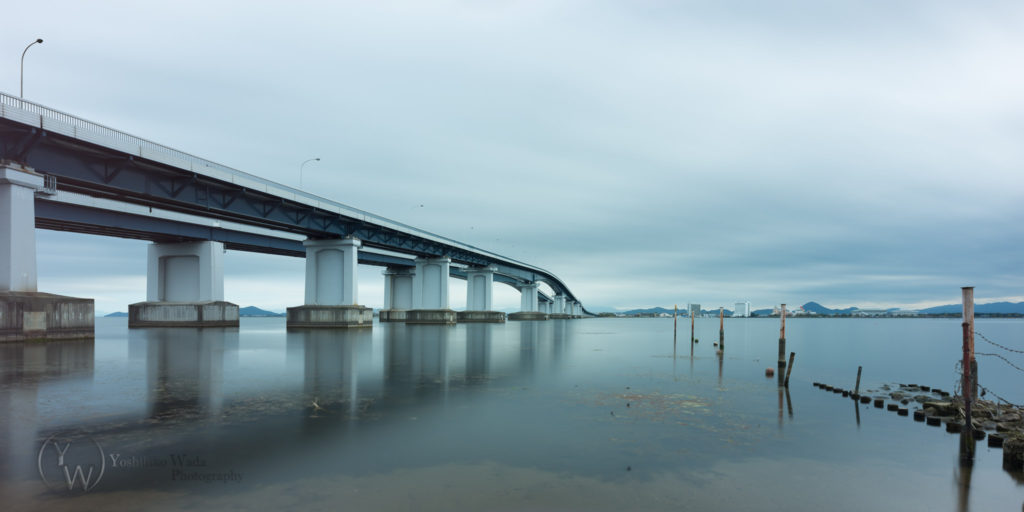
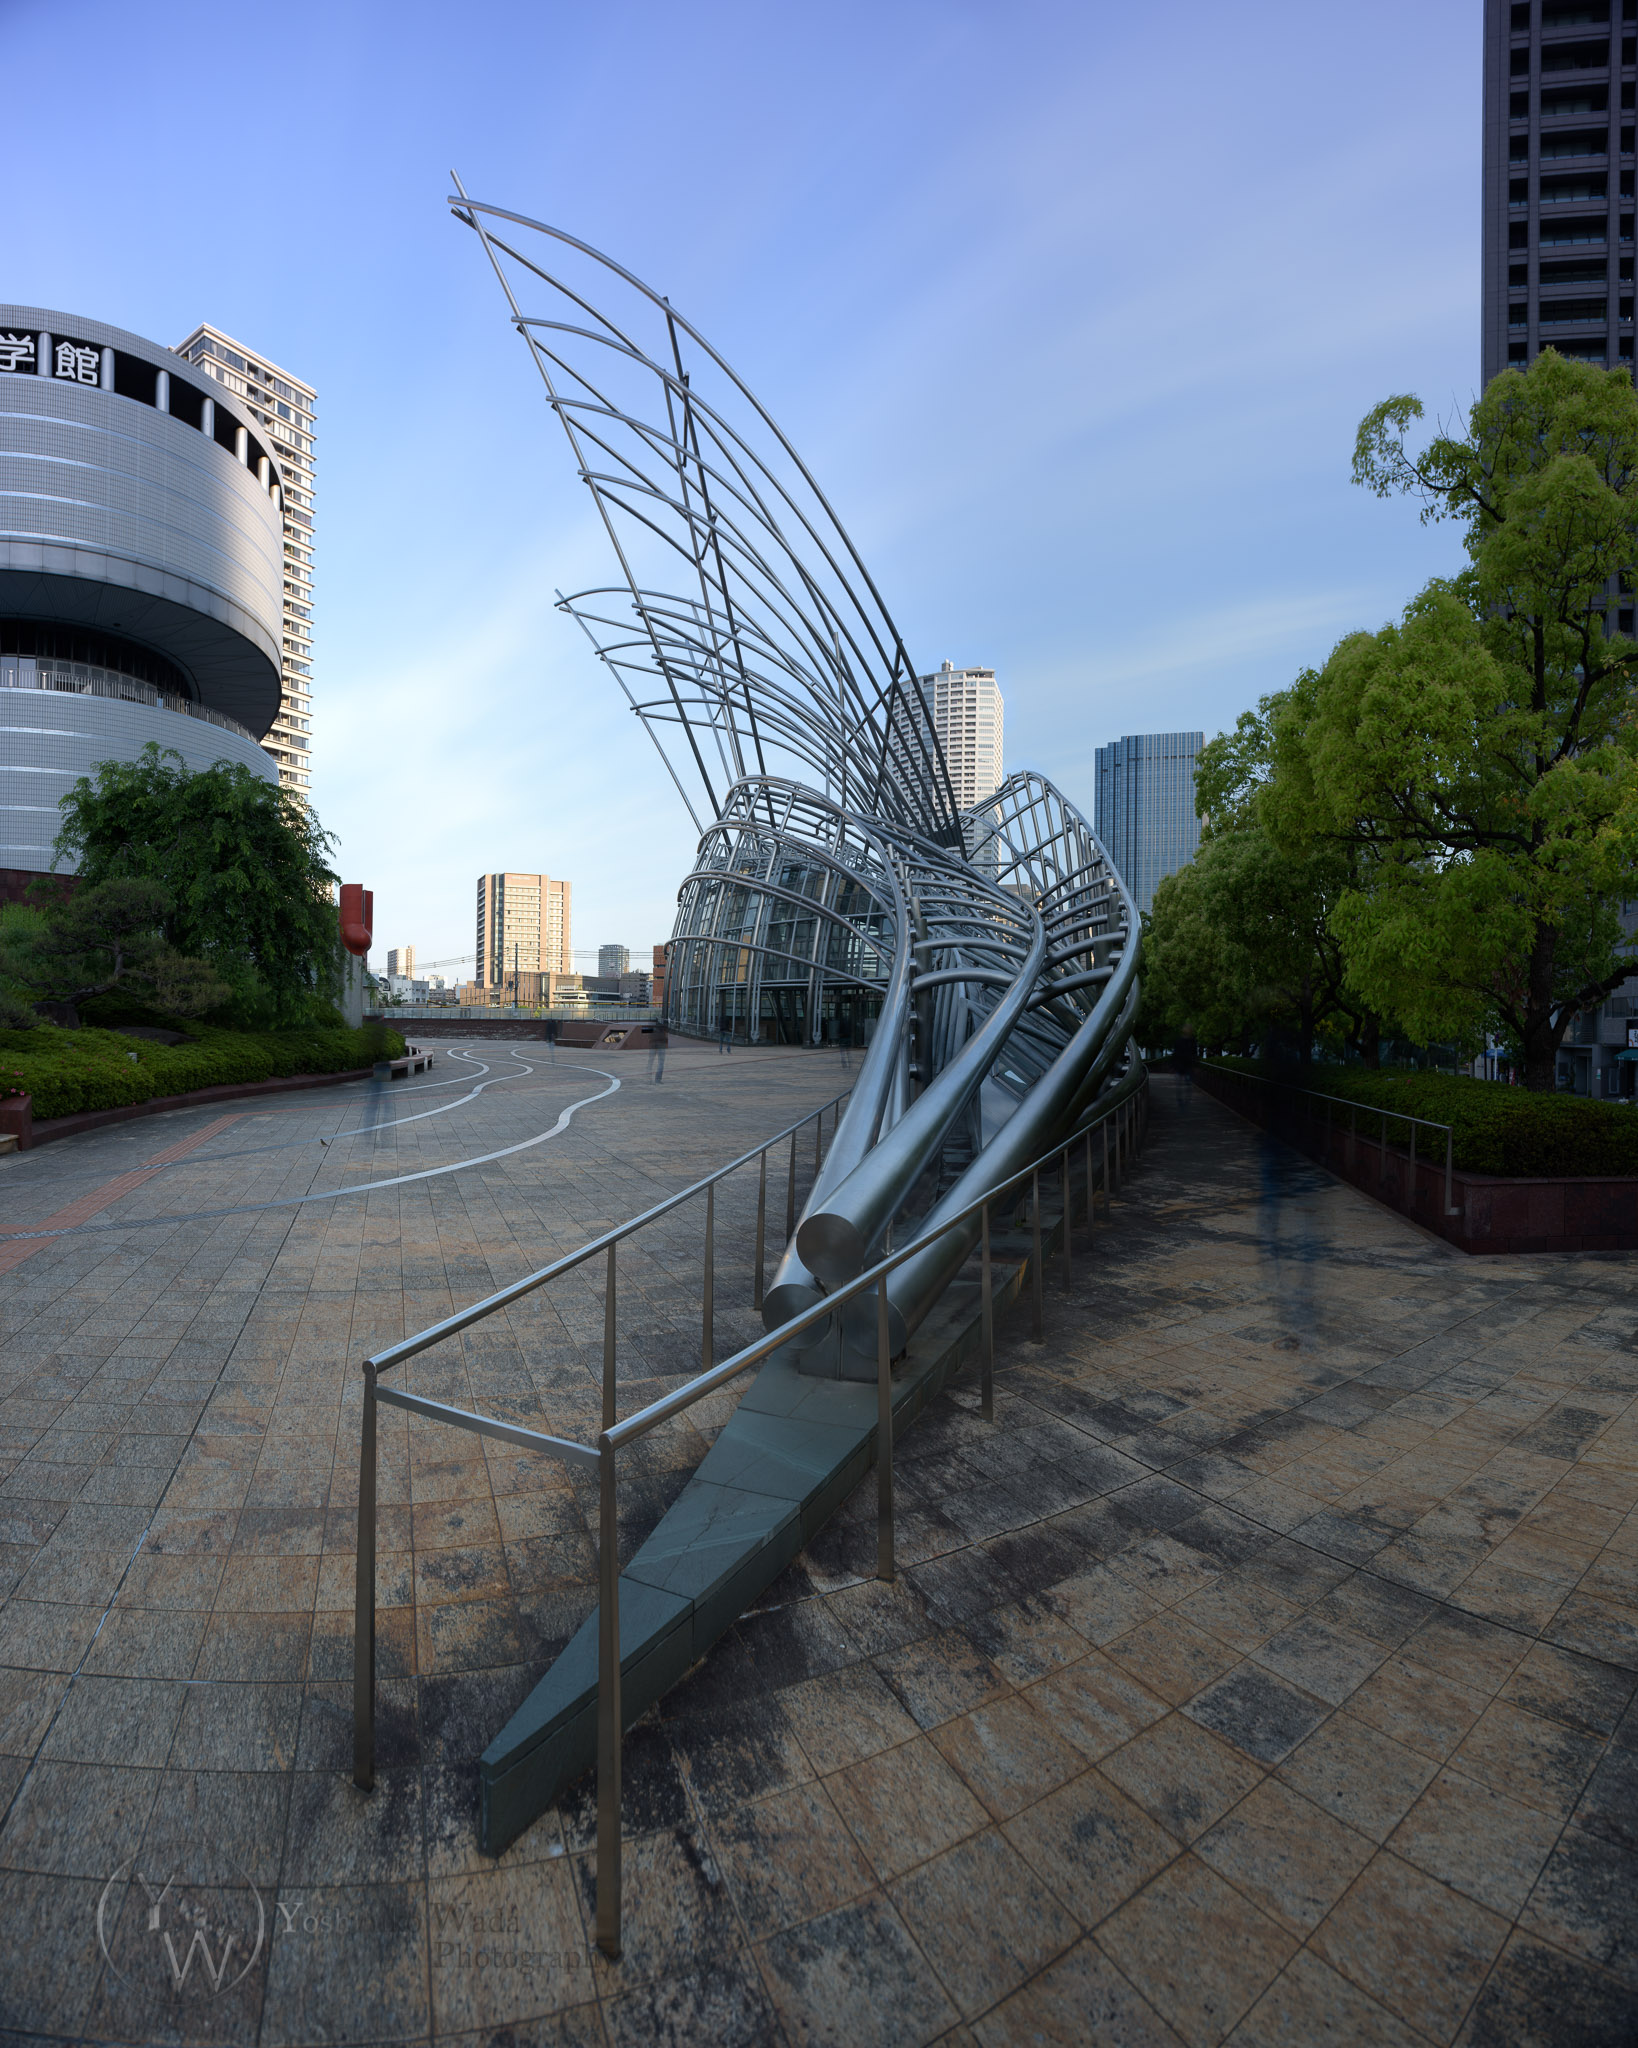
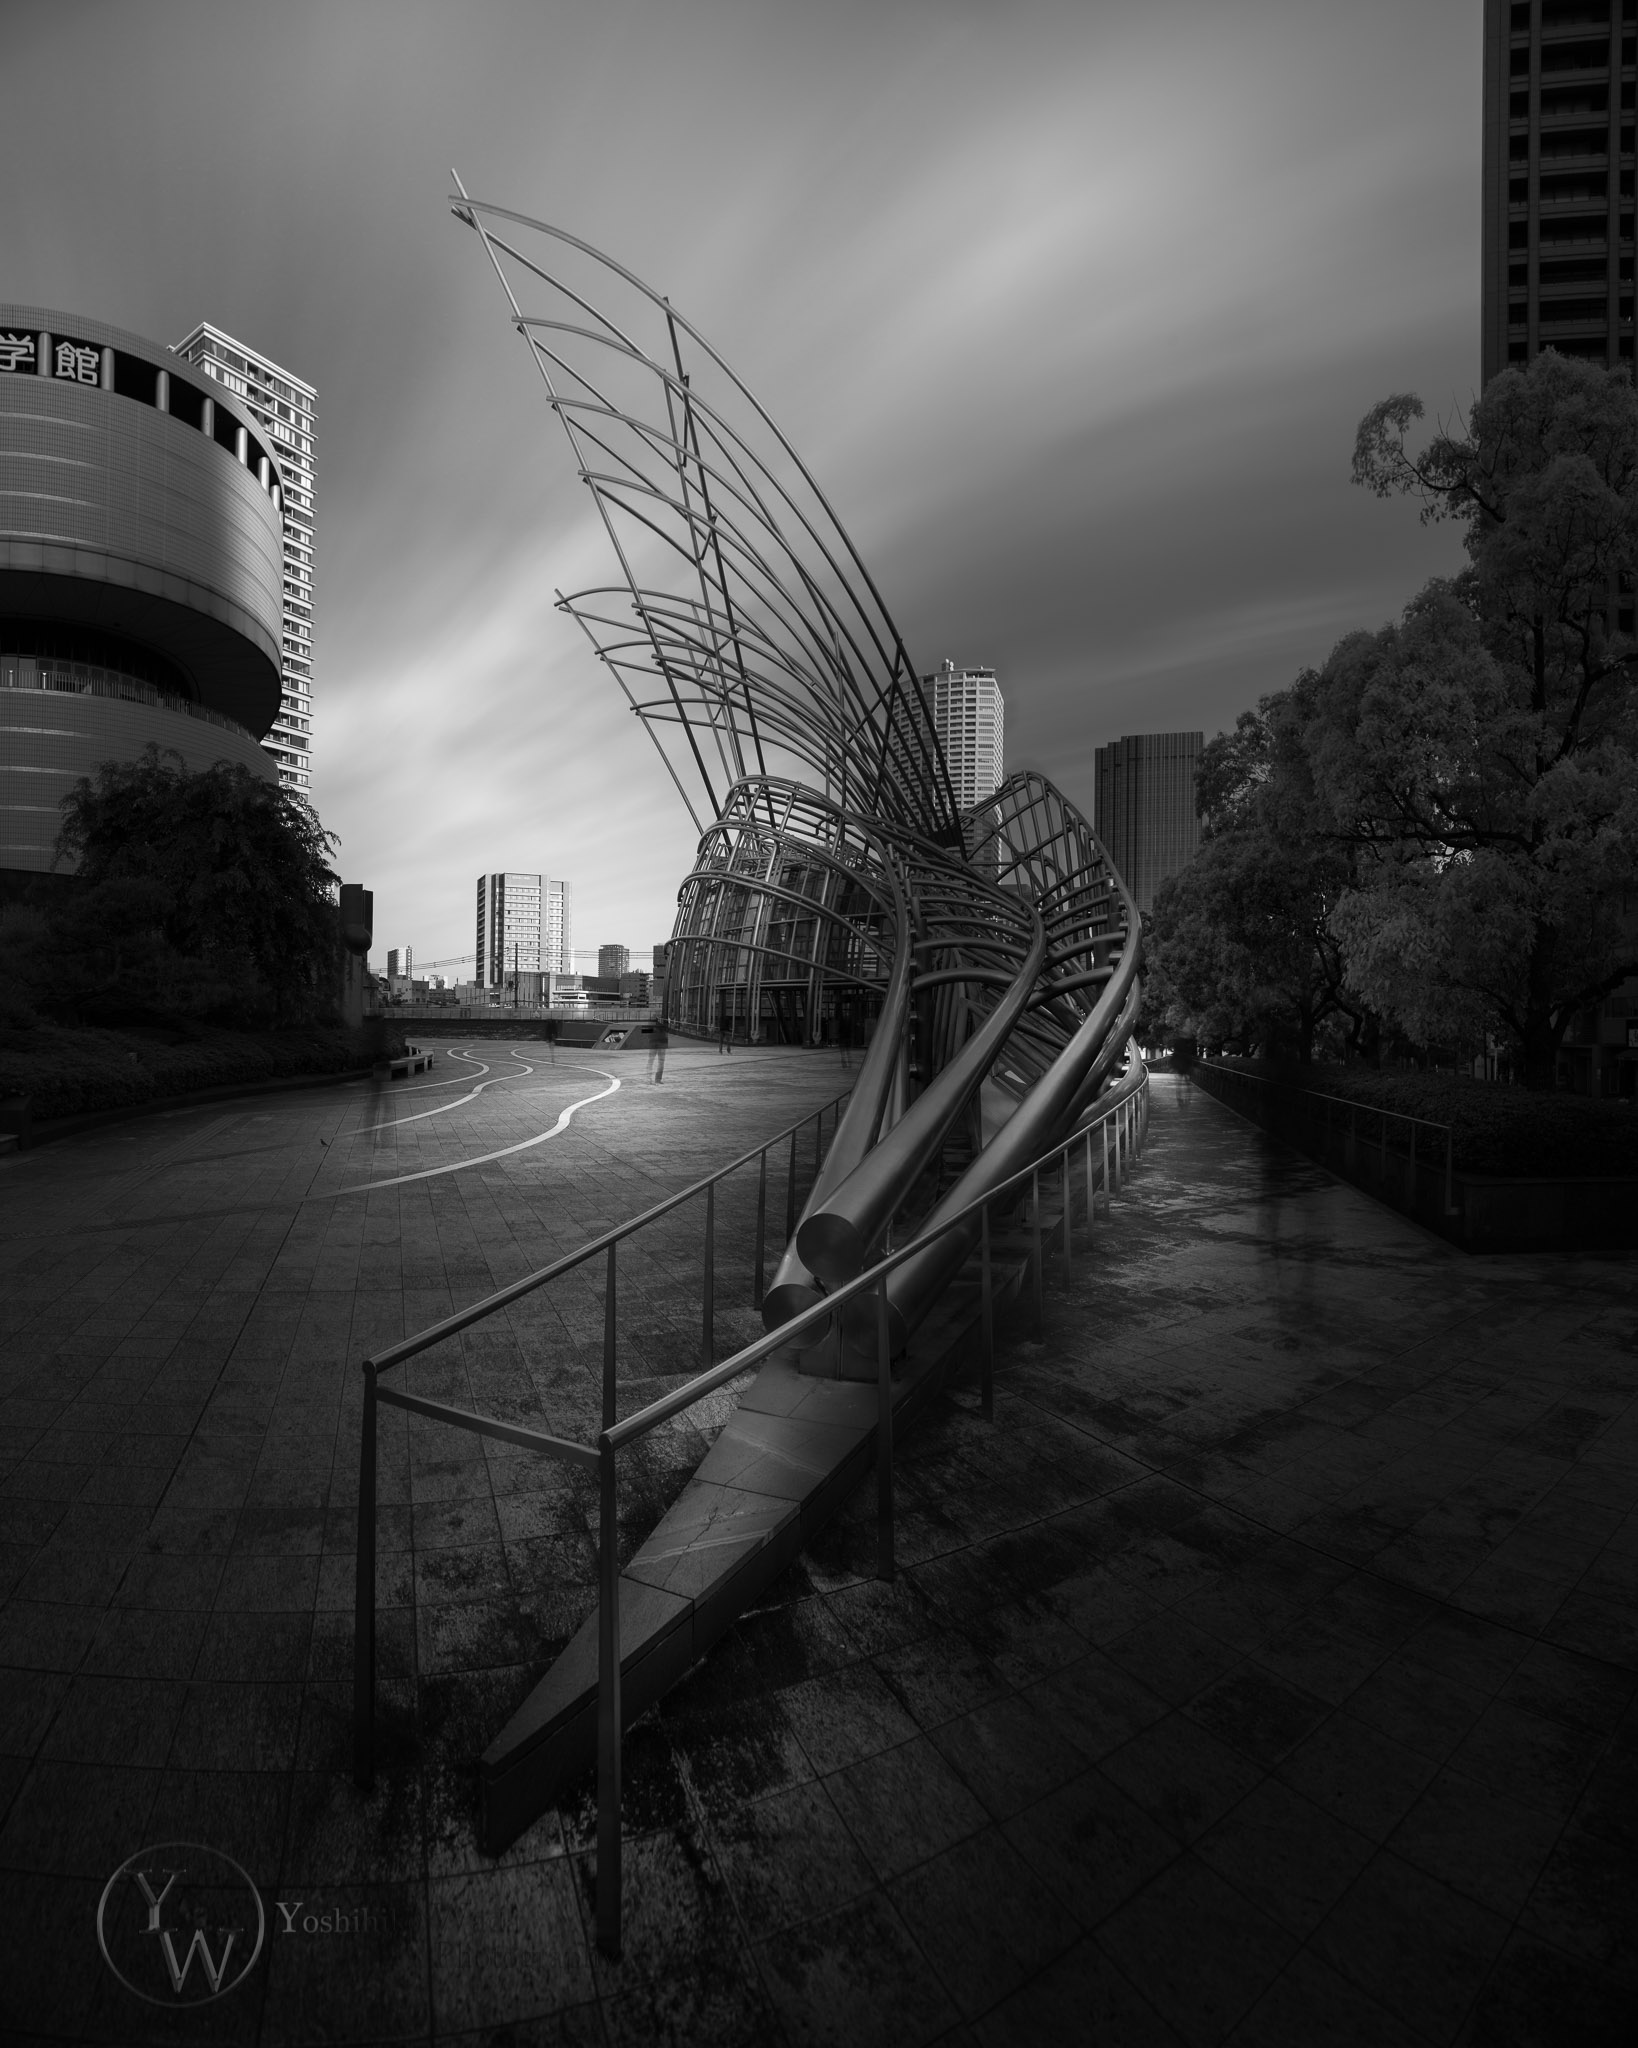
Start :non edit color 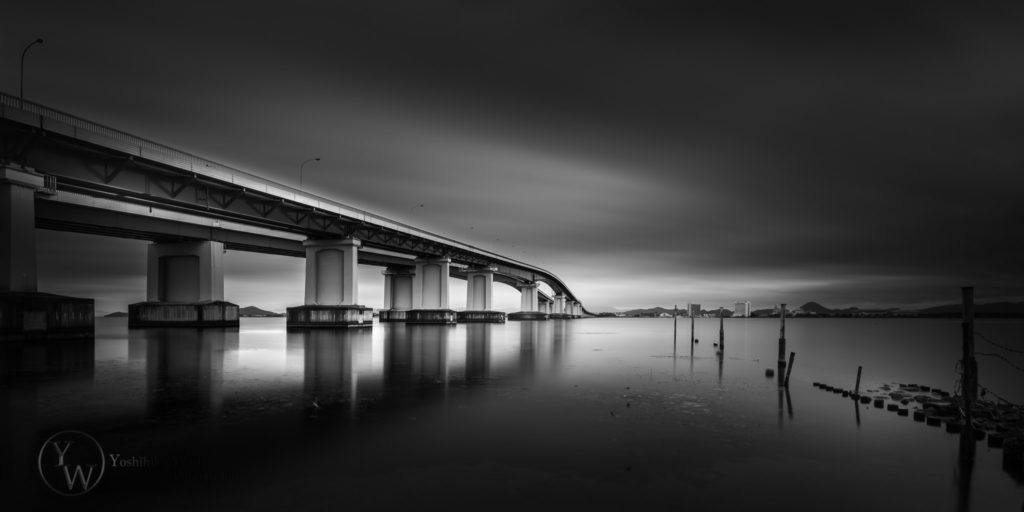
Rough vision: B&W 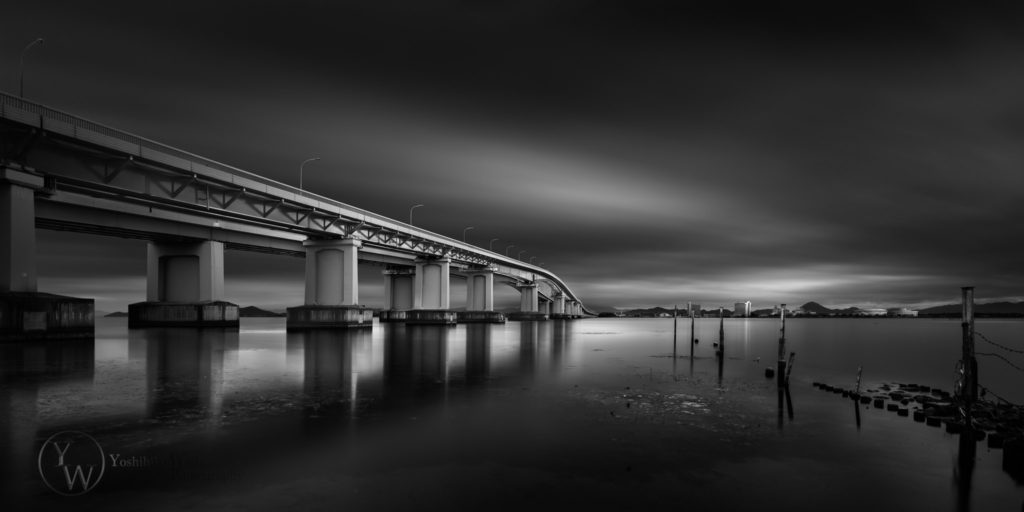
End Result: B&W


Example-3
Start :non edit color 
Rough vision: B&W 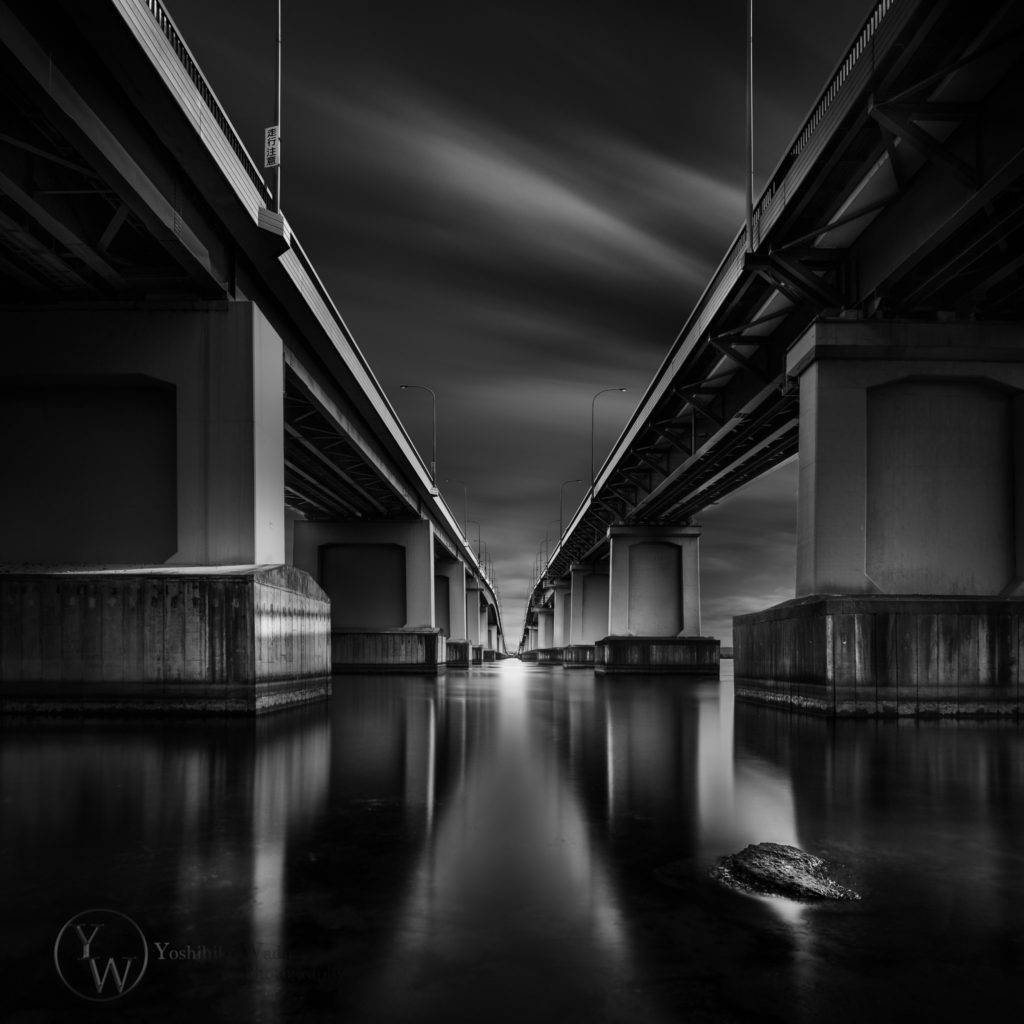
End Result: B&W

Example-4
Start :non edit color 
Rough vision: B&W 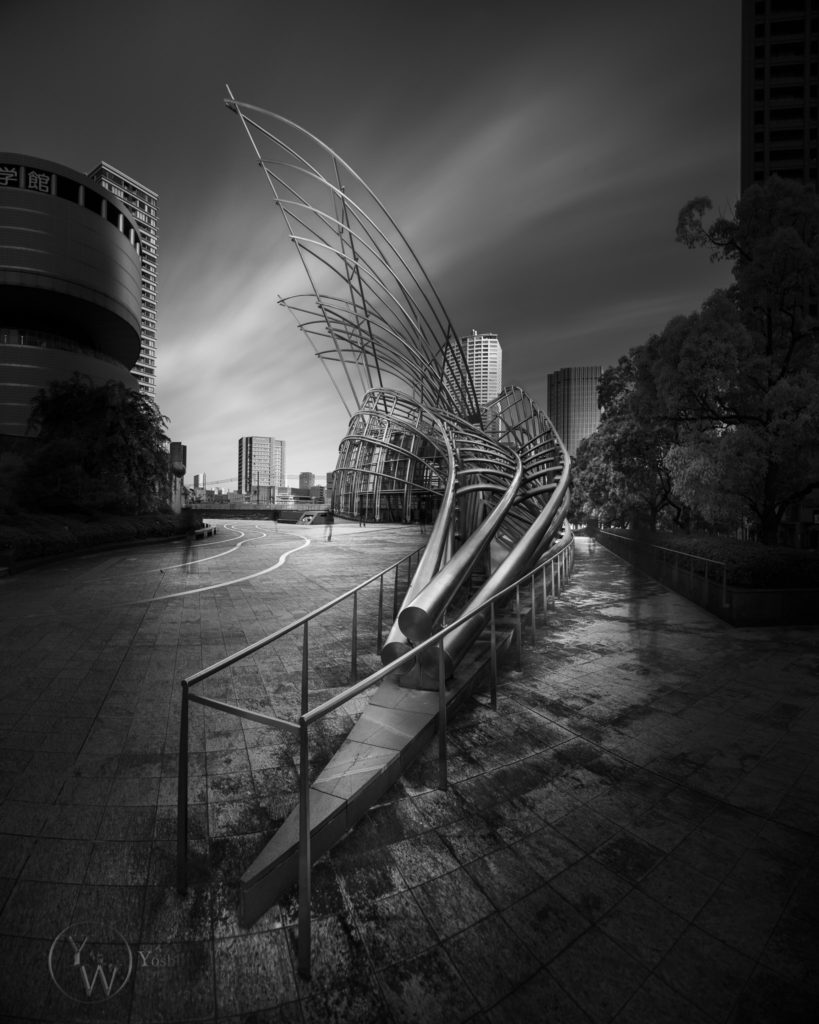
End Result: B&W
After having the rough vision, now let’s dive into “Precise” postprocess in Photoshop.
Let’s make your vision. C ya at day 4!!


Comment